Delish Egg Scramble

Last week I made an egg sandwich with spinach, smoked sliced beef brisket, cheddar cheese and ciabatta bread. It was good but messy as the ingredients kept falling out as I’d eat it. Also, it wasn’t easy tasting all of the ingredients with every bite since they’d move around while holding the sandwich.

Since the sandwich would end up all mixed up in your mouth and stomach, I figured why not just mix all the ingredients up in a pan. It turns out this was not only much easier to cook and eat but also tastier as you could taste more of the ingredients.

Here’s the recipe:

Ingredients:

  • pita bread (available at Costco)
  • potatoes (optional)
    • pre-cooked tater tots
    • pre-cooked chopped baby potatoes
  • chopped tomatoes
  • diced onions
  • diced red, green and yellow bell pepper (can get it pre-diced and frozen)
  • diced jalapeno peppers
  • baby spinach
  • shredded cheddar cheese
  • pre-cooked smoked sliced beef brisket (available at Costco)
  • 3 eggs
  • maybe broccoli?

Instructions:

  1. If the bread is a bit hard, warm it up in the microwave for 50 secs to soften it.
  2. Pour / spray cooking on in a pan and turn the heat up to medium
  3. Put in all ingredients except eggs and mix for a minute or so
  4. Put in eggs and mix for a minute.

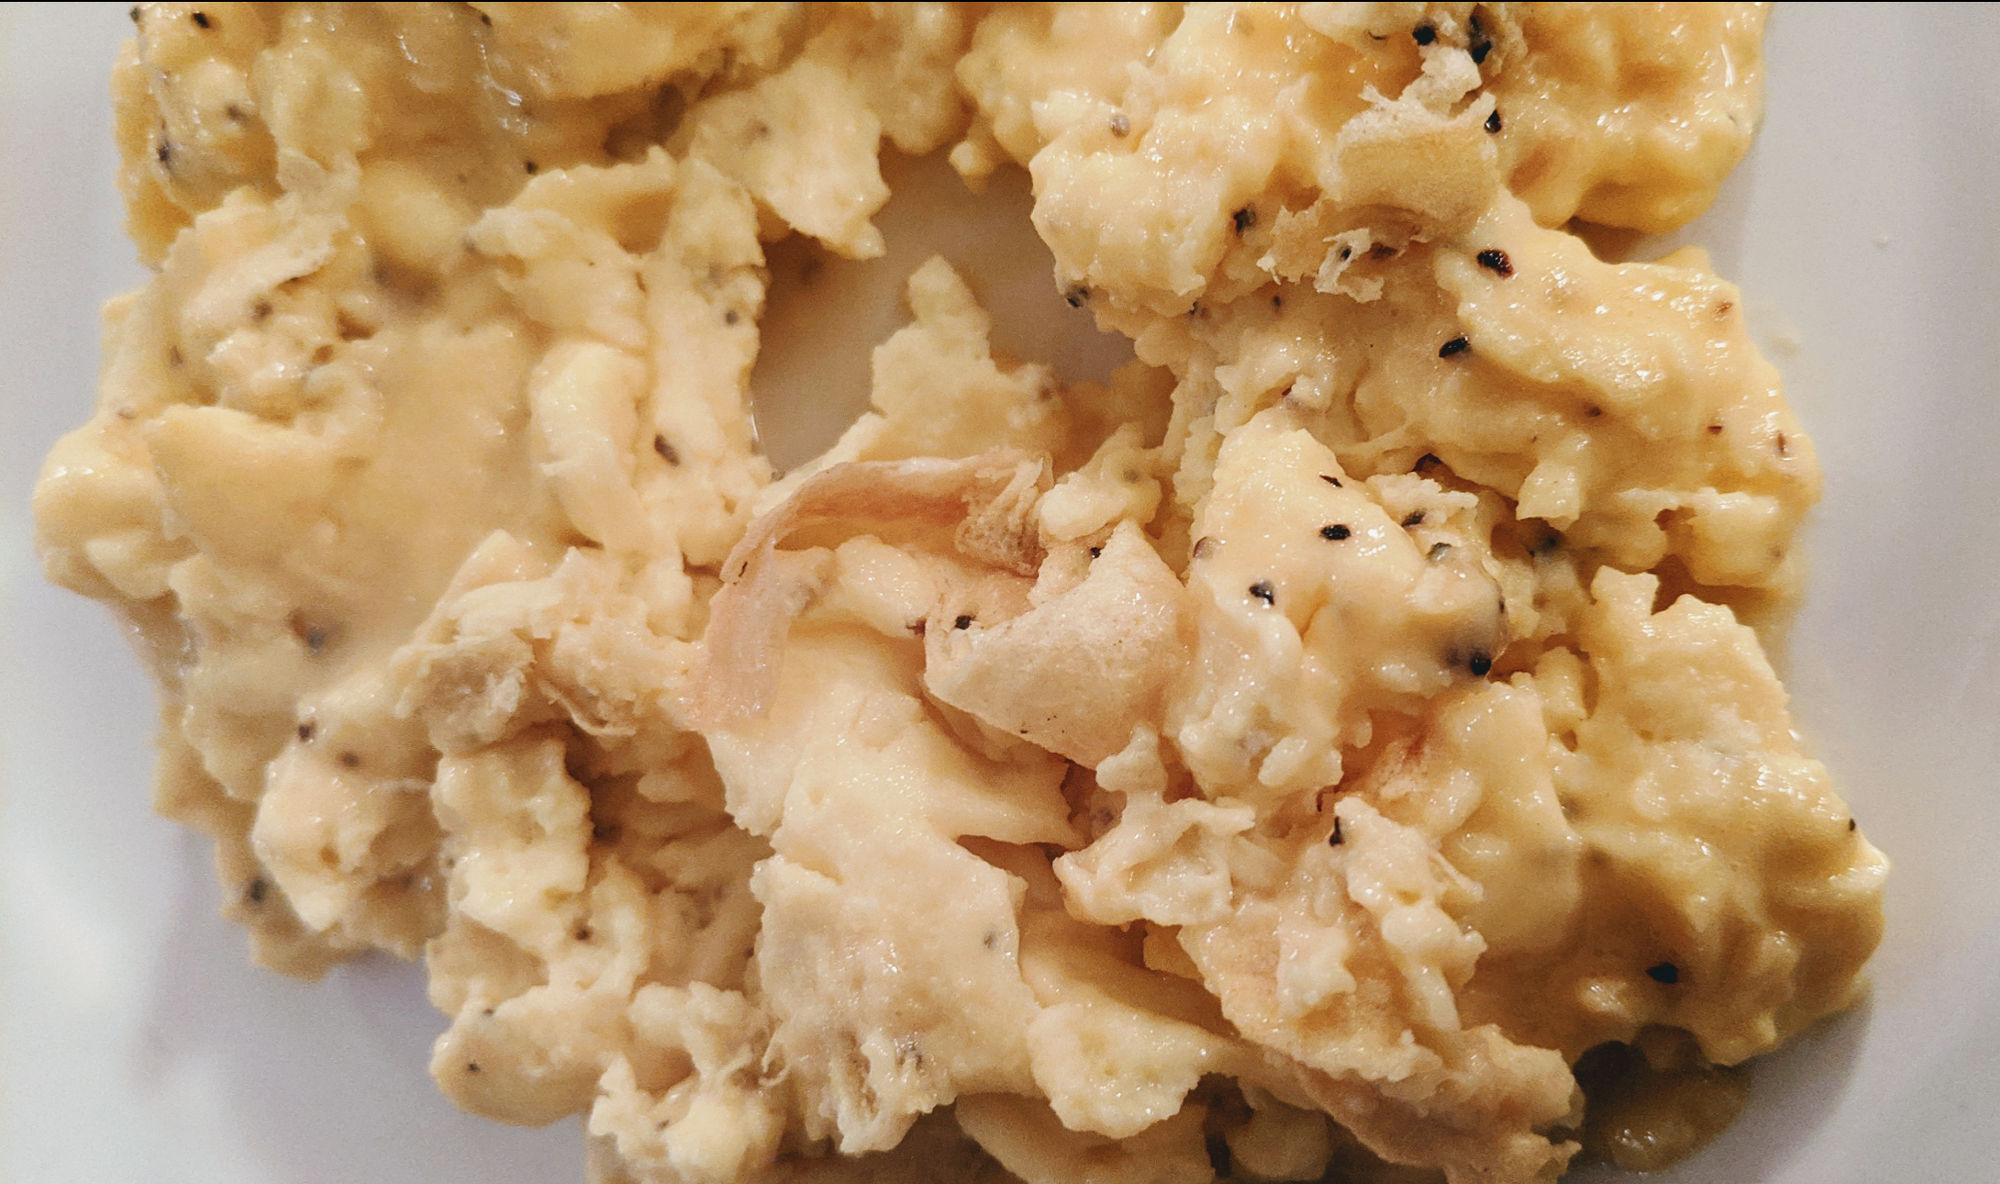
I prefer my eggs half cooked with the yolk still wet so I’d turn off the heat and transfer everything to a play in time for the yolk to remain wet.

To eat, you can stuff the pita bread with the egg scramble though it may be hard separating the two sides of the bread without breaking it. Otherwise, just rip pieces of pita bread and scoop up some of the eggs scramble with it as you would for curry.

To save time in the morning, prepare everything the night before.

  1. Add all ingredients except eggs in a zip lock bag and put in freezer
  2. In the morning, transfer frozen ingredients to a bowl and defrost in microwave
  3. Transfer defrosted ingredients to a pan and cook
  4. Put in eggs, mix and cook to desired doneness

High Pile, Plush Shag Rug

Trying to find a thick, plush rug with high pile can be difficult with so many options but inaccurate advertising. Here’s my experience and recommendations for comfy carpet.

Thomasville Shag Rugs

Basically, all of the Thomasville Shag rugs are good, if not the best. They are definitely the best value.

  • Thomasville Bali Shag Rug
    I felt this rug at Costco and it’s definitely thick, soft and super dense.
  • Thomasville Marketplace Luxury Shag
    I personally have this rug. It’s definitely high pile and soft but not as soft at the Bali Shag rug. I like the edges of this rug more than the Bali shag rug, though.
  • Thomasville Marketplace Savoy Shag Rug
    I haven’t felt this rug but it’s got a lot of good reviews and is by Thomasville.

NewBlueFX Chroma Key to Easily Remove Green Screen in Video

This article explains how to remove a green background in a video using Corel VideoStudio Ultimate 2018 and the NewBlueFX Chroma Key.

When applying a chroma key to a video in VideoStudio, you have two options:

  1. using Corel VideoStudio’s native chroma key feature
  2. using the NewBlueFX Chroma Key filter

Native Corel VideoStudio Chroma Key Feature

To use VideoStudio’s native chroma key feature,

  1. select a video on the timeline,
  2. open the Options panel,
  3. click the Effect tab,
  4. check the “Apply Overlay Options” checkbox, and
  5. adjust the settings.

From my experience, this feature doesn’t work well for imperfectly lit backgrounds. Unless you are filming in a professional studio, the chroma key results will likely be poor.

NewBlueFX Chroma Key Filter

For better chroma key results, you can use the NewBlueFX Chroma Key filter. Disable the native VideoStudio chroma key by unchecking the “Apply Overlay Options” checkbox described in the previous steps. This will minimize confusion due to the application of multiple chroma keys. To use the NewBlueFX Chroma Key, do this:

  1. crop your video to remove any areas outside of the green screen. If you don’t, the background will be gray instead of transparent.
  2. click on the FX Filter button
  3. select NewBlue Video Essentials II in the filter dropdown
  4. drag the Chroma Key filter to the video in the timeline
  5. if the native VideoStudio chroma key panel is visible, close it by clicking the x button in the top right corner of the panel
  6. select the “Chroma Key” filter and then click the “Customize Filter” button

The NewBlue Chroma Key control panel will appear.

  1. Uncheck “Show in preview window” to improve performance
  2. Uncheck “Use keyframes” to apply the same chroma key settings for the entire video. Unless you need to apply different settings for different sections of the video, you don’t need to use keyframes.
  3. If your background is green, leave the “Default – Green” button selected.
  4. Check the “Show Mask” checkbox to show a black mask for any color in the video other than green
  5. Adjust the Sensitivity value until the subject is completely black and the background is completely white. If it’s difficult to use the radial slider, just enter numeric values.
  6. Drag the slider to scrub through the video to see if any section of the video shows a partially gray background or white subject. If it does, further increase the sensitivity setting.
  7. Uncheck the “Show Mask” checkbox to remove the mask and to see the video in color. If you see some of the green background spilling over on the subject (usually around a person’s hair), adjust the “Erase Spill” value.
  8. Click OK to save and exit the Chroma Key panel.
Some of the green background is spilling over around the subject’s hair. Increase the “Erase Spill” value to fix this.

Improve Performance When Working with Large Videos in Corel VideoStudio

Nowadays, videos can be recorded at 4K resolution which is great for visual quality but bad for editing performance. To fix this, you can enable some settings in Corel VideoStudio under Settings > Performance as follows.

These settings will cause VideoStudio to generate a smaller version of a large video file so speedier editing. In the example settings above, if the source video is greater than 720 x 480, then a proxy file will be created in a SmartProxy folder. On my system, that folder is at

C:\Users\abdul\Documents\Corel VideoStudio Pro\21.0\SmartProxy

As an example, let’s compare the original video size to the proxy video size. In VideoStudio, if we select a video and view it’s properties, we see that its size is 636 MB.

If we look at the SmartProxy folder, it is currently empty. Now, if we drag the video to the timeline, VideoStudio will create a proxy file containing a lower quality version of that video. You can see the progress of the proxy file creation under Settings > Smart Proxy Manager > Smart Proxy Queue Manager.

When the proxy file has been created, you can inspect its size. As you can see, the size is only 56 MB. That’s a reduction of 91%!

If the proxy file is still too large, you can tweak the proxy file settings to produce a lower quality file, e.g. instead of 1920 x 1080 frame size, you can choose 640 x 360.

You can also tweak the audio and video compression settings.

If you are unsure whether VideoStudio is actually using the proxy files instead of the original files, you can look for a specific icon on each video in the timeline. If there is a black and white icon as shown below, then the proxy video is being used.

Make a Music Video with Many Video Tracks in Corel VideoStudio

Making a music video often requires transitioning between multiple video clips. Many video editing programs have many effects for transitioning between video clips. The most common transition effect is the cross fade. In Corel VideoStudio, you can apply this transition by dragging it over the two video clips where they meet. Since this is a cross fade, the duration of the two clips necessarily becomes smaller. If you have a separate audio track and you want the video track to be in sync with the audio track, the crossfade transition will cause the video to become out of sync with the audio track. To maintain synchronousness and for transitioning many video clips, use the track transparency feature. The instructions below are for making a music video with multiple video tracks and a separate audio track.

1. Record Video Footage

You can do this using your phone. Just remember to record in landscape. If you want to show a different background behind the subject, make sure to film against a green screen.

2. Add Assets to Corel VideoStudio

The assets are things like each source video, music files, background images and videos, etc. Make sure you name each file something descriptive to make it easy to identify them when working with many tracks.

3. Drag the Background Image / Video to the Video Track

The first track in the list of tracks is the video track. Unlike the Video Overlay tracks, the Video track must start at time 0. If the background video is abstract and can be looped but is too short, you can duplicate it back to back as shown below.

4. Drag Each Video to a Separate Video Overlay Track

To start, each video can be positioned at time 0. Later, we’ll adjust the start time of each video so they are in sync with the music track. You can also mute each video track’s audio so the only audio heard comes from the music track.

5. Create Proxy Files

This will make VideoStudio use a smaller version of each file to improve performance. See how to set up proxy files.

6. Drag the Audio Asset to the Music Track

In this example, I positioned the start time of the music to 20 seconds to accommodate video clips that have a long but useless intro.

6. Sync Each Video Track with the Audio Track

To do this, read this post.

7. Determine Visibility Times for Each Video Track

Let’s say you want to make a music video containing 5 different singers each singing a different part of the song. You’ll have at least 5 video tracks to work with. You’ll need to listen to the song and determine what times throughout the song to show different videos. You can do this by creating a spreadsheet like below.

8. Set Cues / Markers on the Timeline

To make it easy to see start and end times for each video track, add a cue / marker (little green triangles below the timeline bar) on the timeline for each start time.

8. Create a Transition Between Each Video

To do this, we’ll be adjusting each video track’s transparency. In order for this to work, you can’t cut any of the video clips in the timeline.

For each track, click on the Track Transparency button to reveal the transparency controls.

In the screenshot below. you see multiple video tracks but only the transparency track for one of them. The vertical position of the yellow line indicates the video’s transparency at any given time. When the line is at the bottom (0), the video is completely transparent (0% opaque). When the line is at the top, the video is completely visible (100% opaque). You create a fade by adding keyframes to the yellow line and dragging them.

Below is a screenshot for a different video track. Notice how the transparency graph both of these video tracks are such that one video will fade out when the other fades in.

Sync Audio with Video in Corel VideoStudio Pro

Let’s say you want to make a music video of you lip syncing to a song. You have two files:

  • Video file of you lip syncing
  • Audio file of song

When you add these two files to VideoStudio Pro, you’ll need to adjust the start time of one so that the lip movement in the video file is in sync with the audio. One way to do this is as follows:

1. Add the audio file to the music track

2. Set a cue marker at first vocal point

Play the music track until you hear the first point in time when you hear the vocals. At that point set a marker by clicking on the bar underneath the timeline. A green triangle marker will appear. If you make a mistake in placing the marker, you can drag it to another position.

If you are having a hard time finding the first vocal point, set a preview range around the time of the first vocal point. Then, keep playing the preview range and update the marker position. To set a preview range,

  • Click on the timeline where the preview range would start. Then click the left bracket button [
  • Click on the timeline where the preview range would end. Then click the right bracket button ]

In the player control panel, you’ll see two yellow markers indicating the preview range relative to the entire project length.

In the timeline, you’ll see an orange bar indicating the preview ranger.

To play the preview range, make sure that “Project —” is selected / highlighted and not “Clip —”. Then click the play button. You can also click the loop button so the preview range plays repeatedly.

If the preview range appears very short, you can zoom in by clicking the + magnifying glass button.

Doing so allows you to see finer time increments in the timeline.

3. Add video to the Overlay 1 track

Don’t add the video to the Video track because doing so forces the video to begin from time 0 instead of a later time. Mute the audio in the Overlay 1 track by click the Mute icon.

4. Position the video to sync it with the audio

Drag the video track to the left and right and repeatedly play the preview range until the lip movement in the video is in sync with the vocal sound from the audio track.

Fix Images Using Adobe Lightroom Clone and Healing Brushes

If you’ve got a blemish or an unsightly object in an image, you can hide it by using either the cloning brush or the healing brush.

Cloning

Cloning is similar to copying some pixels elsewhere in an image and pasting it. This works in some situations but in others, it becomes obvious that you just copied and pasted.

Healing

The healing brush is similar to cloning except it tries to be smart so that the results look natural.

Here’s an example of a blemish in the sky.

And here’s the blemish gone with natural results using the healing brush.

With the healing brush, you tell Lightroom where the blemish is and then choose another area of the image to copy to fix the blemish.

Unsightly objects in the following images were removed using the healing brush.

Before
After
Before
After

Find Used CSS to Remove Unused CSS

When building websites, it’s inevitable that you’ll end up with a bunch of unused CSS as you make changes to the site. To remove unused CSS, you can use Sublime Text’s Get CSS Classes function to first find used CSS. Then, remove all CSS definitions that aren’t in that list.

  1. Open the HTML source in Sublime Text
  2. Click Edit > Tag > Get CSS Classes (this copies the used CSS classes to the clipboard)
  3. Paste the used CSS classes in a new file and sort alphabetically
  4. Go through each CSS definition and remove the ones not in the list of used CSS classes