


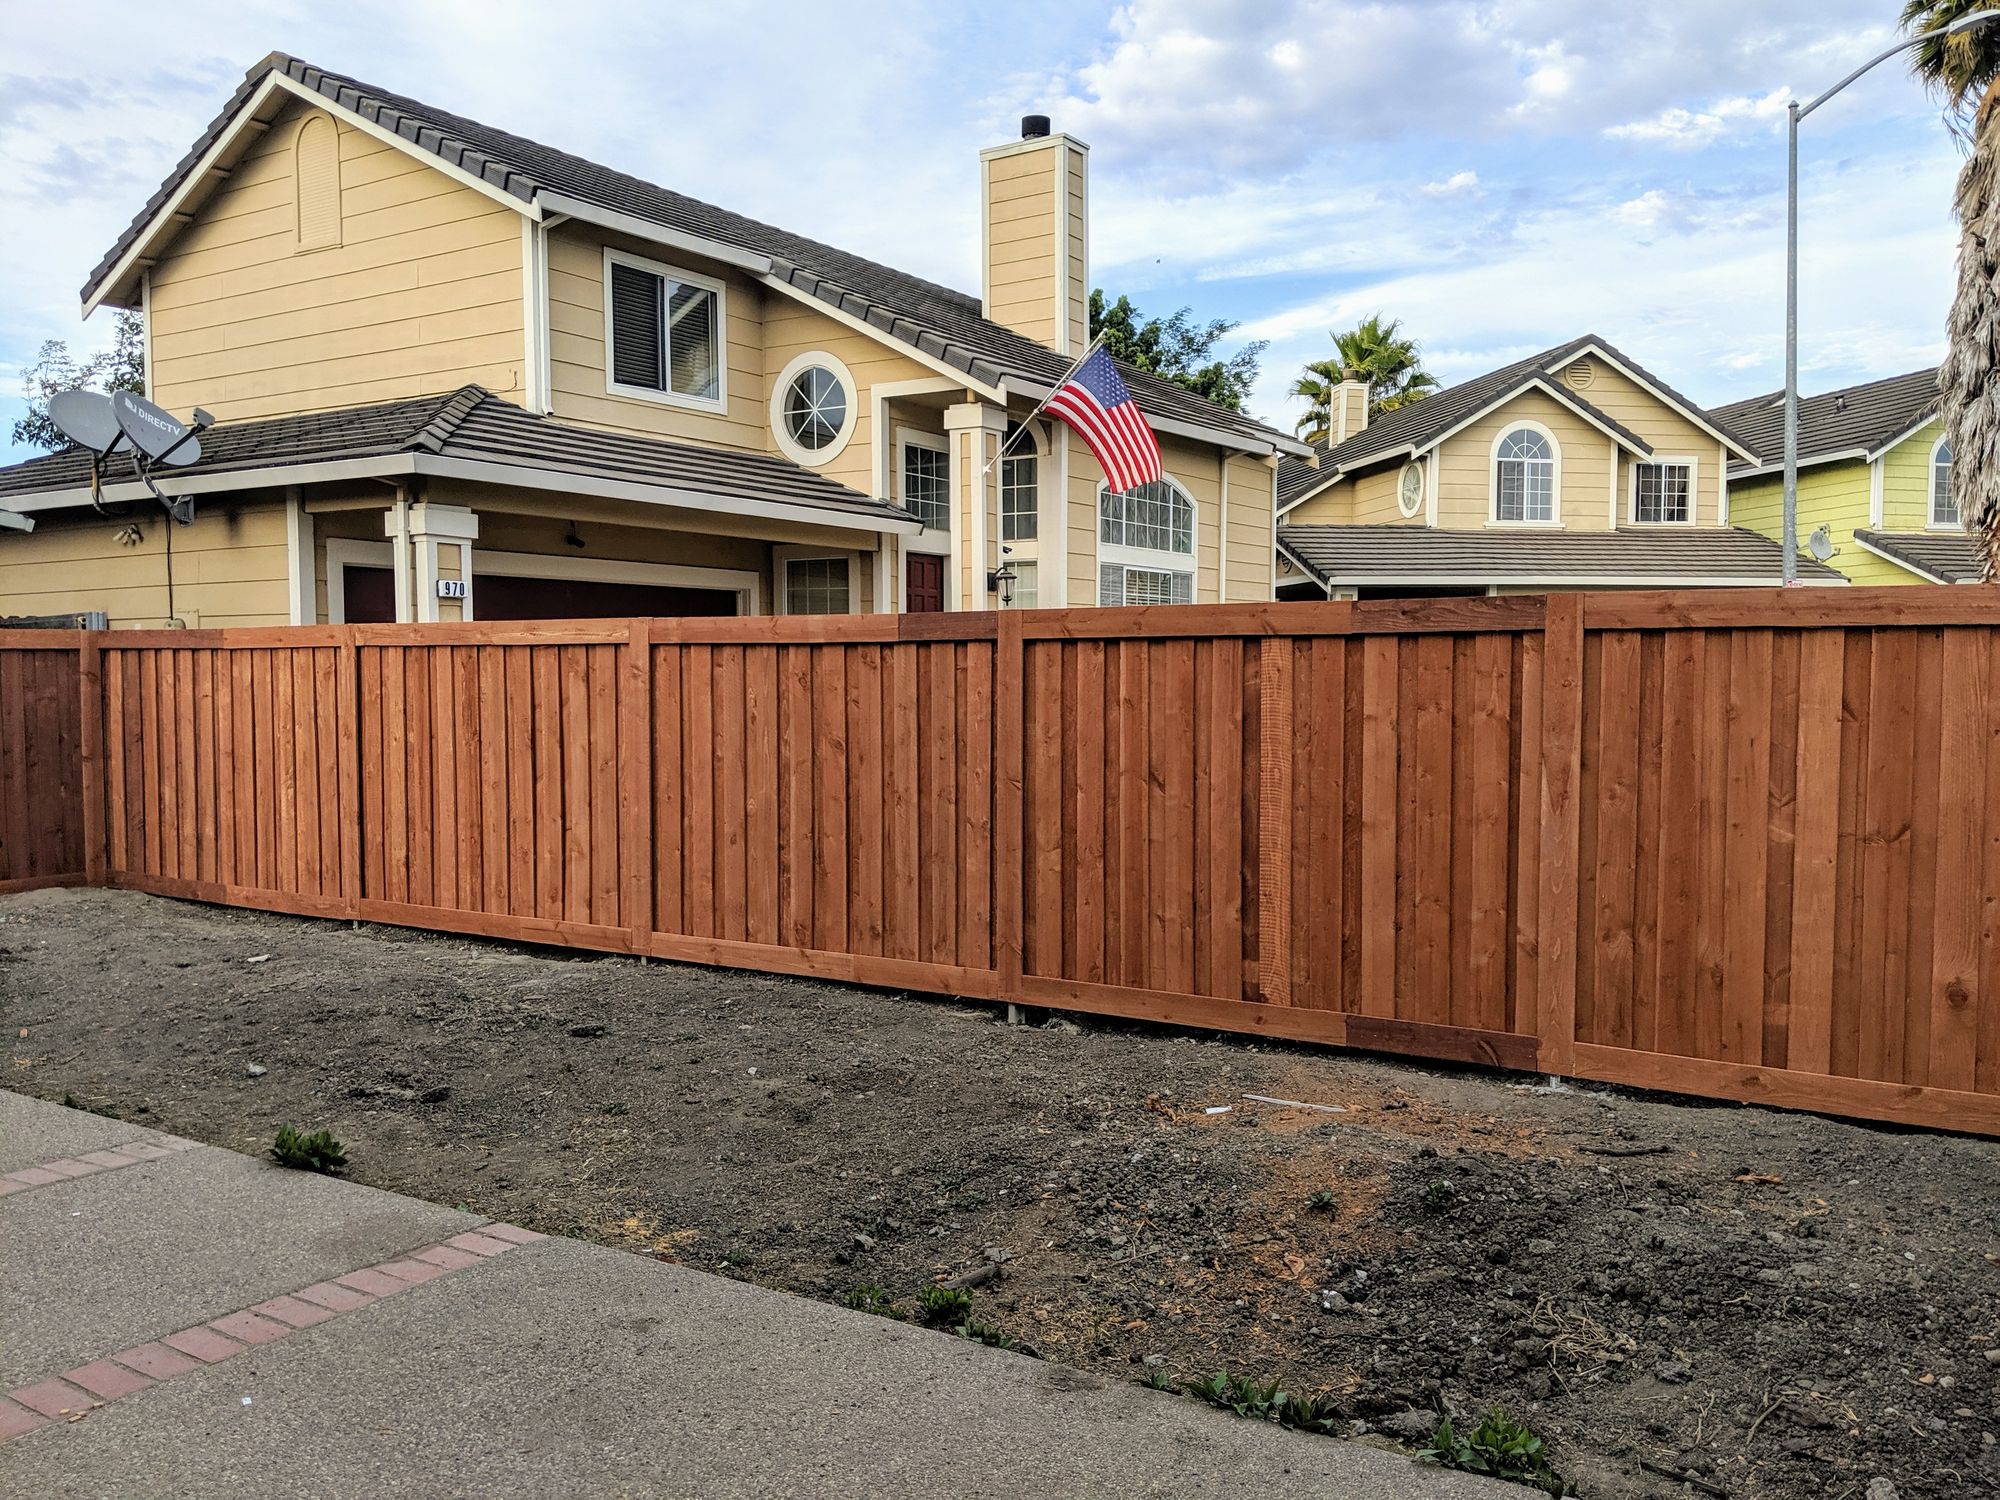
Goals:
- No gaps between boards
- Strong, sturdy
- Inexpensive
- Looks good on both sides
- Simple to build
- Long-lasting
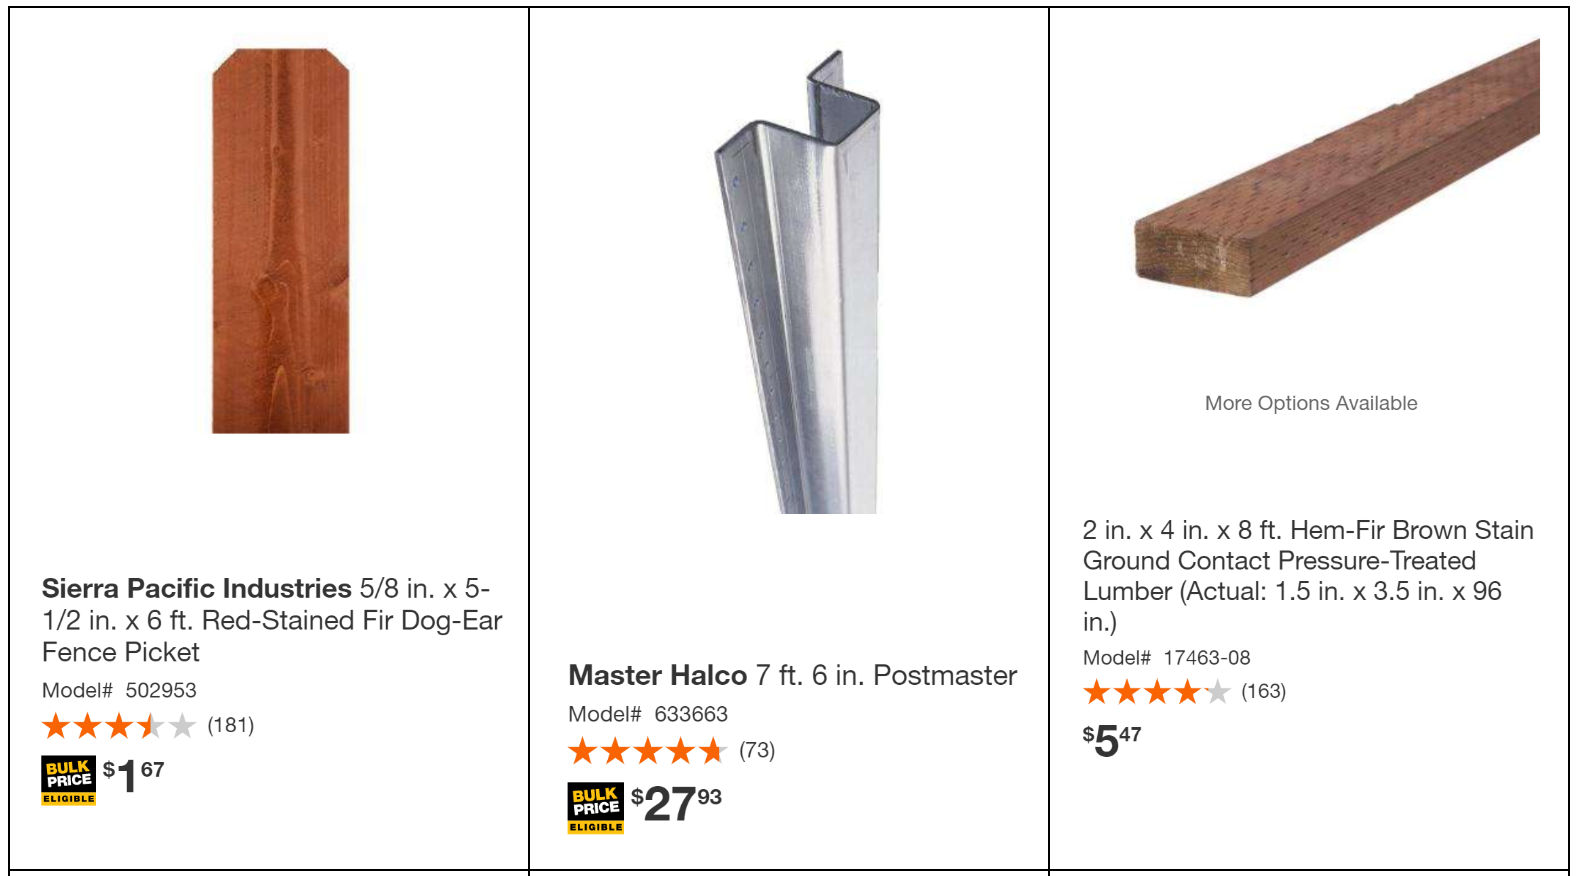
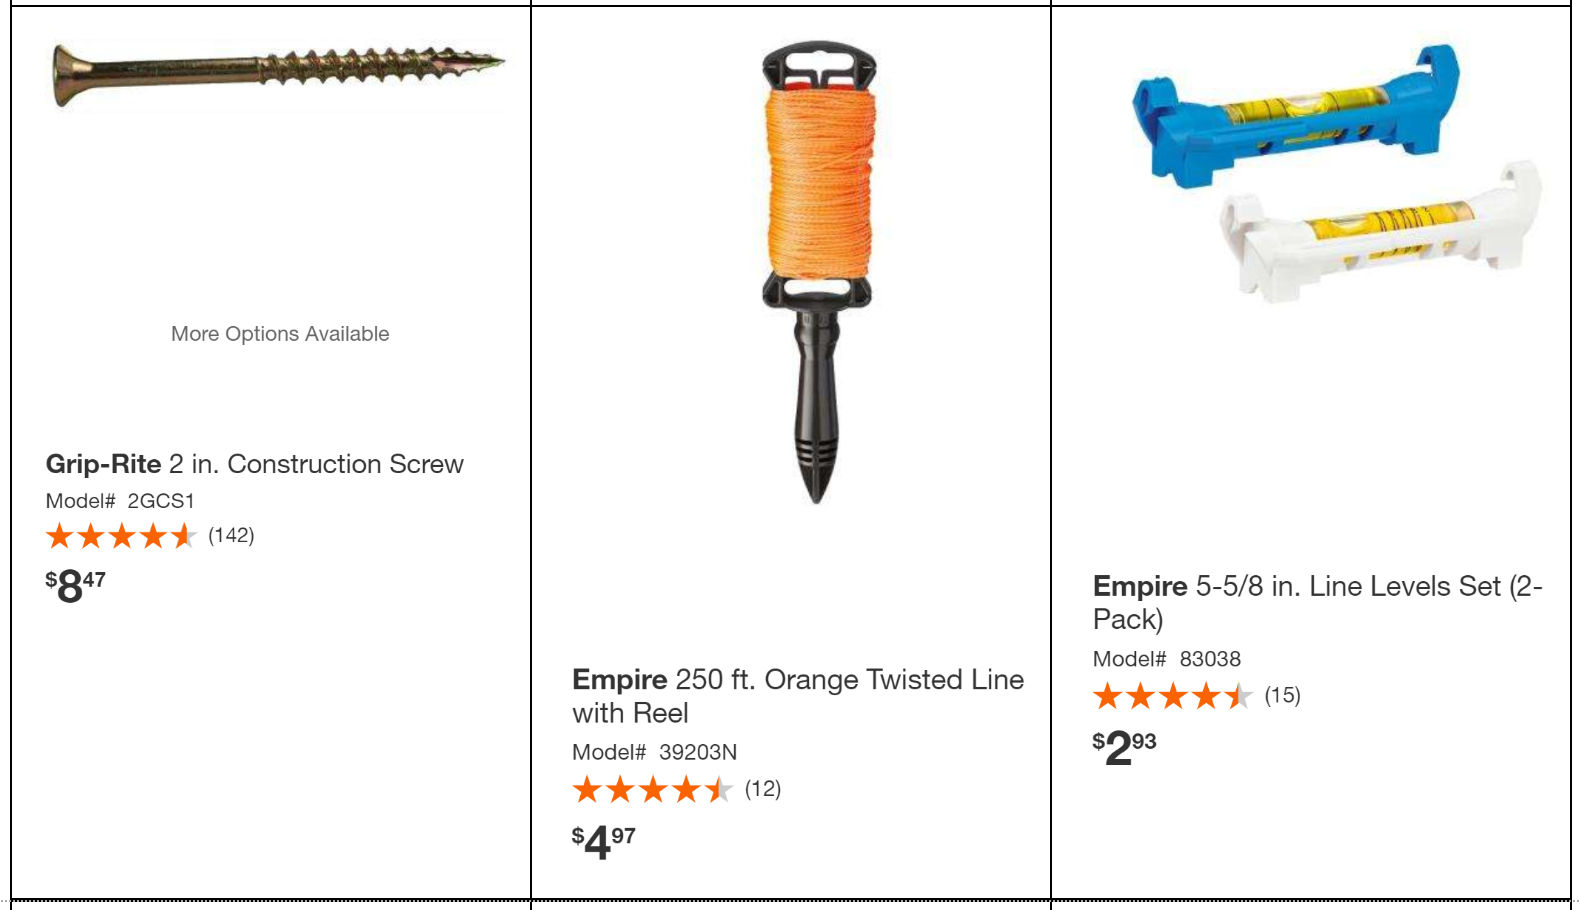
Materials
- Steel fence post
- Wood fence boards (store these indoors or in the shade as they warp easily)
- Pressure treated 2x4x8
- Star / Torx Screws (these screws don’t strip as easily as Philips screws)
- Twisted line
- Line level
- Post level
- Fast-setting fence post cement

Wood Post or Steel Post:
Many people use pressure-treated wood posts but though they are cheaper, they do have downsides includng:
- they can rot and decay
- they can warp and bend, especially if you leave them out in the sun and don’t finish the fence right away
- attaching 2x4s to them require toenailing or toescewing nails and screws at an angle or using metal brackets for 2x4s
- if you attach 2x4s to the post and later decide you want to move them up or down, it’s a hassle
Steel posts have holes all along the length on both sides so screwing 2x4s into them are very easy. This saves a lot of time and money from not having to buy a bunch of brackets. Furthermore, there’s no worry about it warping due to the elements.
1. Remove old fence
Use a sawzall, if necessary.
2. Secure string line
Secure the ends of the string line to each end of the fence. Ensure string is taut and that line is level.
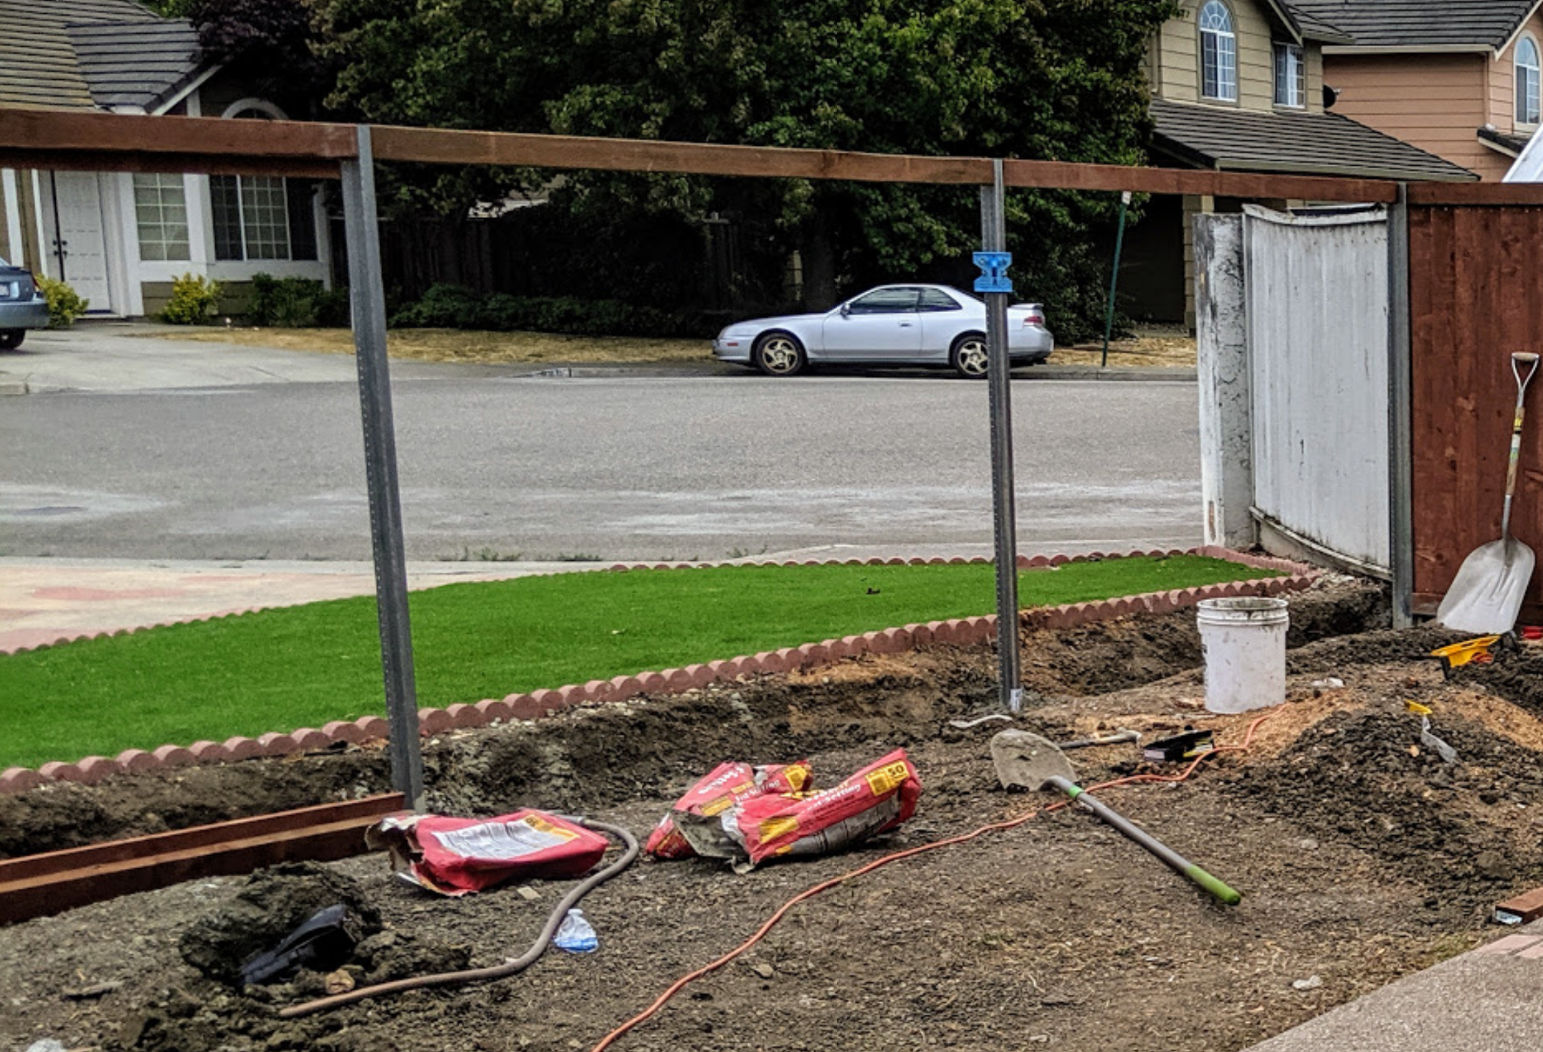
3. Install posts
Digging Holes
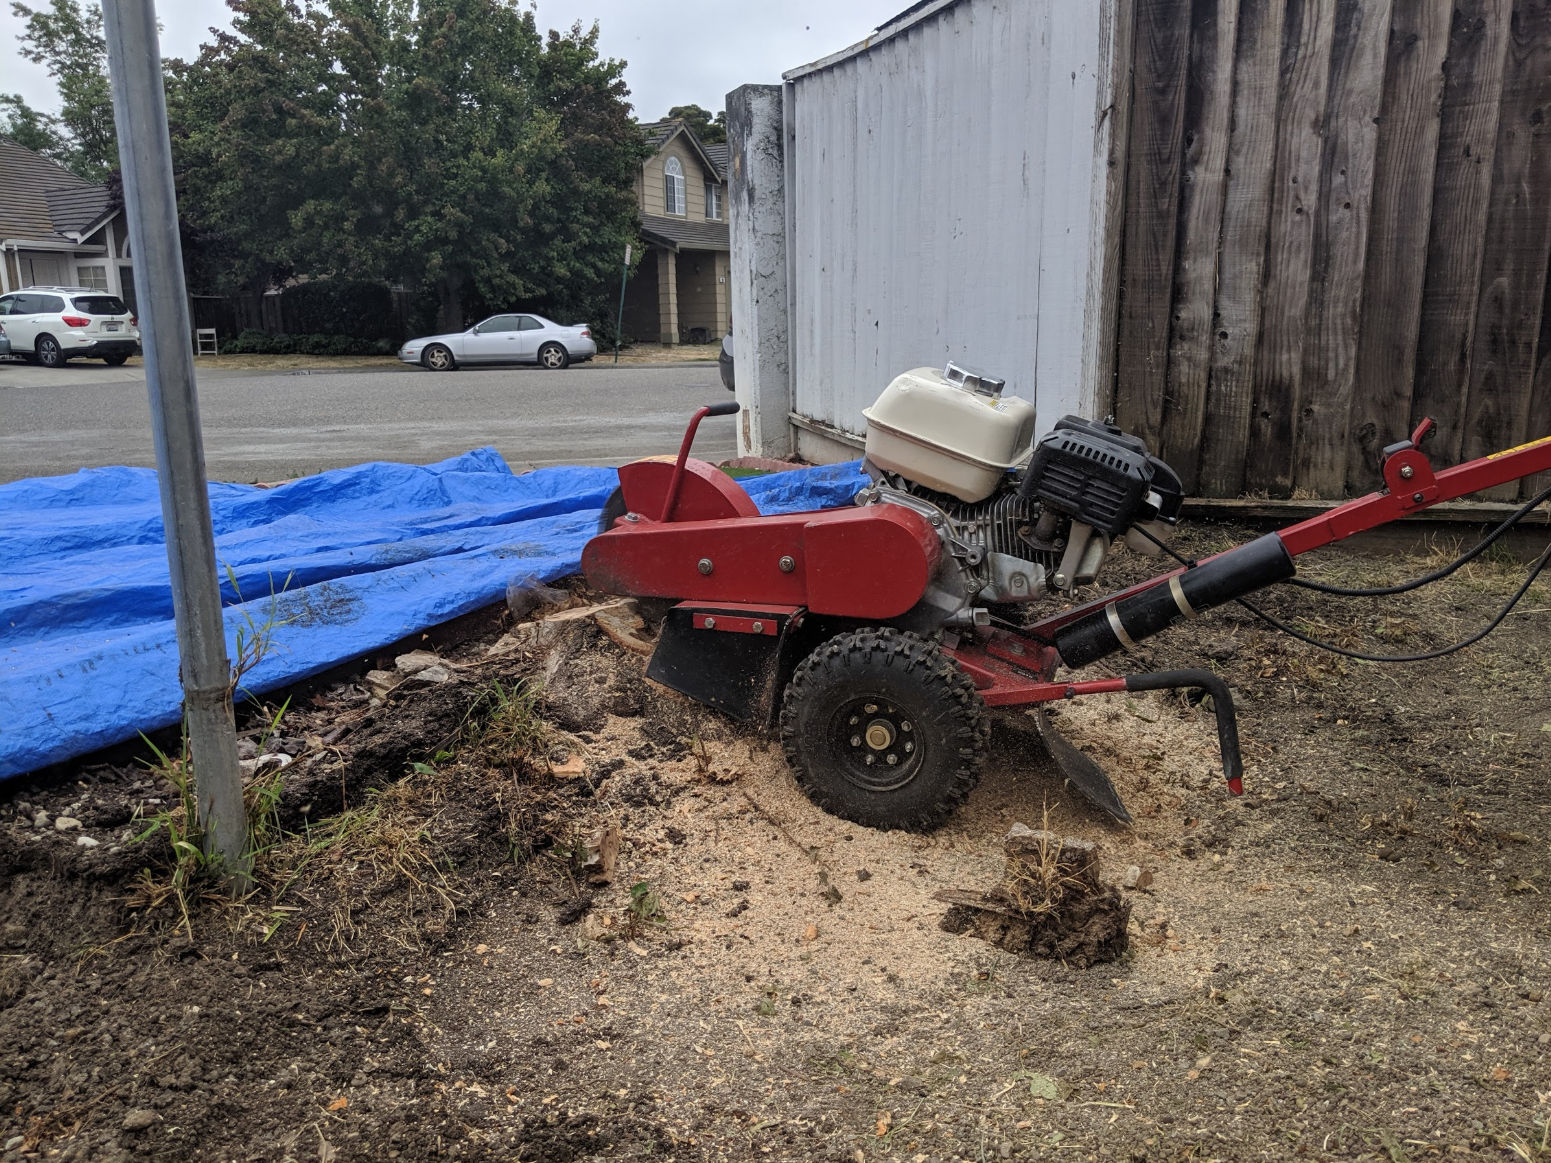
You can rent a gas auger from Home Depot but if your soil is hard clay, it would be easier to rent a medium-duty jackhammer to break the dirt to create a hole. If there are tree stumps, you can rent a stump grinder to grind the stump away.

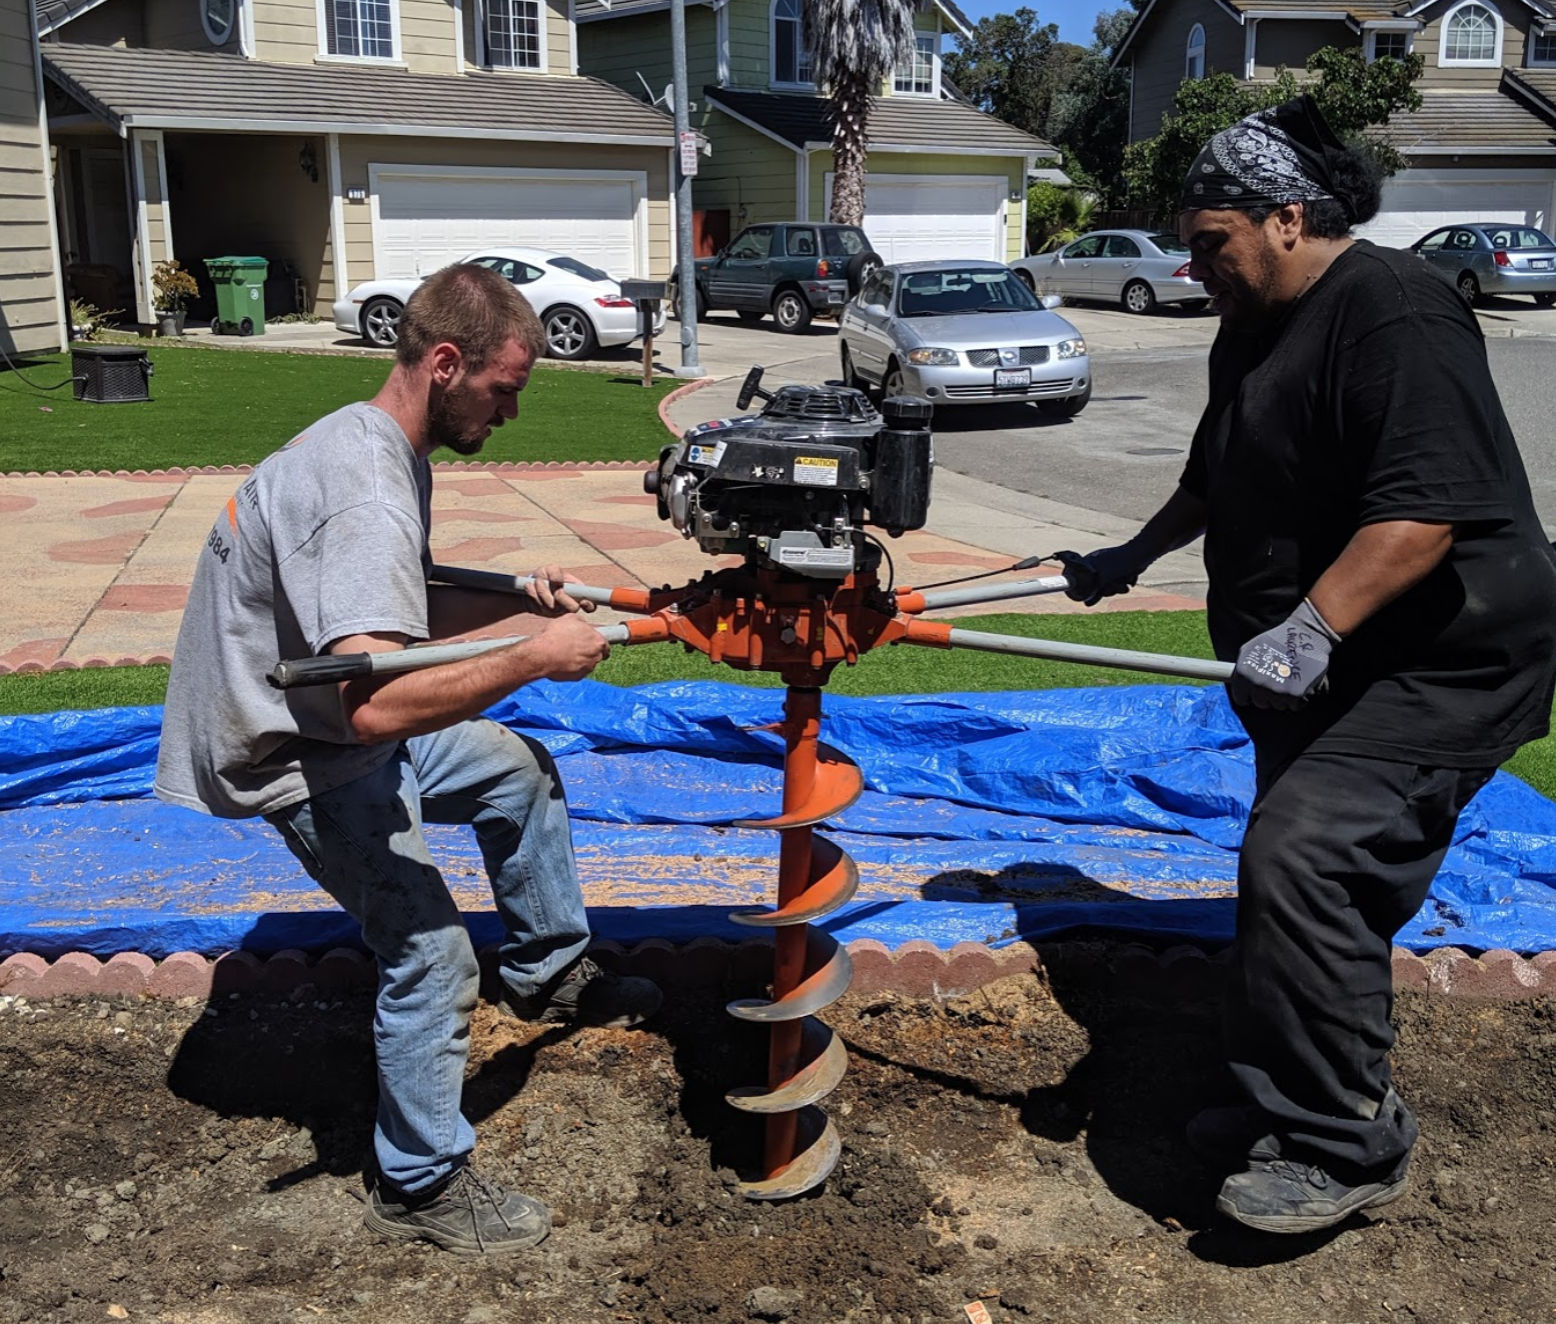
If the soil is too hard for the auger to go deep, fill the partial hole with water and wait until the water seaps into the ground. Then you should be able to auger with ease.


Posts
You can use 4×4 pressure treated wood posts with steel brackets to hold 2x4s or you can use steel fence posts that come with many holes to hold the 2x4s. The steel fence posts are about 3 times more expensive but they should last longer.
Position and Secure Posts
Insert post into hole and
- Ensure the same top edge of each post touches the string line to ensure plumb
- use fence post level to ensure plumb
- install 2×4 horizontal rails to bottom and top of posts. the length of the top and bottom rails are supposed to be the same.
- use level on top of 2x4s to ensure level
- mix cement with water and pour into hole
- If, for some reason, some posts are too tall, you can cut the tops off using a sawzall with a metal blade


Trimming 4×4 wood posts
If you use 4×4 pressure-treated wood posts instead of metal posts, you can cut the tops if they are too long by screwing two metal plates on 2 sides and using a long wood saw blade and a reciprocating saw to make a straight cut in one go.


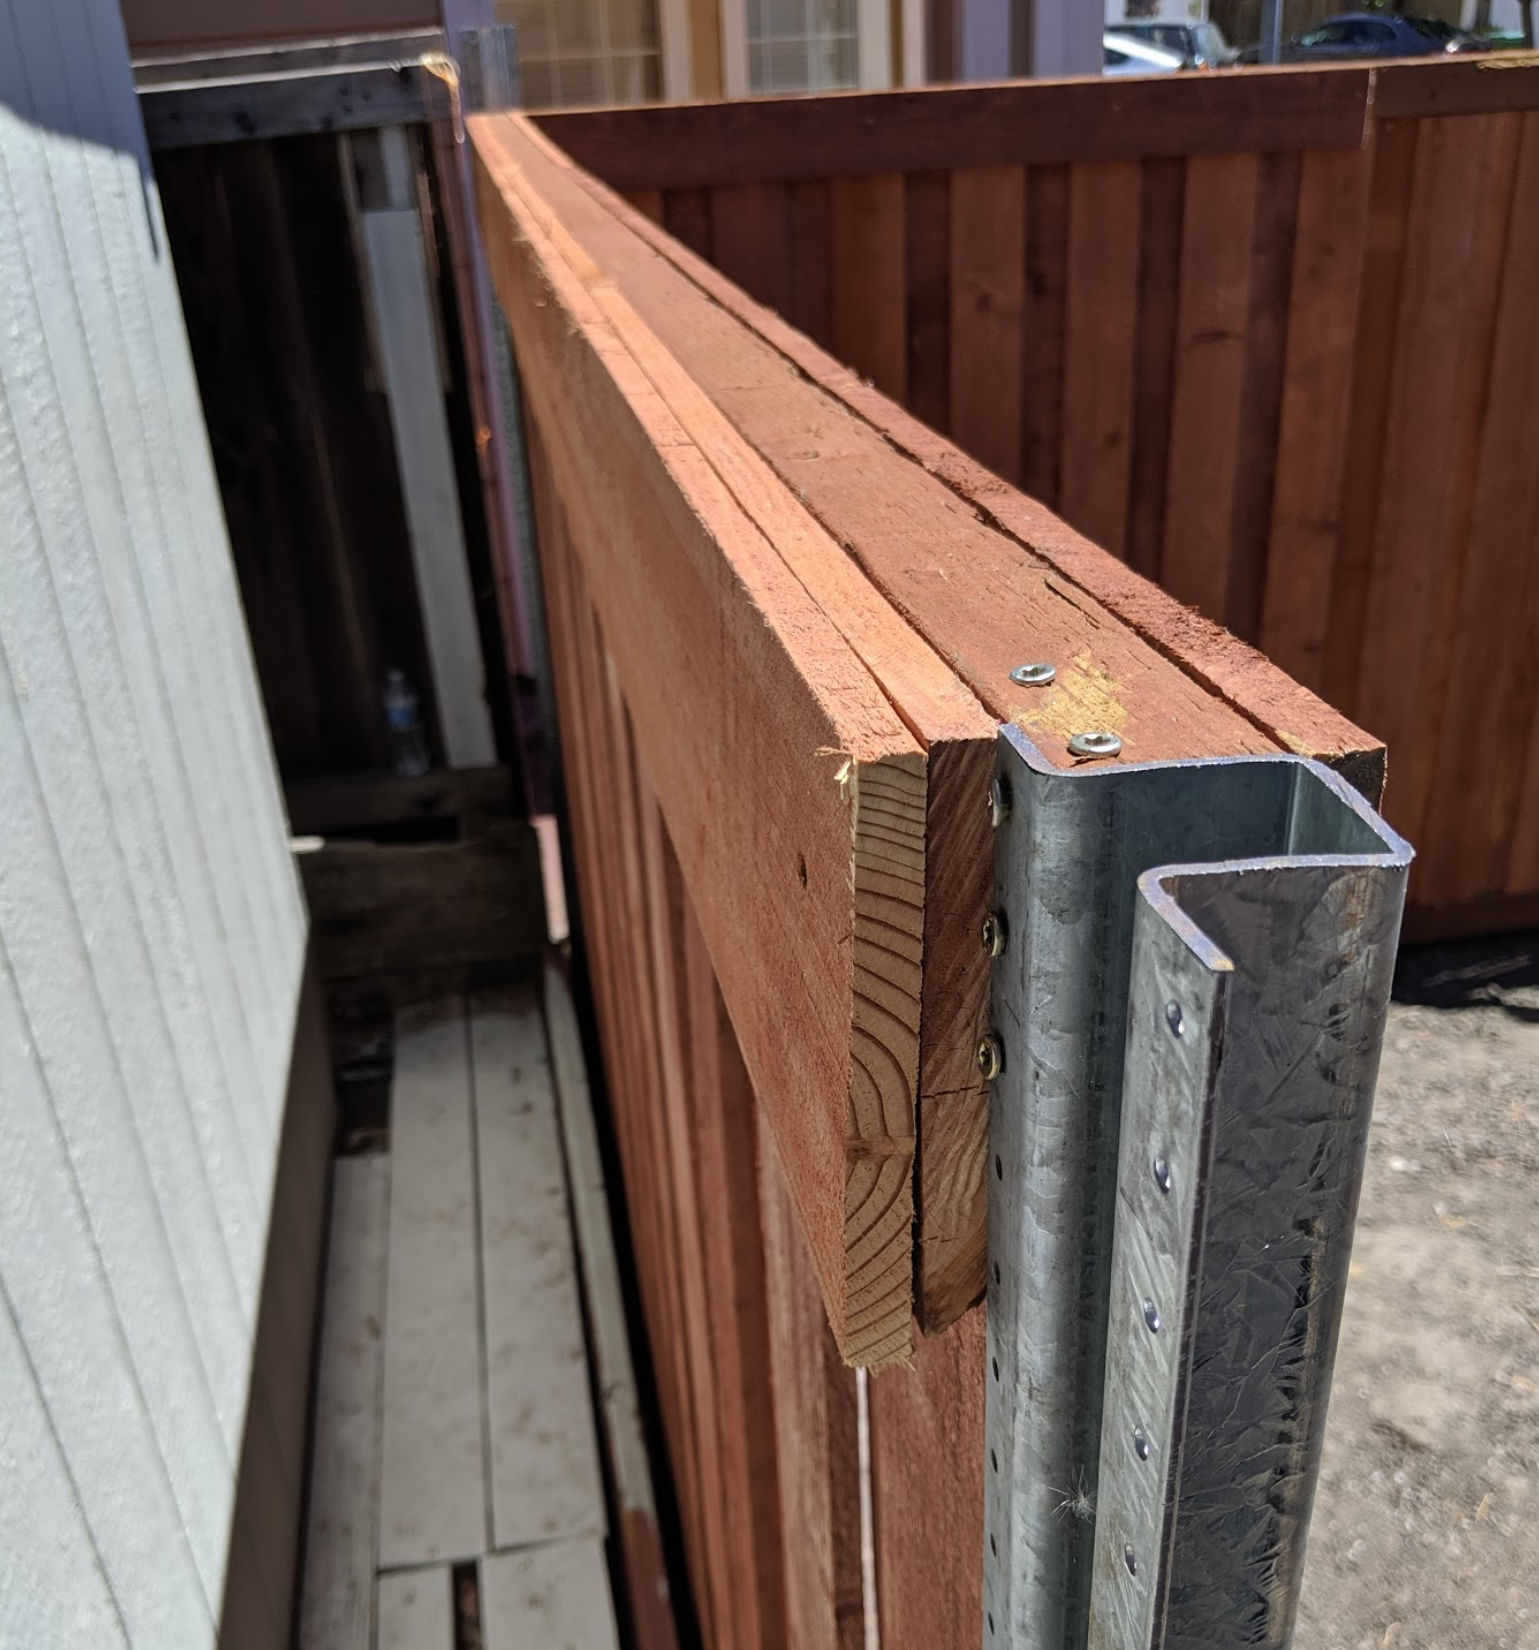
4. Install header and footer fascia boards
On non-good-neighbor fences, the 2x4s are called backer rails as the fence boards (pickets) are screwed into them. In this good-neighbor fence design, the fence boards will stand between the 2x4s and screwed into fence boards that are screwed into the 2x4s. I’ll call these horizontal fence boards “fascia boards”. Cut off dog ears from some fence boards and screw the boards onto the top and bottom 2x4s on your neighbor’s side. Do this twice so that the header and footer boards are twice as thick for the vertical fence boards to be screwed in deep.

Alternatively, you can screw the fence boards directly into the top and bottom rails and then screw the top and bottom fascia boards over the fence boards.

5. Install fence boards
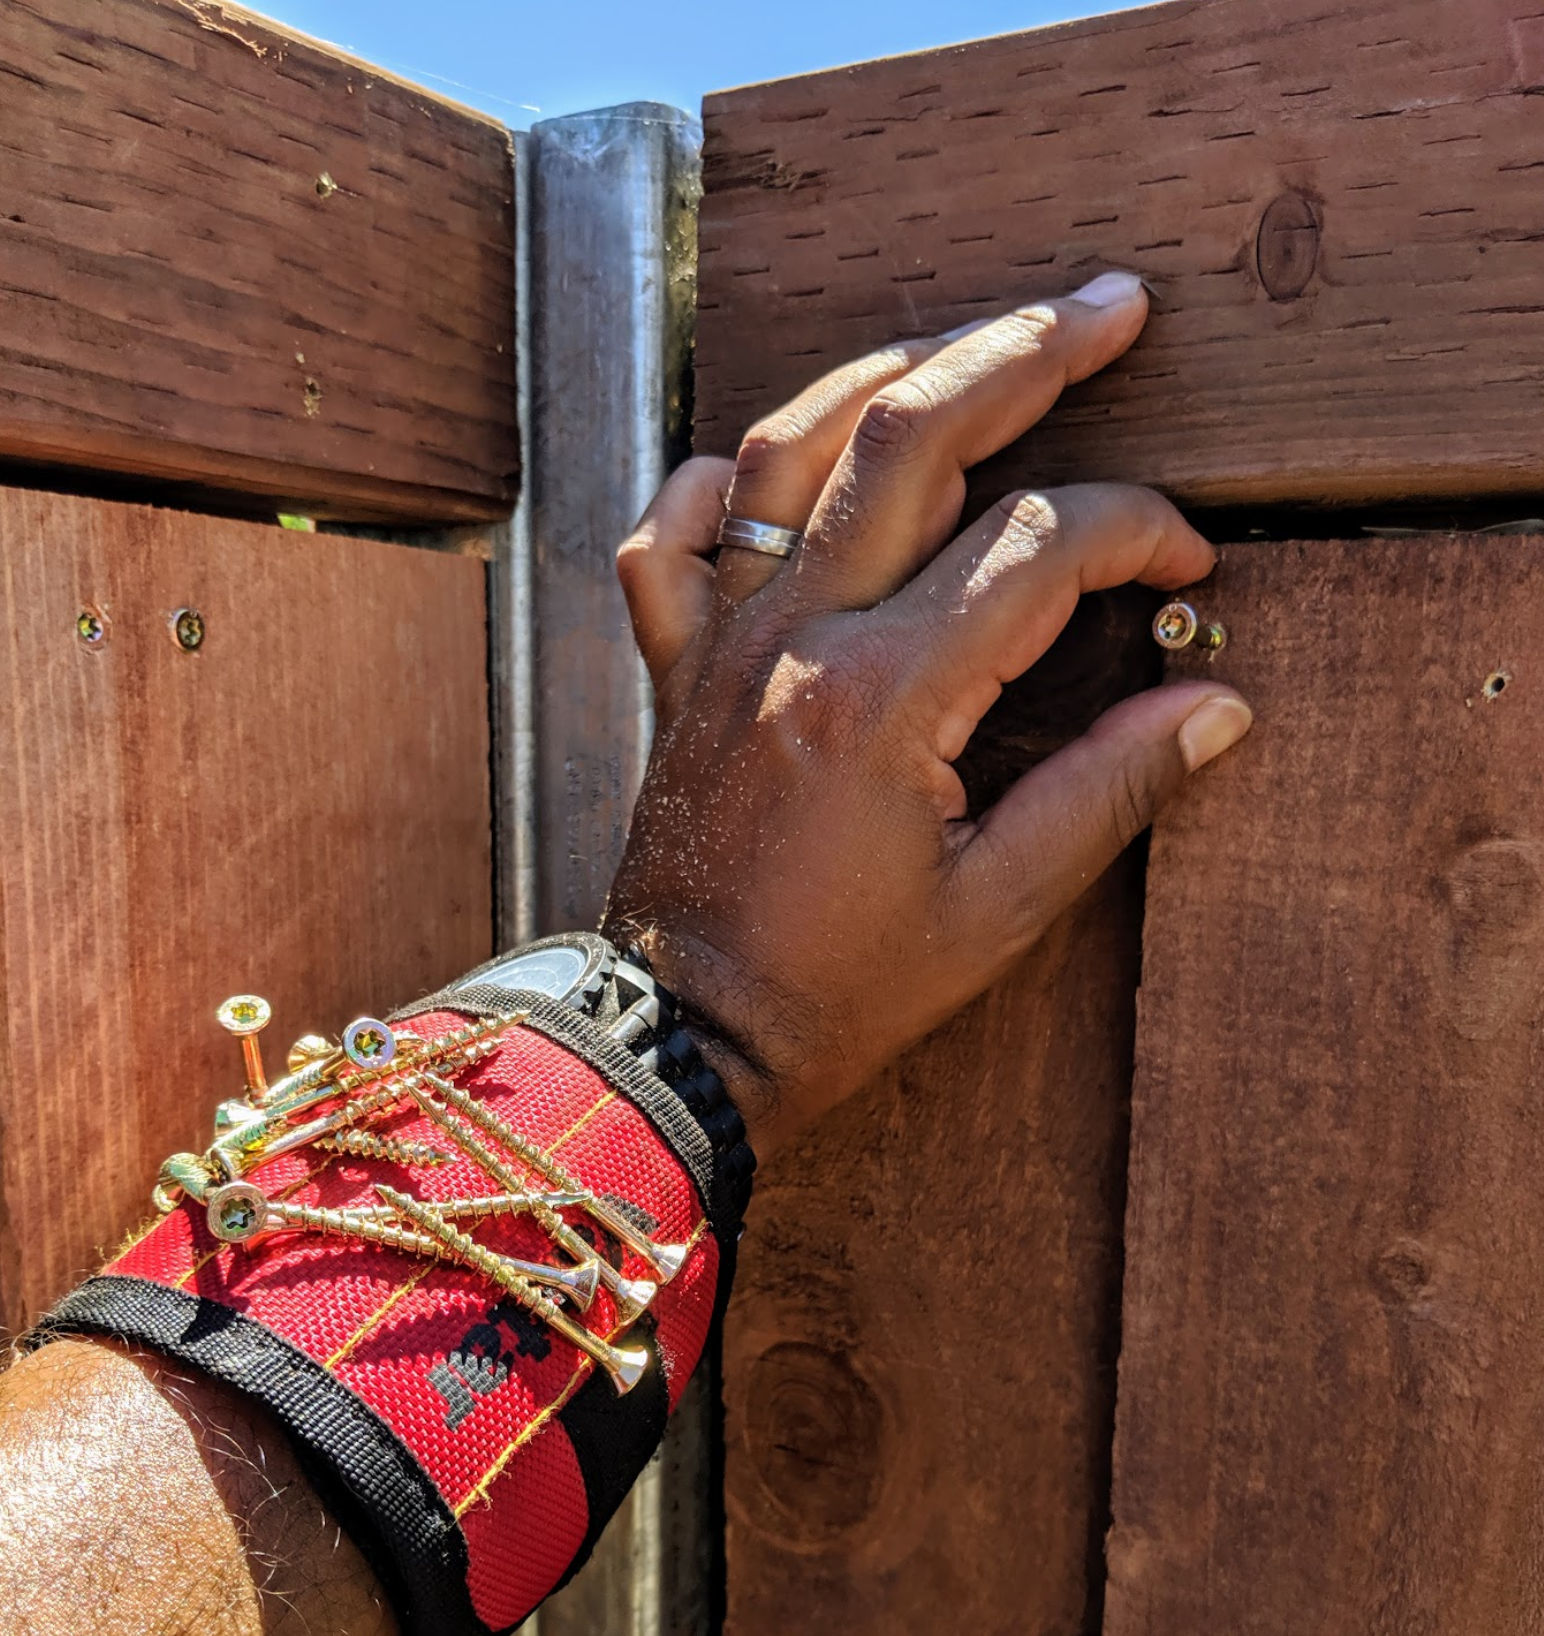
Cut the fence boards to fit between the top and bottom 2x4s. Then screw the fence boards into the top and bottom double fascia boards. Screw in the center of the boards since the sides will be used for screws in the overlapping boards. Since each board is 5.5 inches wide, use a spacer piece of wood 3.25 inches wide to easily create a gap between each board. These gaps will be covered with fence boards that are 5.5 inches wide which allows 1.125 inches on each side to screw into the boards behind them.


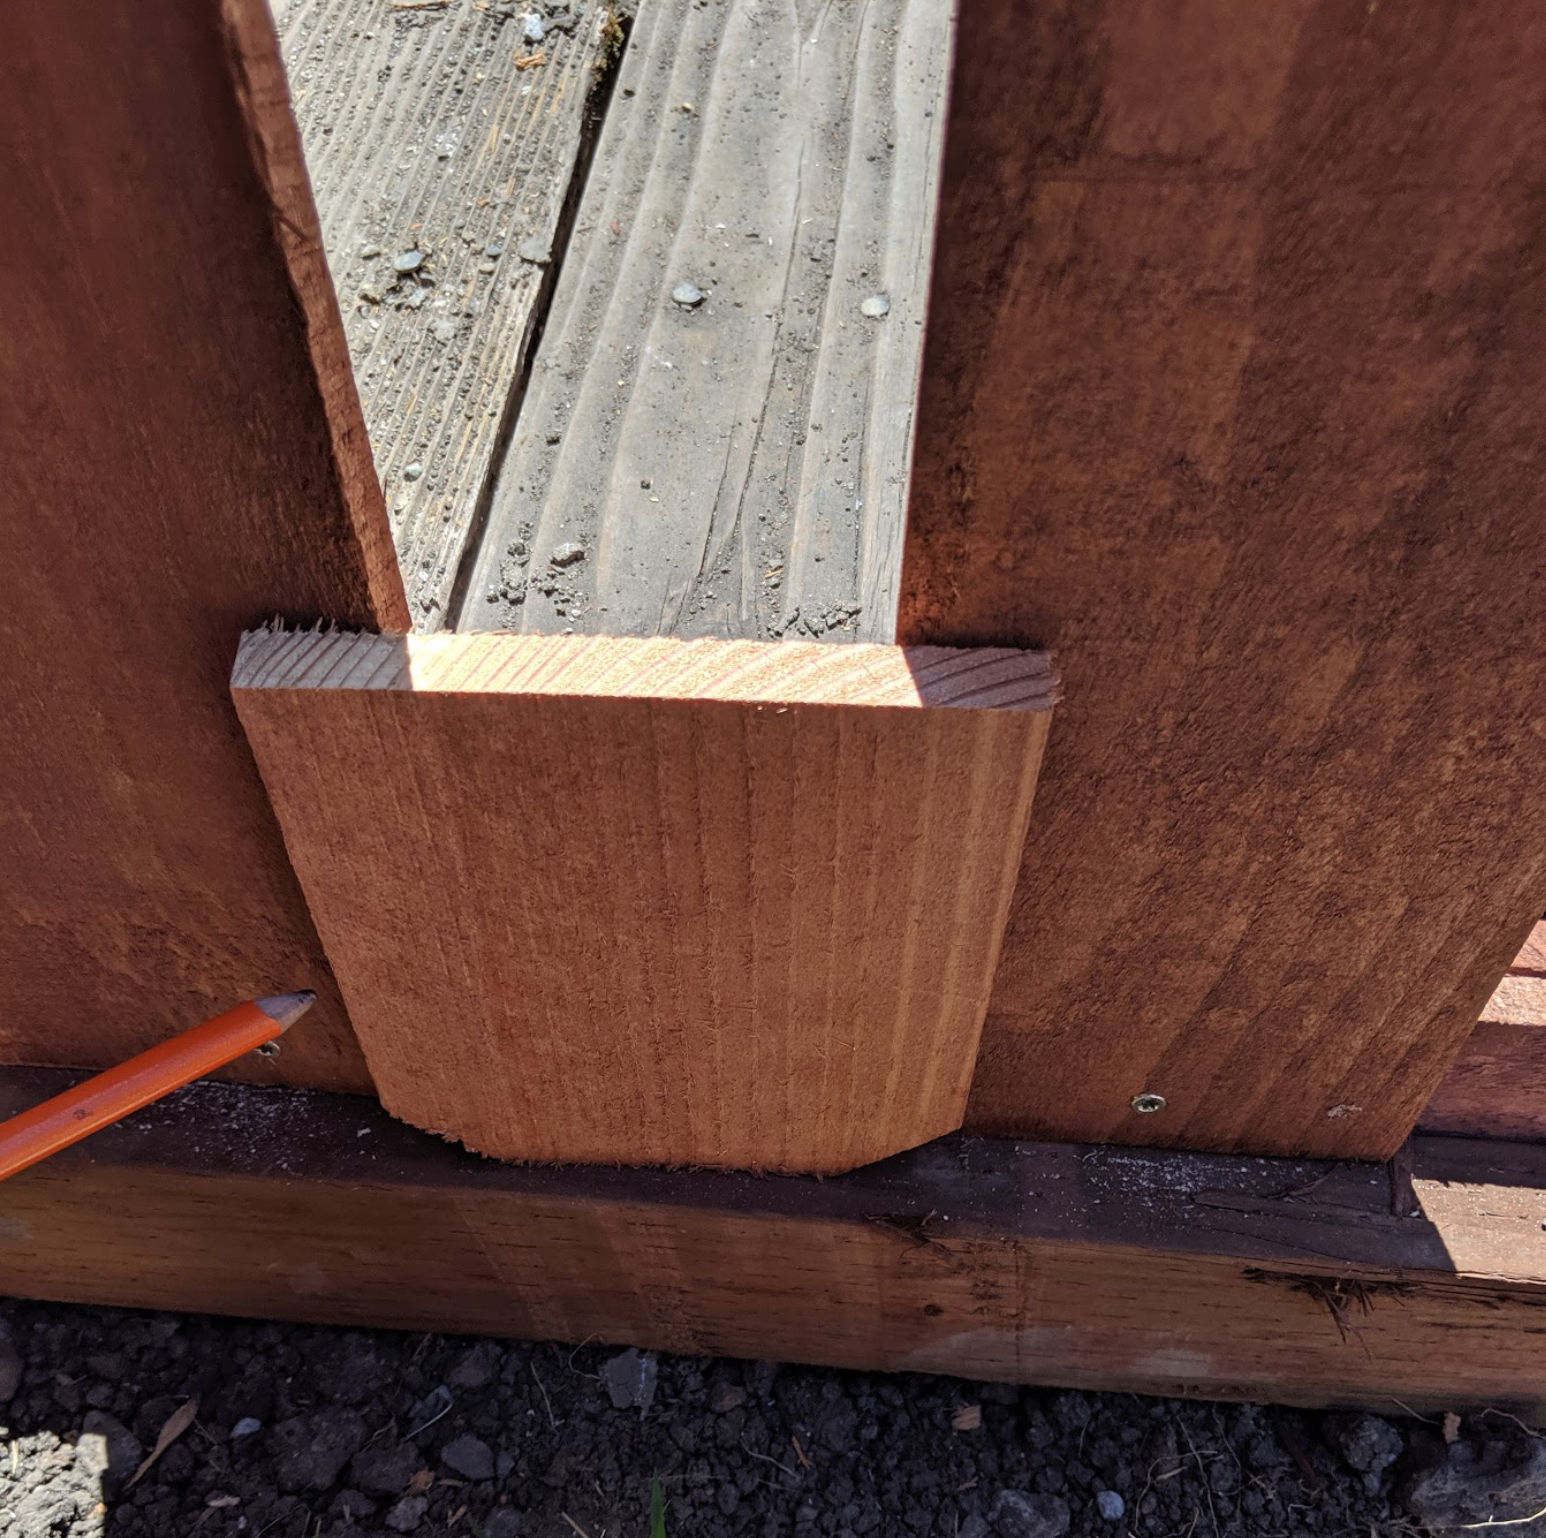
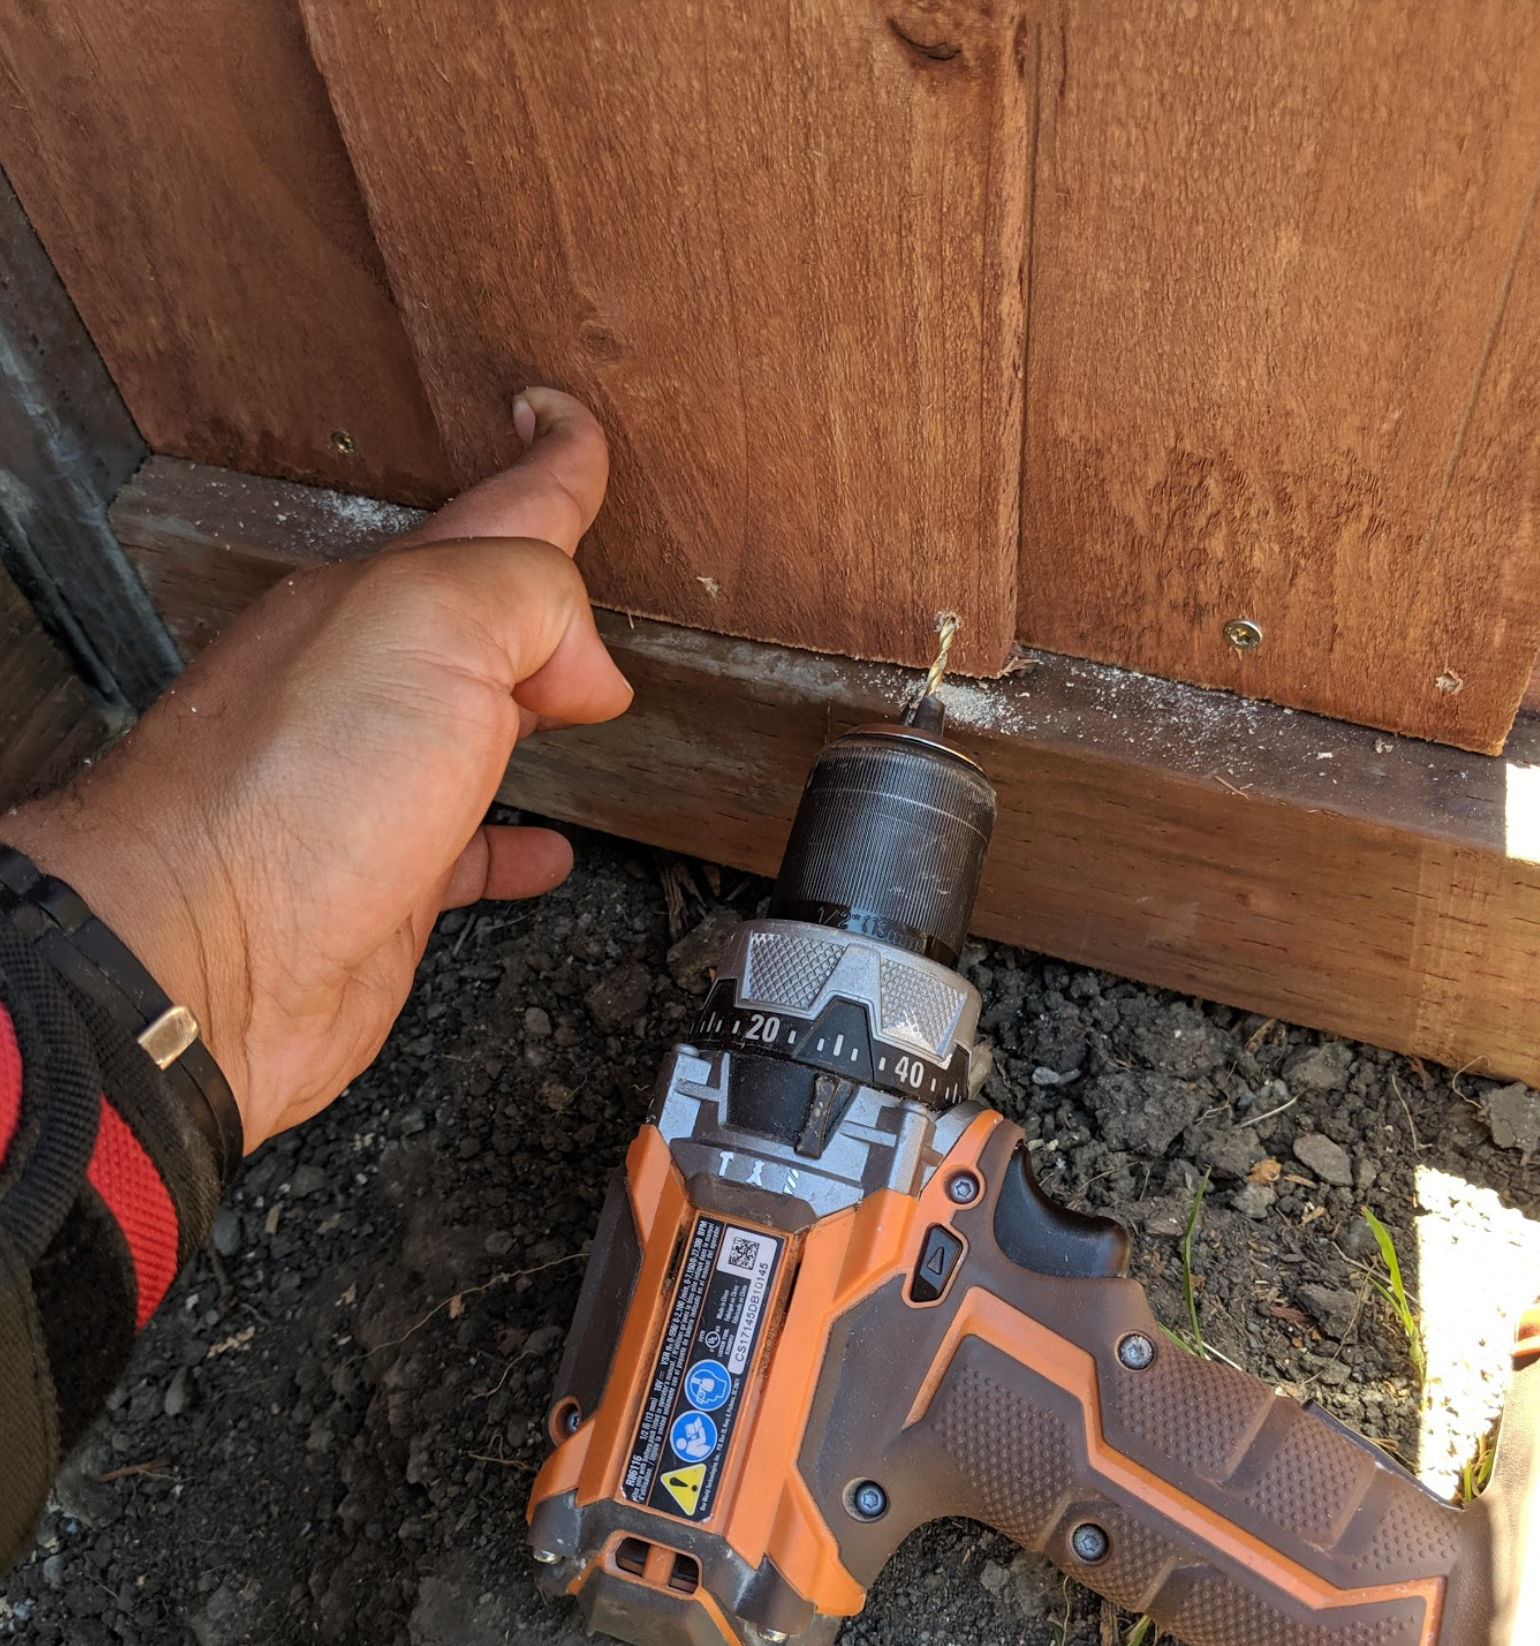
Important: Before screwing in any boards, drill a pilot hole first to prevent the wood from splitting. The picture below shows the board splitting because there was no pilot hole. The screw pushed the board apart causing it to split.

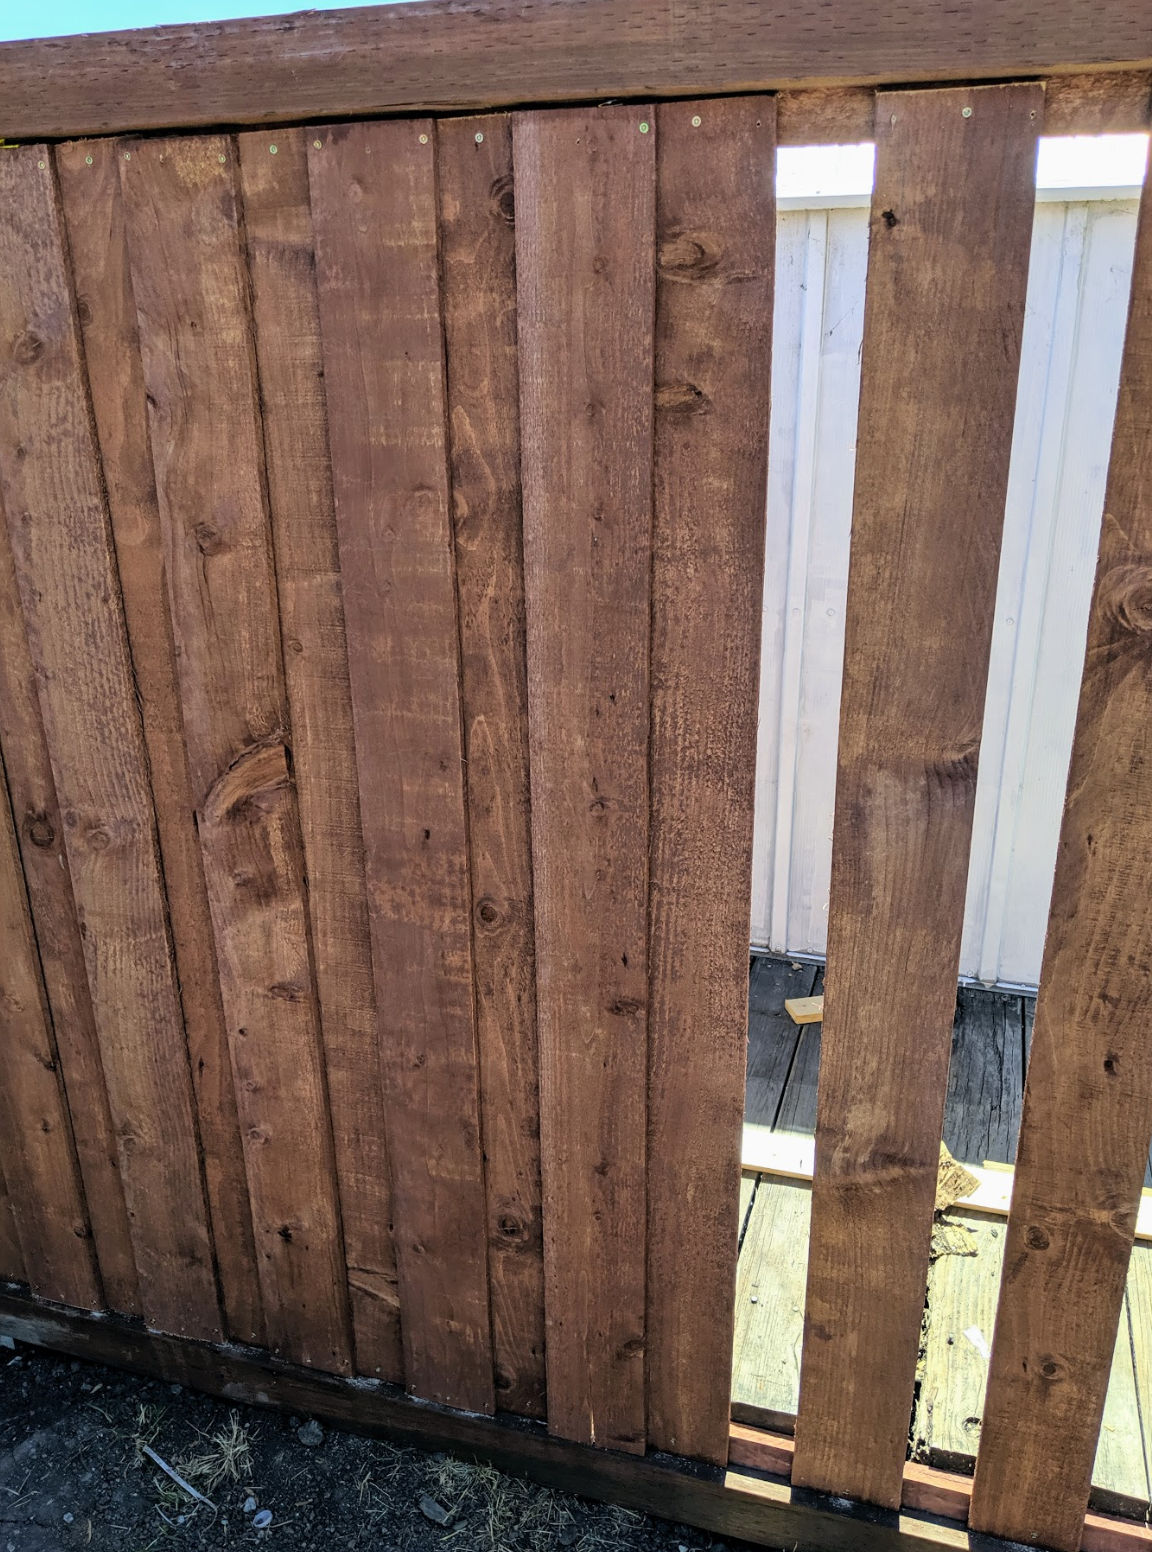
6. Mark position of overlapping fence boards
To ensure overlapping boards are centered over the gaps, use scrap fence board wood and draw lines along the left and right.
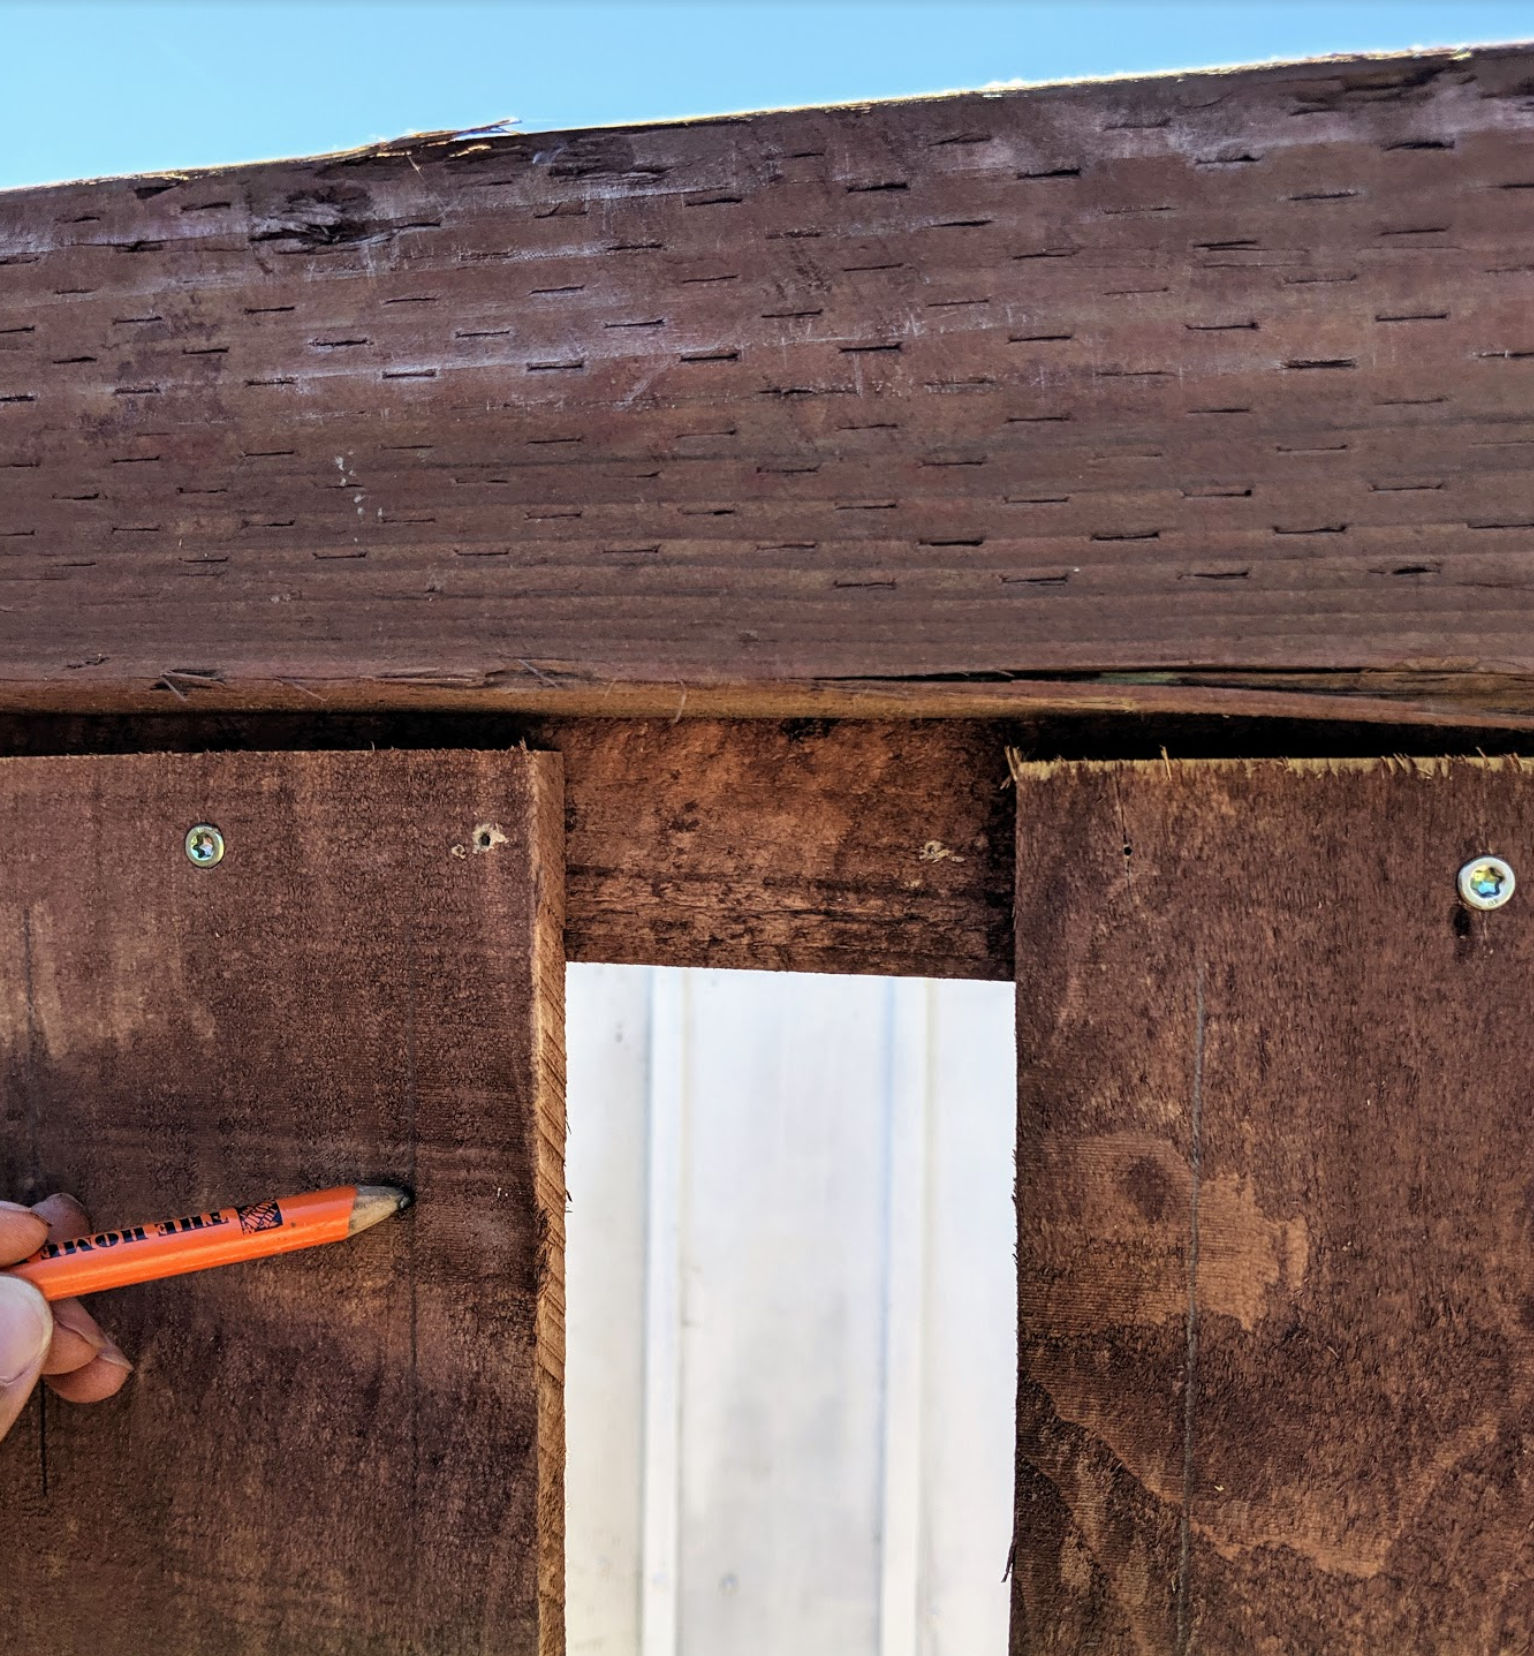
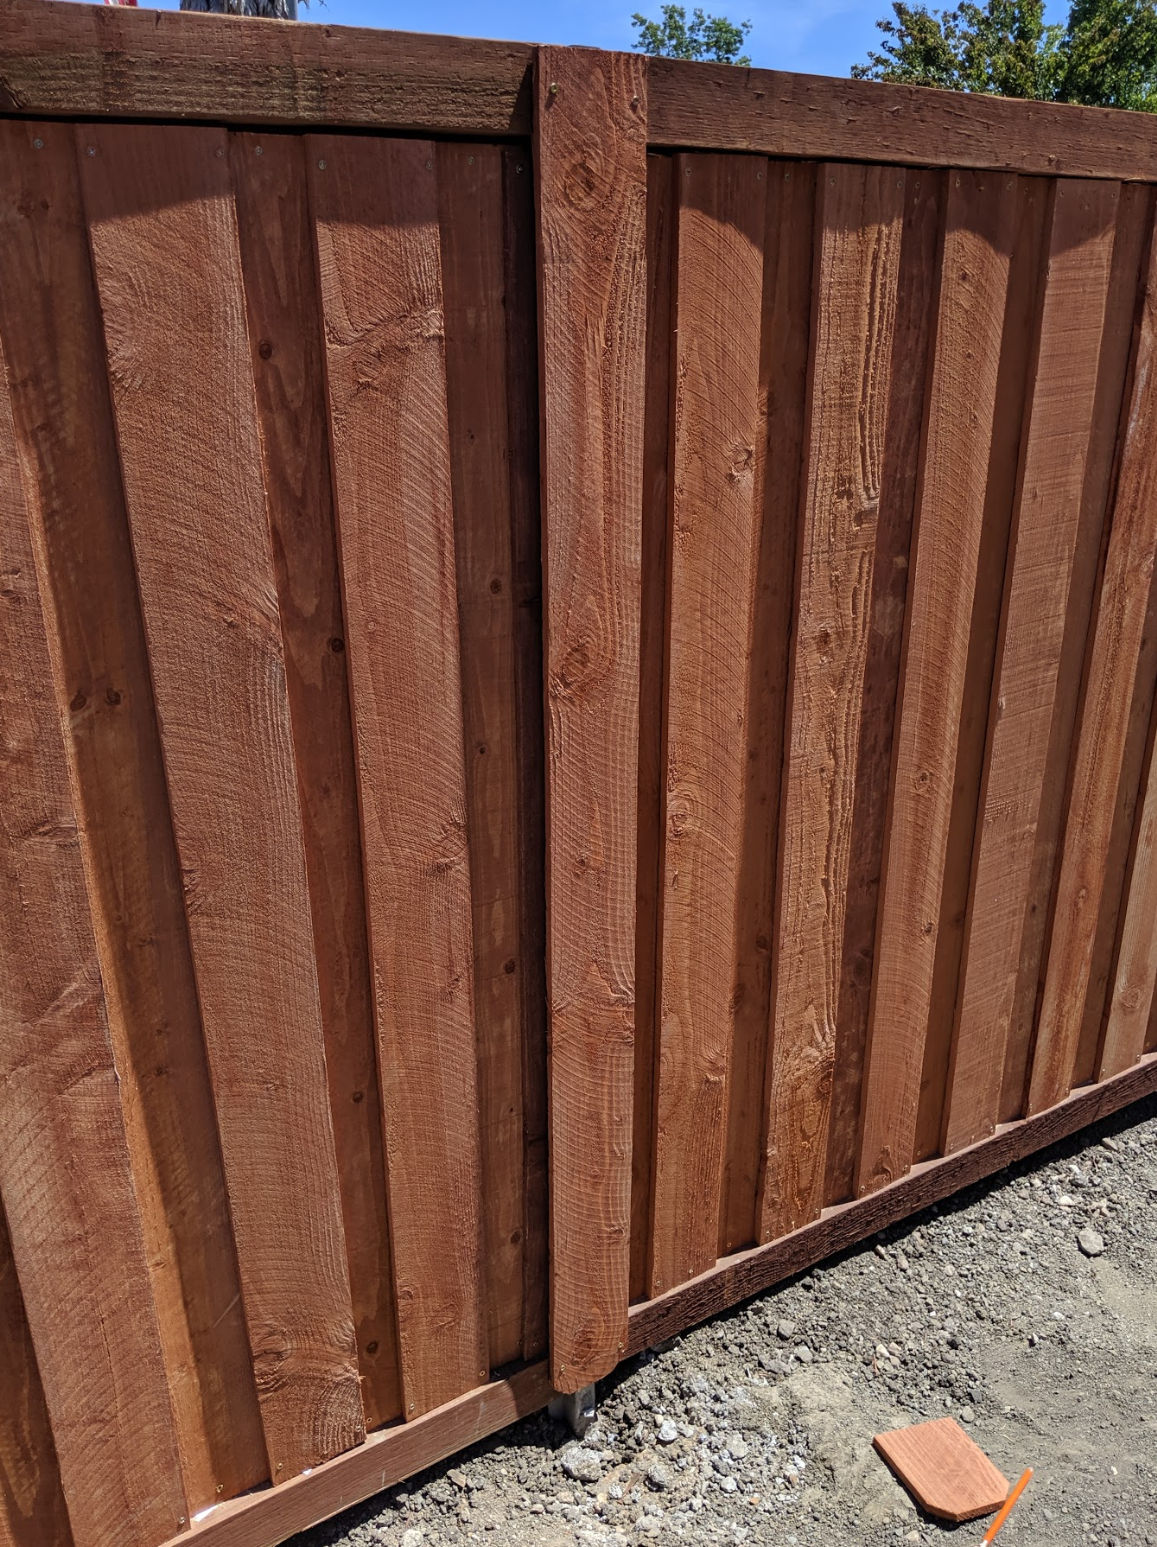
7. Install overlapping fence boards
Position overlapping fence boards between the lines. Then, screw in the top right corner but leave the top left corner unscrewed until you screw either the bottom left and right corners. This will allow you to tilt the bottom of the board to fit between the pencil marks and fasten the bottom in before it moves out of place.
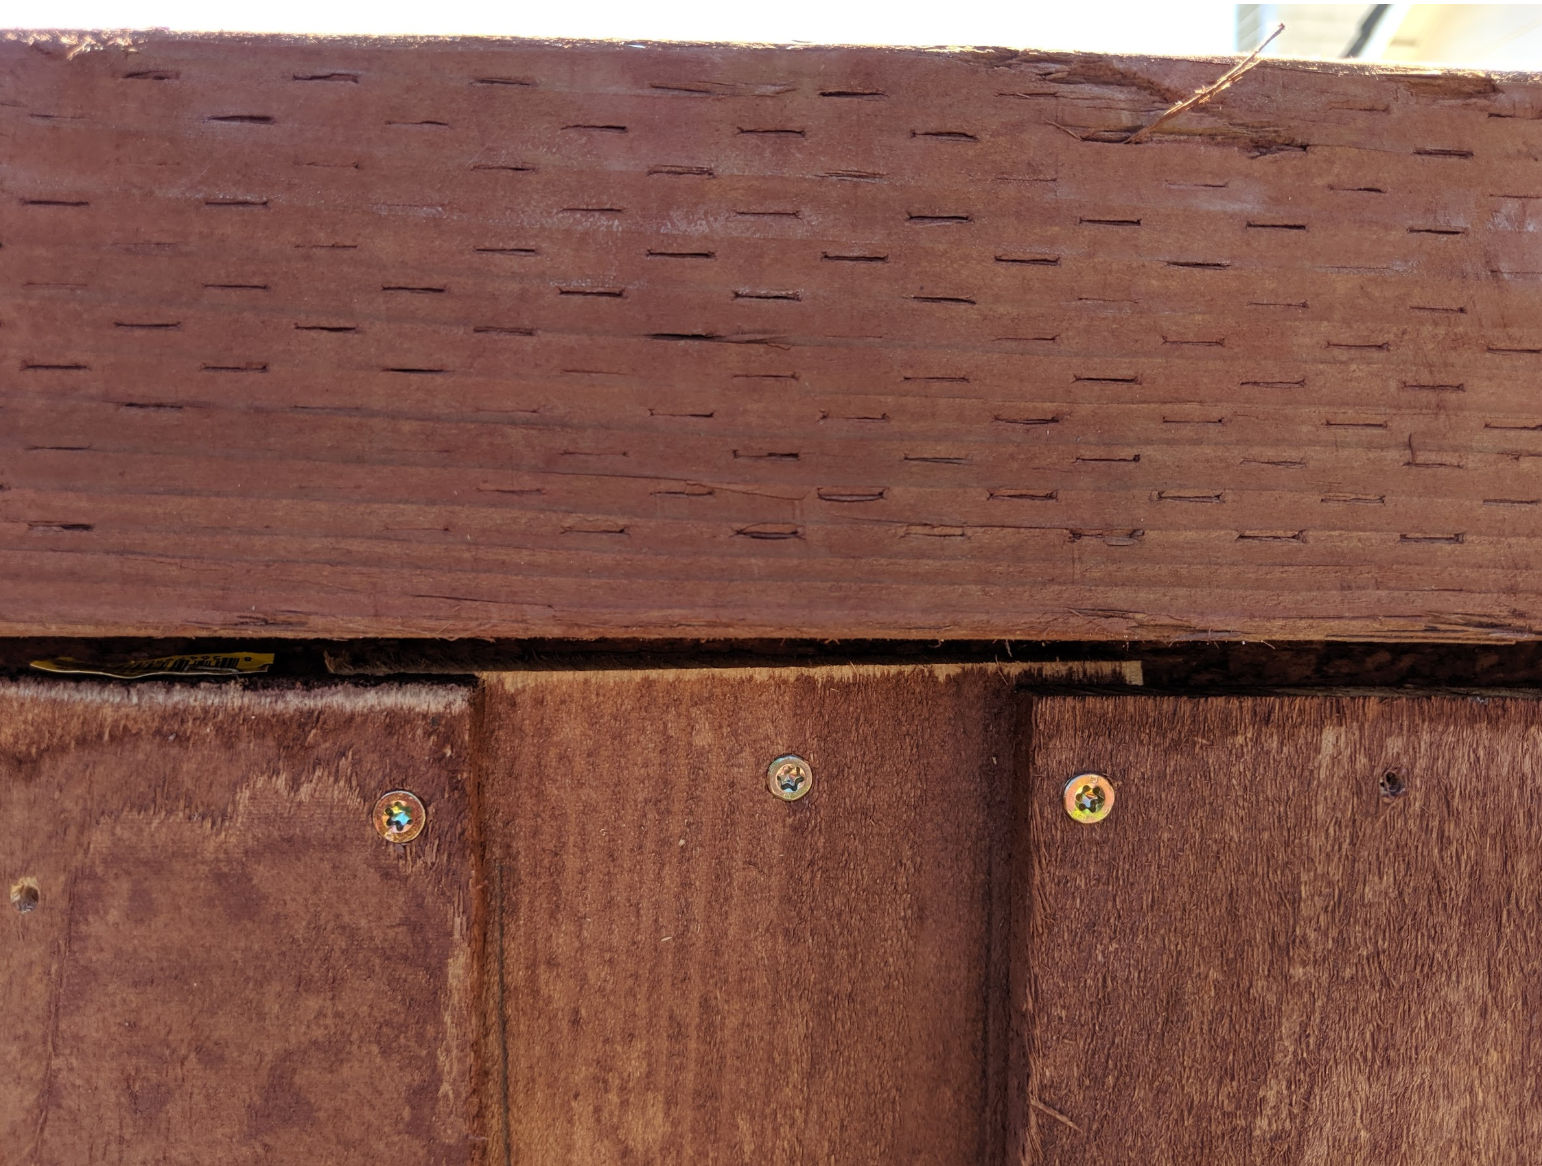

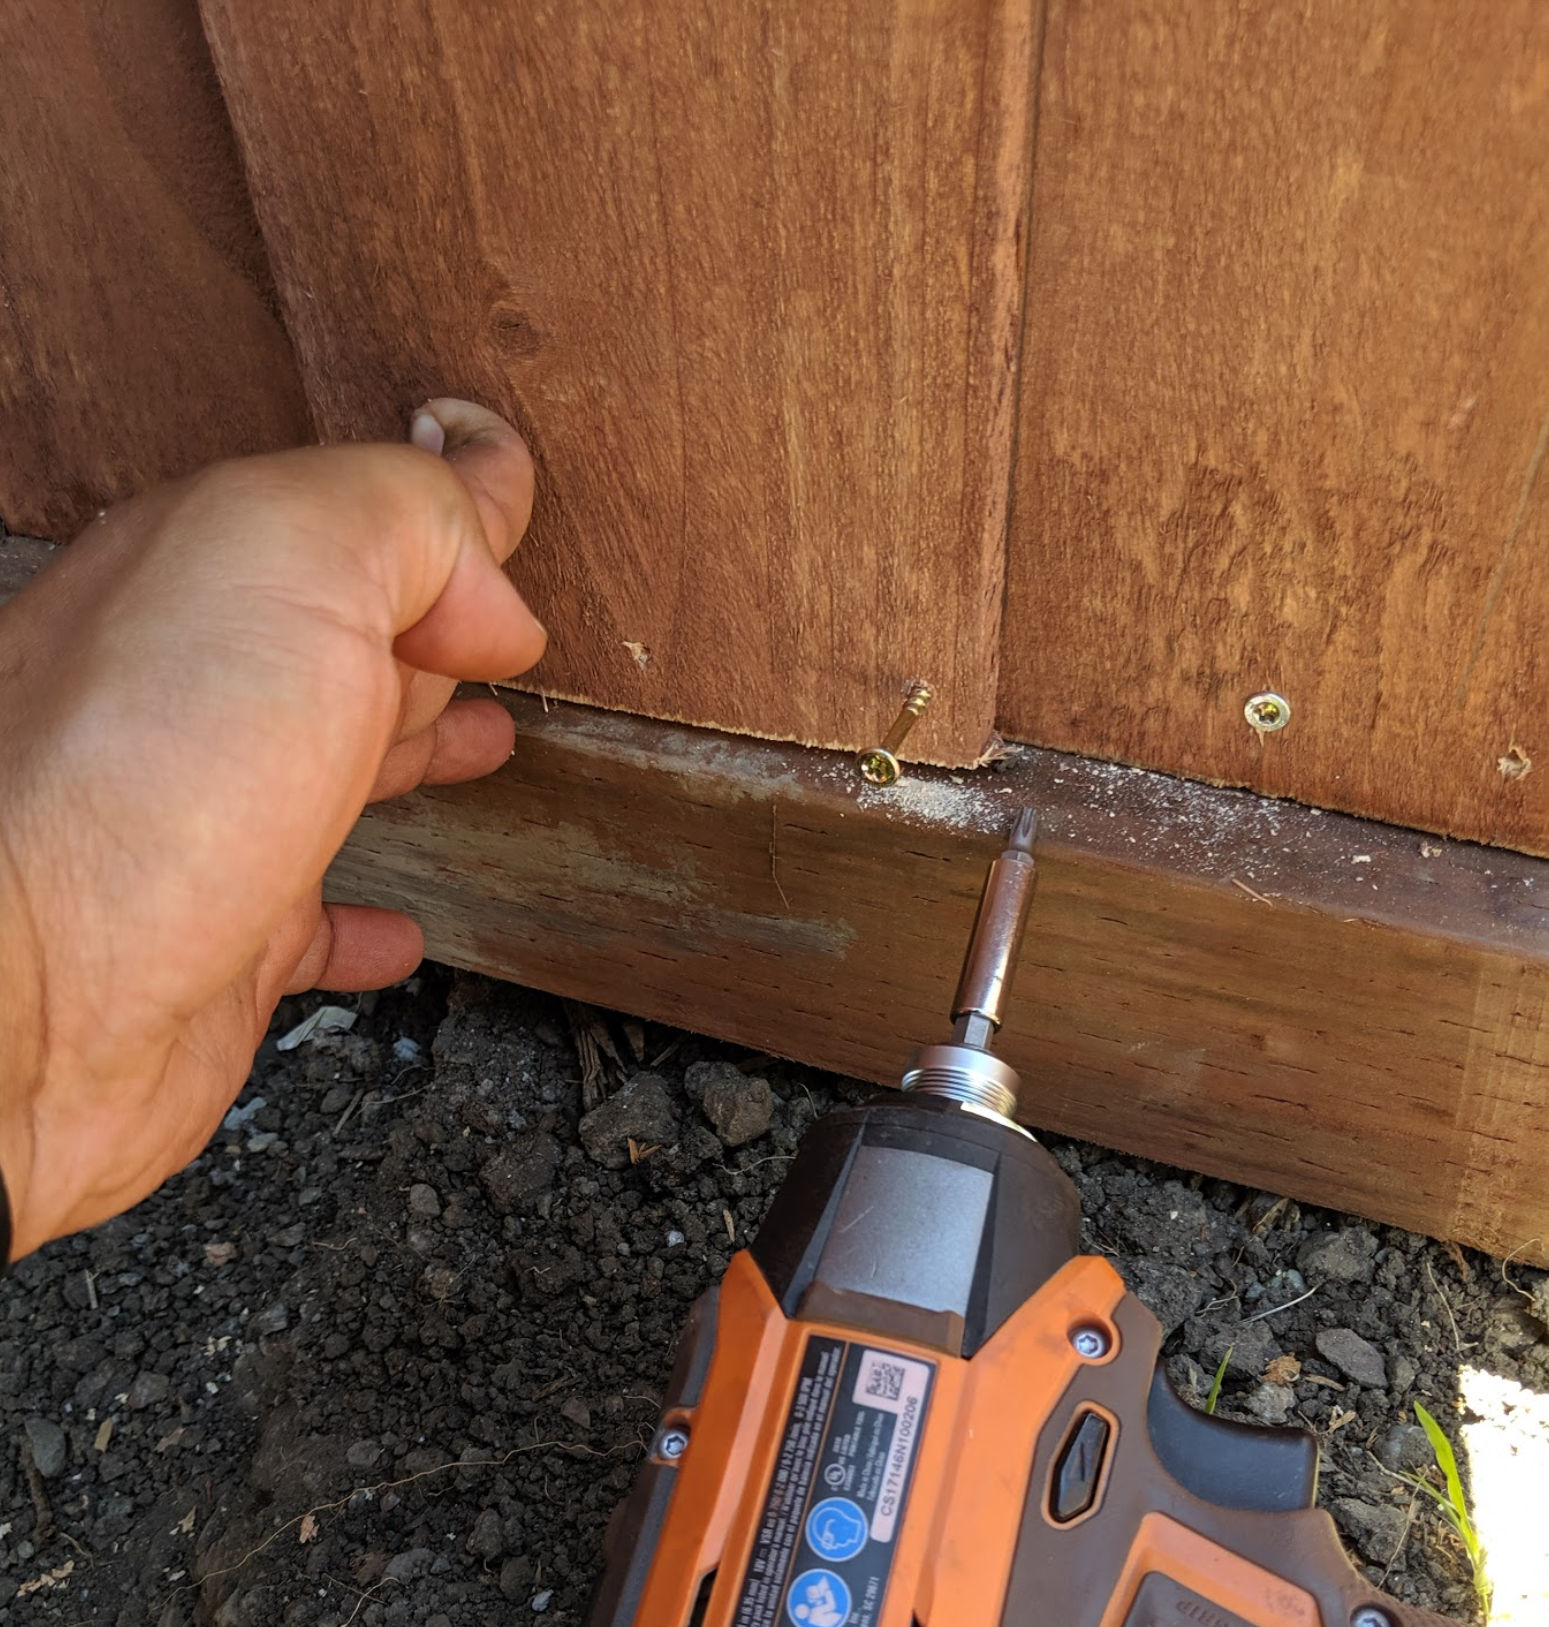
Then screw the overlapping boards together at the vertical center of the boards to prevent boards from warping away from each other. Use a level so the screws end up level.


8. Install fascia boards on remaining side
On your side of the fence, cut dog ears off some fence boards and screw them into the 2x4s. This will create a frame for the fence and cover up the many screws in the fence boards. Unlike the neighbor side, you don’t need to double up the boards.
9. Cover up the metal posts with fence boards
Cut dog ears off some fence boards and screw them in to cover up the metal posts.
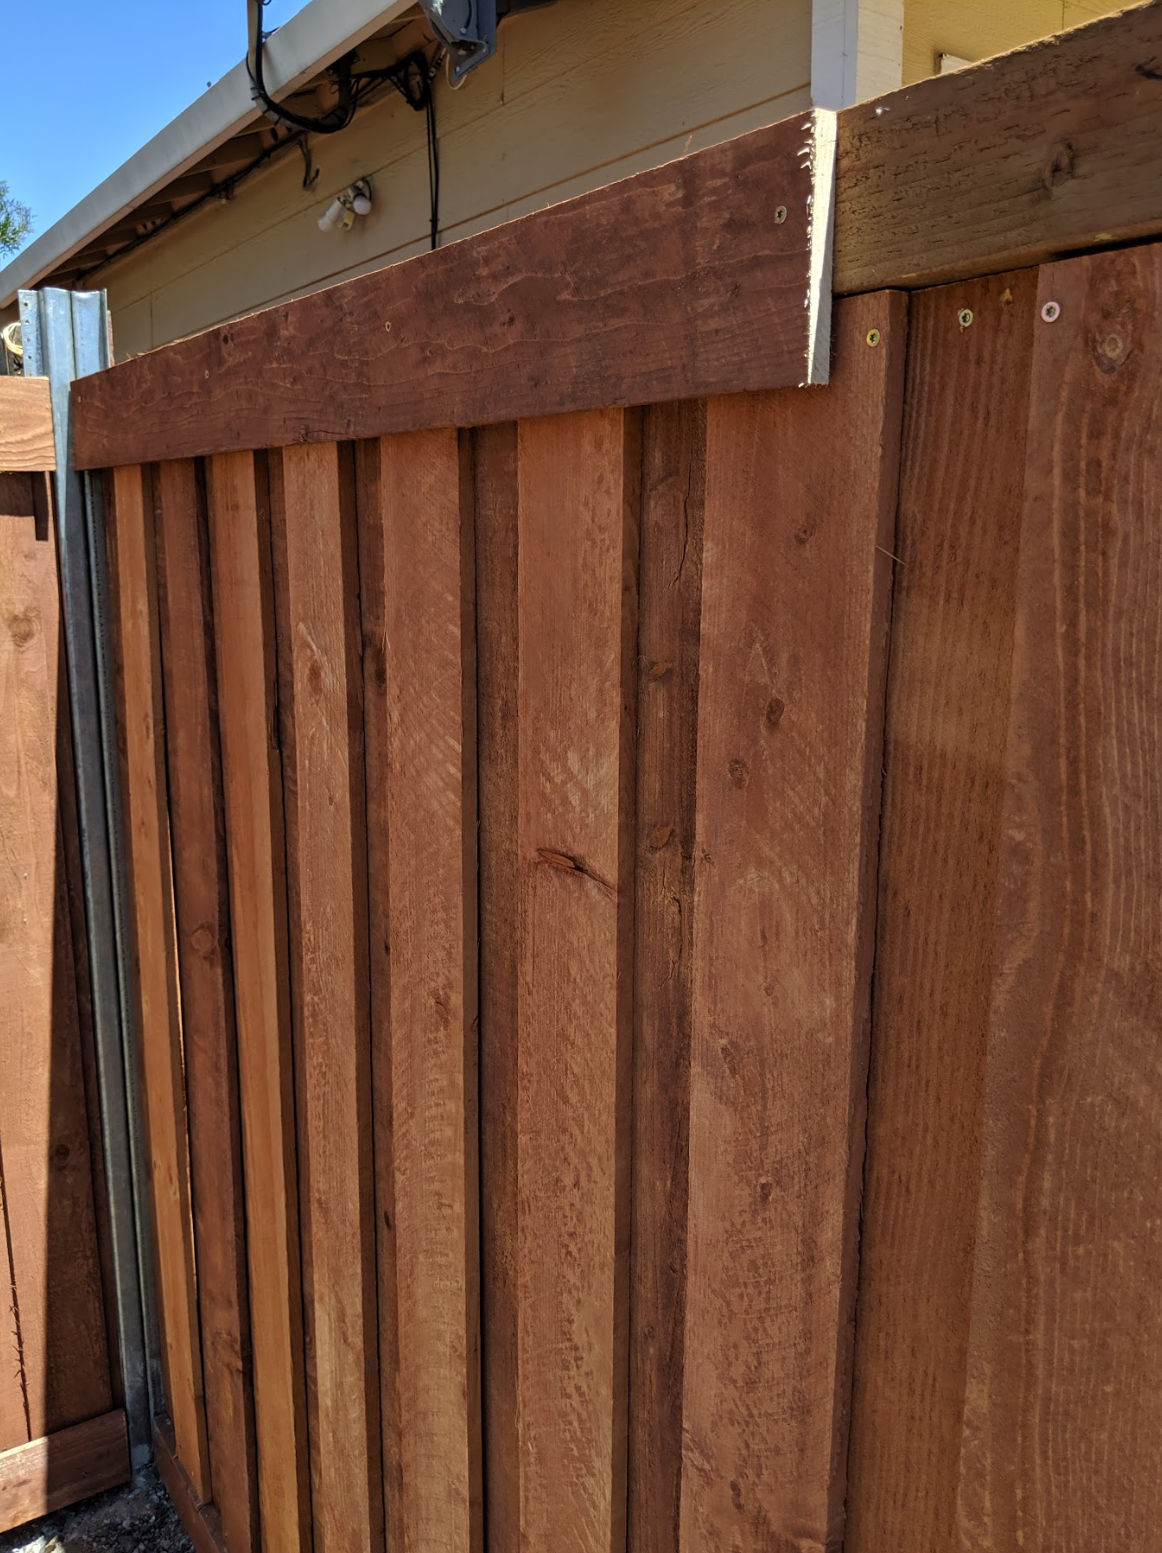
10. Protect top of fence
If you followed the instructions, the top of the fence should be 3.5 inches wide. Rain water can seap into the top of the fence and rot the wood. To protect it, I decided to use Vigoro plastic edging. The size is perfect (3.5″ wide), it’s just the right thickness to not be noticeable, it’s waterproof and is a nice, brown color. I just cut it to length using aviation snips and stapled it to the top of the fence.


11. Seal fence
The fence boards are prestained at Home Depot. To protect the color, apply sealer every 2 years using a chemical sprayer or airless paint sprayer.