


There are many ways and tools you can enhance a photo. If you’re a professional photographer, then you’ll likely have advanced methods, but for the average person, you’ll probably just want some quick and easy solutions. Like most average people, my photos are mostly taken from my phone (currently, Google Pixel 8). However, when vacationing, I also take a lot of video using my Insta360 X3 camera, and I’ll occasionally want to take snapshots of a video frame to add to my photo collection. With this in mind, here’s my current (simple) workflow for upscaling and enhancing photos.
Enhance a Photo Using Google Photos
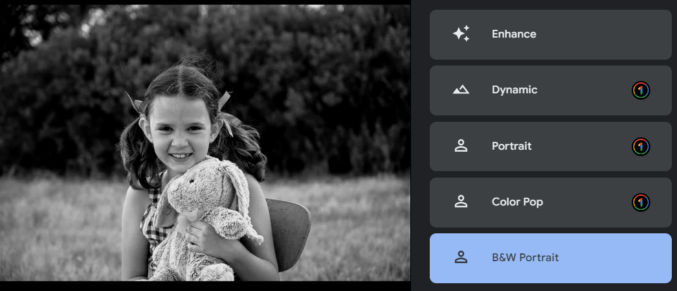
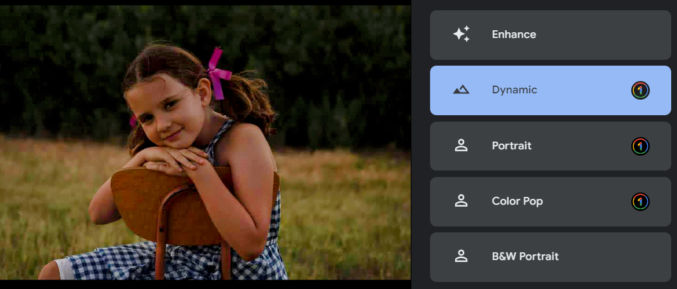
First, upload your photo to Google Photos. Then, use one of the presets to enhance the photo. Here’s an example photo without any enhancements applied.
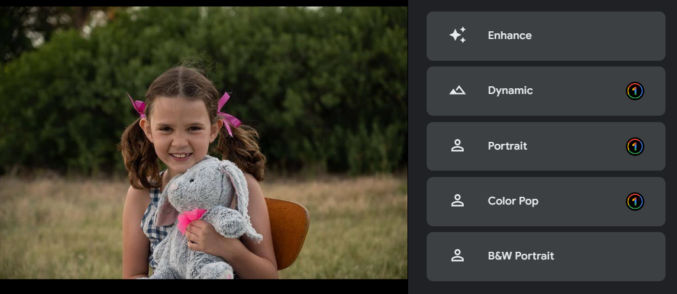
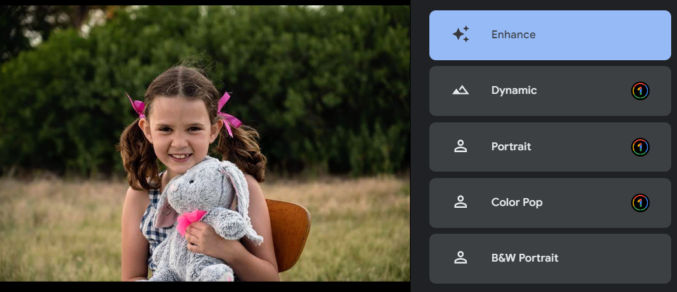
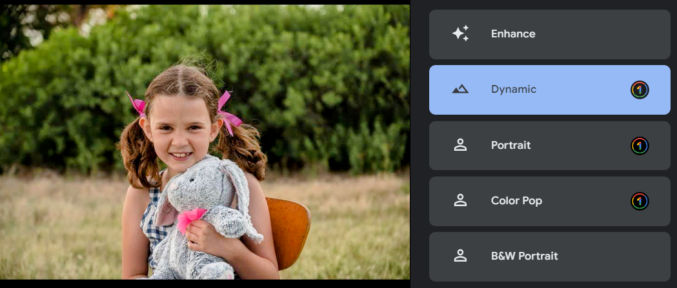
The average person might that the photo looks fine, but it can significantly be improved. Here’s how the photo looks when you click on each of the suggested improvement options.

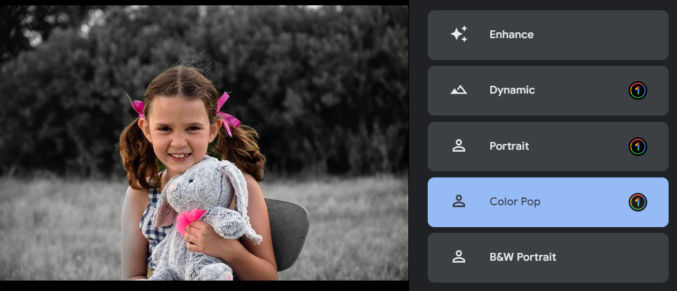
Note that Color Pop tried to isolate the subject and convert everything else to grayscale. It’s not perfect because the subject’s right arm is partially gray. To fix this, you could select the subject in Photoshop either manually or automatically, invert the selection, and convert the selection to grayscale.
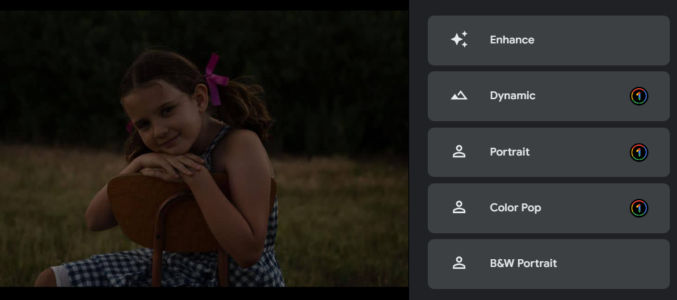
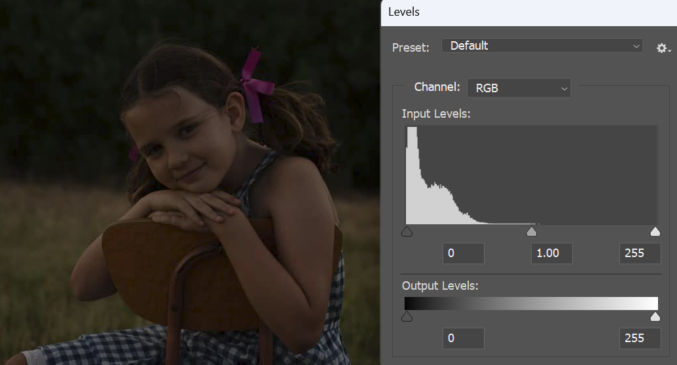
Now, let’s say that you have a heavily underexposed (dark) photo. (Learn more about under and overexposed photos).
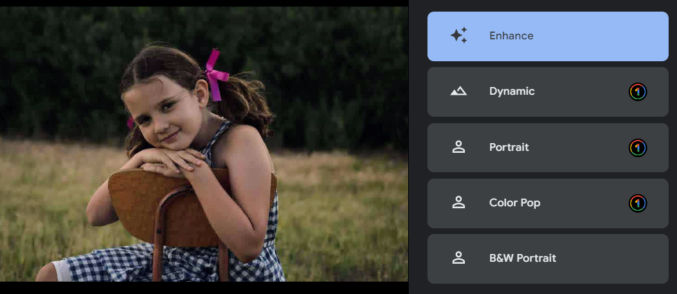
If you click the “Enhance” or “Dynamic” options, you’ll get this.
For comparison, here are the photo’s input levels in Photoshop.
If I were to manually correct the exposure in Photoshop, this is what I’d get.
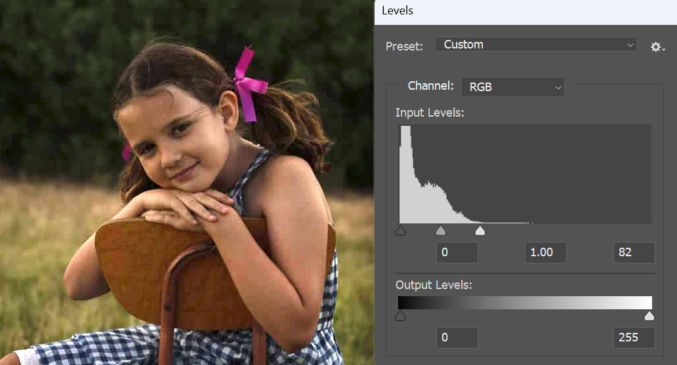
The photo is significantly improved, but it doesn’t look exactly like it does using the Google Photos presets.
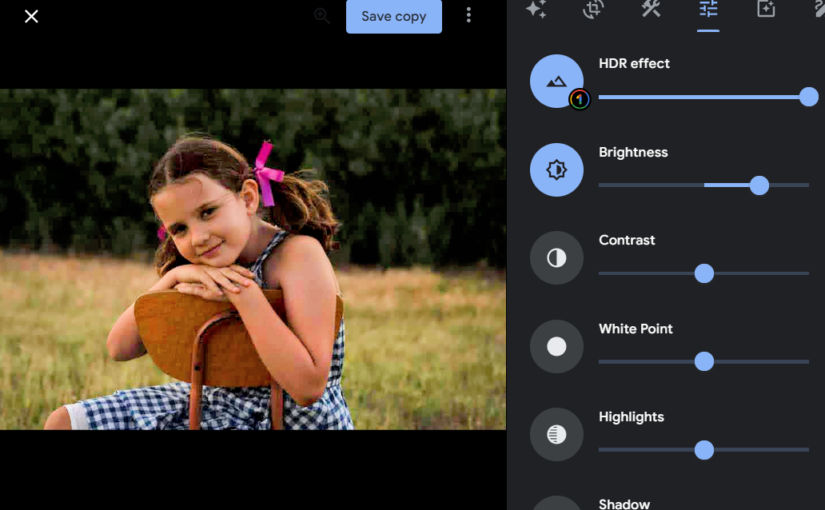
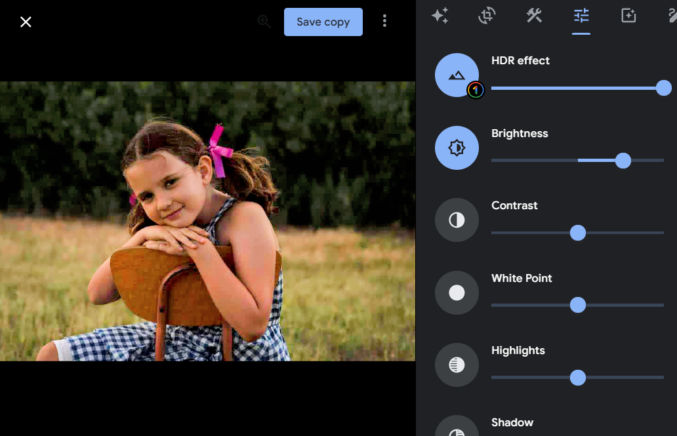
If the Google Photos presets don’t look good enough, you can make many adjustments in the Settings tab. In the example below, I started by choosing the “Dynamic” preset, and then in the Settings tab, I increased the brightness.
So, for the average person, using Google Photos to improve photos is easy and usually adequate.
Enhance a Photo Using Topaz Photo AI
Topaz Photo AI can do many things to a photo, including
- remove noise
- sharpen
- adjust lighting
- balance color
- recover faces
- preserve text
- upscale
You can also just run autopilot and let Topaz choose settings for you.
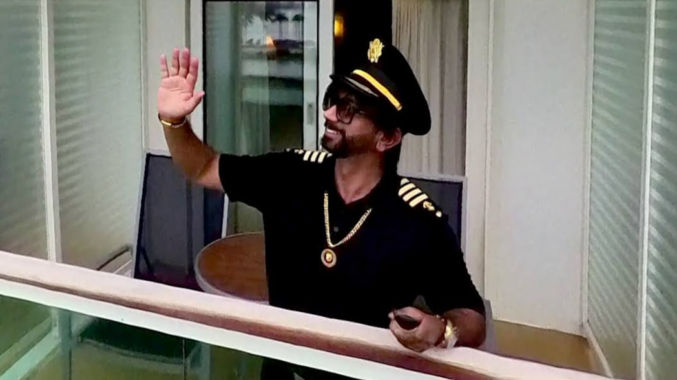
For me, I mainly use Topaz to enlarge (upscale) photos, remove noise, which can result from adjusting the levels of a heavily underexposed photo, and to sharpen photos. These improvements are particularly useful when I take a snapshot of a 1920×1080 video frame. For example, here’s a frame from a video.

I want to zoom in on the subject, crop it, enlarge it, and enhance it. Here’s the zoomed-in part cropped. The dimensions are 1048 x 589 px.
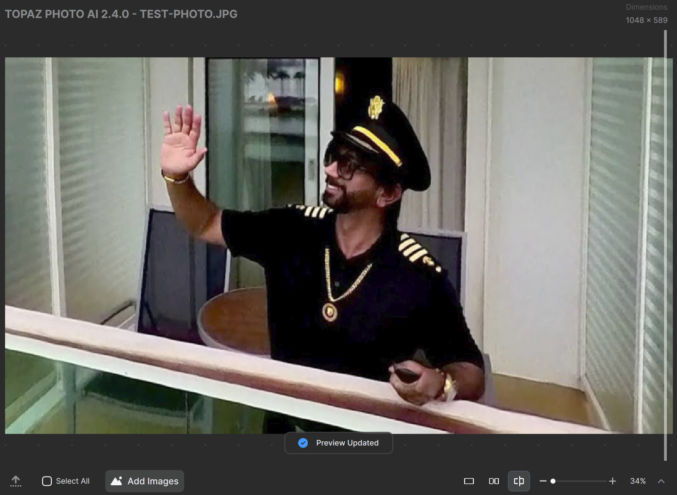
Now, I’ll drag it into Topaz and run autopilot to upscale and enhance the photo. It will take a minute to process. Here’s how the photo looks enlarged by 34% before enhancing it with Topaz.
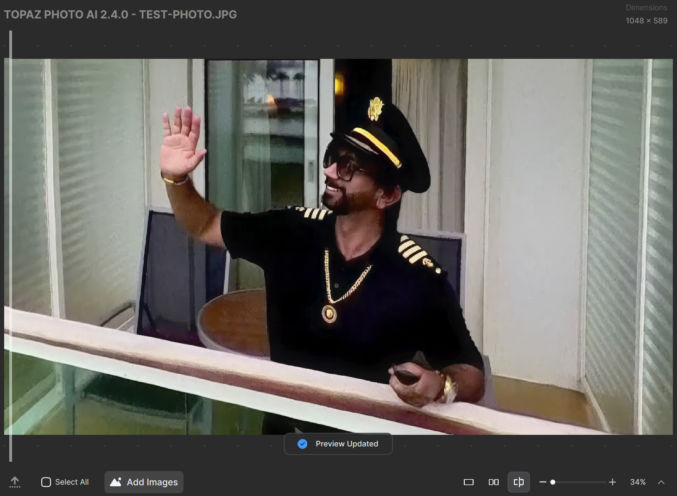
Here’s how it looks with Topaz enhancements applied.
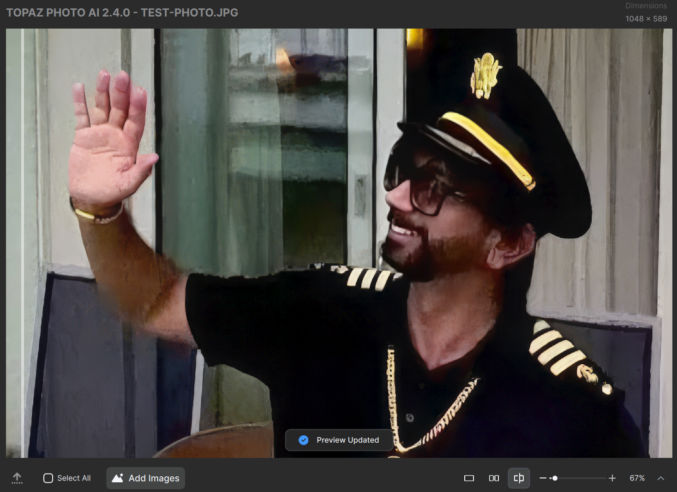
There is a difference, but it will be more obvious when you zoom in. Below is a comparison zoomed in at 67% before and after using Topaz.

At this point, you can copy the upscaled and sharpened photo from Topaz and paste it into Google Photos to enhance it.
Topaz Photo AI isn’t perfect, but depending on the original photo, it can often product amazing results.