Simple Green Screen Setup for Video Production

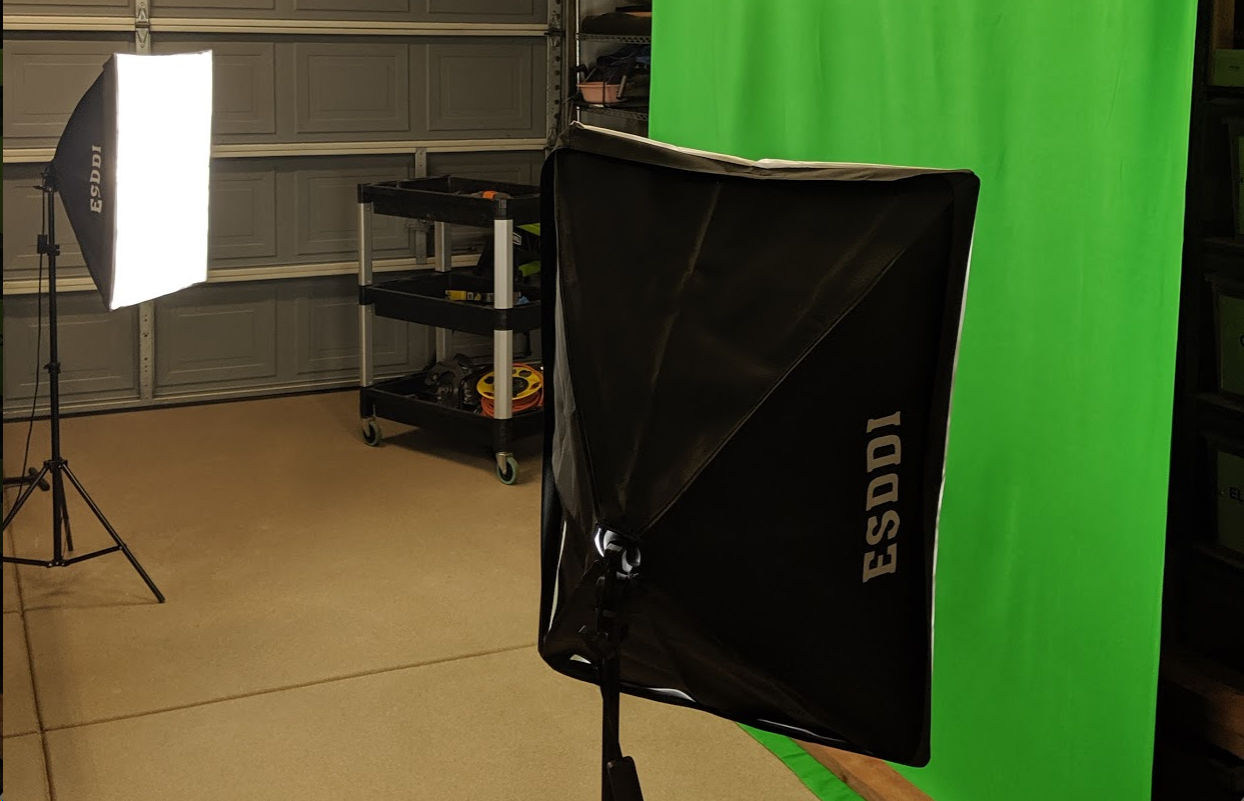
In an era of home made videos and YouTube, everyone now is making videos on just about every subject, including myself. Filming a subject against a green background has the advantage that you can replace the green background with a picture or video like what they do in movies or on the news. Though you can buy a complete green screen setup on Amazon with tripod and clamps to stretch and hold the screen in place, I decided to just buy the green fabric and make my own setup using simple and cheap items from Home Depot.

The advantage of this setup is it’s cheap and easy to set up and store each time you use it. The green fabric costs about $16 on Amazon. On one of the shorter sides, it has a pocket the length of the side in which you can insert a rod or pole. I bought a metal closet rod from Home Depot. I then clamped the rod to the ceiling in my garage using metal clamps. Make sure the screws for the clamps go into wood joists and not just drywall. When using the green screen, I place a 2x4x 8 piece of wood (available at Home Depot for $3) to hold the bottom of the fabric down.

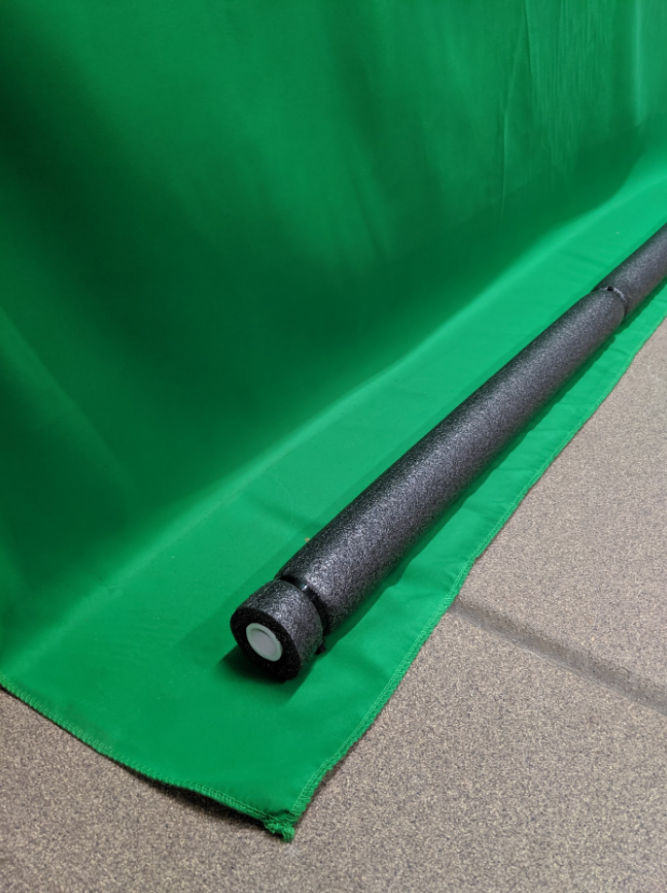
For storing the green screen, I wanted something quick and simple. For my setup, I can just roll up the fabric and store it on some large hooks.

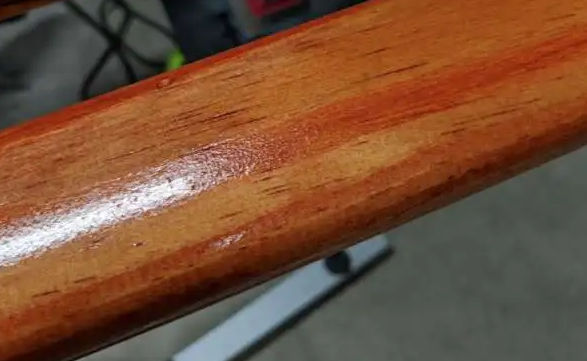
To do this, I bought two large hooks which I screwed into the ceiling. I also bought 3/4″ PVC pipe and foam pipe insulation. The insulation makes for a larger diameter rod to reduce how much rolling needs to be done to roll up the fabric. It also provides a cushion in case it falls from the ceiling. The insulation was secured around the pipe using cable ties.

Total cost: $50

  • Green fabric: ~ $16
  • Large crew hooks: ~ $6
  • 3/4″ PVC pipe: ~ $2
  • Foam pipe insulation: ~ $3
  • 2x4x8 wood: ~ $3
  • Metal closet rod: ~$20

Believe it or not, the metal closet rod was the most expensive part. You can probably substitute it with something cheaper as long as it doesn’t bow like wood might.

How to Lock Tension to Create Super Tight Rope Line

Here’s one way to secure an item using rope that locks tension in the rope. It’s a variation of the Trucker’s Hitch. It involves creating a loop (butterfly knot) and then looping the free end of the rope twice through the loop. For the first, fixed end, I use a ring hitch knot which easily ties the first end of the rope to an anchor without it loosening. No matter how hard you pull, the knot won’t loosen.

Here’s how to tie a ring hitch for the first end.

  1. Loop the rope end through an anchor point
  2. Create two loops
  3. Stick the end through the two loops and tighten

Here’s how to tie the butterfly knot.

And here’s how to use the butterfly knot to create a super tight rope line.

  1. Loop the free end through an anchor point
  2. Loop the free end through the butterfly knot twice
  3. Pull on the free end (note the tension locks)
  4. Tie the free end to the anchor point

I found out how to do this from:

Using Google Drawings to Easily Annotate Images

When reviewing websites, you often want to point at certain elements and add comments about them. This can easily and freely be done using Google Drawings.

  1. Take a screenshot of part of your screen onto your clipboard
  2. Open Google Drawings and paste the screenshot

3. Click one of the Callout buttons

4. Click and draw near the element in the screenshot where you want to add a comment

5. Drag the orange point at the tip of the arrow and drag it towards the element you want to draw attention to

6. Click in the callout box and type your comment then optionally adjust the size of the box

Easily Tighten a Rope Without a Knot

When you need to tighten a rope to hold something in place, e.g. a tent, cargo in a pickup truck, a leaning tree, bed sheets, etc, you might think you’ll need to tie a knot. Not only is it difficult to tie a knot without losing tension in the rope, it’s a hassle and often difficult untying the knot. Ratchet straps are easier to use but are overkill for non-heavy duty situations. A simpler solution is to use a figure 9.

Here, I used a figure 9 to hold a leaning tree in place.

You can purchase Figure 9s at REI. One brand is Nite-ize but there’s also generic ones on Amazon for less.

This are two ways to tighten a rope using a Figure 9.

How to Finish Wood With a Protective Coat

I recently worked on a project to replace my stair’s handrails. I bought the unfinished handrails at Home Depot and then stained them easily as follows.

Applying Wood Stain

  1. Using a brush, applied one coat of Minwax Pre-stain Conditioner
  2. Using a brush, applied one coat Minwax Stain (Gunstock color). While the stain was wet, I wiped it with a paper towel to prevent some areas to be thicker or darker than others. Though wiping with a towel lightens the stain, it is an important step. To achieve darker stains, just repeat the staining and wiping process.

Note: Applying anything wet, e.g. stain, to wood will cause the grain to rise resulting in bumps. If, after the first coat of stain, you notice bumpiness, then sand it down with 220 grit sandpaper until the bumps are gone and then restain the wood. This first coat following by the sanding process serves as a sort of “primer” to prepare the surface.

The tricky part was getting the protective finish coat on. I wanted a shiny, smooth, glossy handrail. After trying different products and processes, here’s my advice.

Lacquer vs Polyurethane

Lacquer is sticky and seemingly more toxic. My eyes felt weird even though none of it gone in them. A bit of lacquer got on my hands and cleaning my hands were a hassle and temporarily messed up my skin. The fumes were so strong I could smell some of it in other rooms of my house. Cleaning the brush used to apply the lacquer was impossible so it had to be thrown away.

Polyurethane is also toxic but the water based kind is easy to clean by simply rinsing with water and it doesn’t smell as much. I was able to easily rinse my brush so I could reuse it for additional coats.

Conclusion: Don’t even bother with lacquer. Just stick with polyurethane.

Continue reading How to Finish Wood With a Protective Coat

How to Enlarge a Hole in a Wall

The other day I was drilling a hole in a wall to run a 3-prong extension cord through. I thought a 1 inch spade bit would do to create 1 inch diameter hole. Unfortunately, the plug end of the cord was still too big to fit through the hole. I couldn’t enlarge the hole using a hole saw bit

because that requires some material for the center shaft to bite in to. 

Continue reading How to Enlarge a Hole in a Wall

Remove DRM From eBooks (Kindle) and Convert to PDF

Having to read an ebook, e.g. a Kindle book, in a special app, e.g. the Kindle app, can be annoying, especially when you want to copy and paste lots of text. Also, sharing your book can’t easily be done. To fix this these issues, you can remove the DRM (digital rights management) copyright protection from the ebook and then convert the decrypted file to PDF.

Remove DRM from Kindle (azw) file

One program I’ve tried that works is Epubor Ultimate. The version I used was 3.0.10.1025. This initially didn’t work with the version of the Kindle for PC version I had installed but the customer support people at Epubor gave me a link to install an older version of Kindle for  PC (1.24.53) and that worked. I had to delete the Kindle book (azw) folder and then in the Kindle for PC program, redownload the ebook. Then, in Epubor Ultimate, I was able to remove DRM from the file.

Convert Kindle ebook (azw) to PDF

In Epubor Ultimate, I was able to easily convert the decrypted azw file to PDF. Now, I can read the ebook anywhere and easily copy and paste text.

Car Tire Specifications

When you buy new car tires, you’ll either go online and enter your car’s year, make, model, and trim or give that information to someone at a store. Unfortunately, the tire specifications you get in response will not necessarily be correct. For the past 13 years, I’ve been buying car tires for my 2003 Honda Accord DX and the tire specs I’d be given are

This information was taken from tires.costco.com and from the tire specialist’s computer at a Costco Tire Center. It says that my tire size is P215/60R17. The tire specs in the driver side door, however, says this:

It says that my tire size should be P205/65R15. While it may be okay to go with a slightly different size, it’s probably better to go with the manufacturer’s recommendation.

Continue reading Car Tire Specifications

When to Change Your Car’s Tires

Tread Depth

In the US, car tire tread depth is measured in 32nds of an inch. New tires typically come with 10/32” or 11/32” tread depths, and some truck, SUV and winter tires may have deeper tread depths than other models. A tire is legally worn-out if the tread depth is 2/32nds.  Therefore, a typical tire that starts with 10/32″ of original tread depth has only 8/32″ of usable tread depth. A tire that started with 10/32″ of original tread depth and has worn off 4/32″ (down to 6/32″ of remaining tread depth) is 50% worn. Though 2/32nds of tread depth is the legal minimum, you should change your tires when they reach 4/32nds of tread depth. At tread depths less than 4/32nds, you may experience hydroplaning when driving in the rain and lose control of your vehicle.

Tread Depth Gauge

There are manual and digital tread depth gauges. I’d go with a manual one so you don’t have to worry about replacing a battery.