


This tutorial will guide you to create a documentation website using Github and Netlify using the MkDocs static site generator. Even though MkDocs is designed for documentation, it can be used to quickly create simple websites with a navigation menu. Since I’m on Windows, this tutorial is for users on Windows.
- MkDocs (official installation page)
- python (downloads page)
Create a Project Folder
Let’s create a folder where our website project will be. I’ll call mine mkdocs at C:\Users\abdul\OneDrive\Documents\Websites\mkdocs.
Install Python
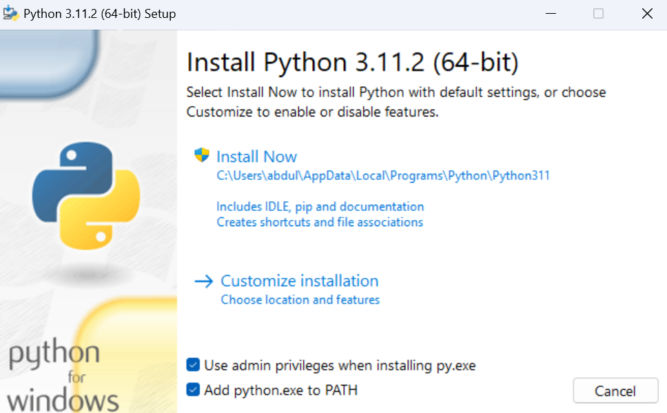
If you don’t have Python installed, you’ll need to install it. Visit Python and download the executable. When installing, be sure to check the box to “Add python.exe to PATH” is checked.
Verify python was installed by running
python --version
You may need to close and reopen the command prompt for this to work.
Install pip
pip is a package manager for python. If you just installed python, then pip will likely be installed. Test this by running the following command
pip --version
I have pip version 22.3.1. This version may be out of date, so let’s update it with
python.exe -m pip install --upgrade pipNow, when I run pip --version, I see a newer version installed.

Create a Virtual Environment
A python virtual environment is a tool that helps to keep dependencies required by different projects separate by creating isolated python virtual environments for them. This is one of the most important tools that most Python developers use. In a terminal, go to your project folder and run the following command. venv can be any name you want.
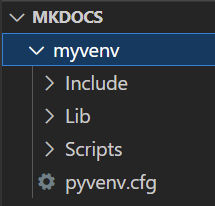
python -m venv myvenv
This creates a folder called myvenv in your project folder containing a bunch of folders and files.
Activate Virtual Environment
Now we need to activate our virtual environment. Remember: this must be done every time you begin working on your project. You’ll know you’ve activated the virtual environment if the command prompt prefix shows the name of your virtual environment.
Windows
On Windows, we have to activate it by moving into the virtual environment folder and running Scripts\Activate.

Notice how the command prompt prefix is now myvenv.
Linux/Mac
If you’re on Linux or Mac, use the following command from the project root folder.
source myvenv/bin/activatewhere myvenv is whatever name you gave your virtual environment.
Install mkdocs-material theme
You can have different themes with mkdocs. The best theme is mkdocs-material so we’ll install that one. Go back to your project root folder and run the following command.
pip install mkdocs-materialThis will download the mkdocs-material dependencies in myvenv\Lib\site-packages folder.
Create a New mkdocs Site
Now, let’s create a new mkdocs site by running the following command in our project root folder.
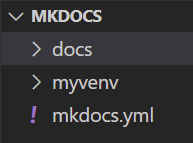
mkdocs new .This will create 2 files.

- mkdocs.yml is a configuration file.
- index.md is a documentation page.
Preview the Site
MkDocs comes with a built-in dev server that lets you preview your documentation as you work on it. Make sure you’re in the same directory as the mkdocs.yml configuration file, and then start the server by running the following command:
mkdocs serve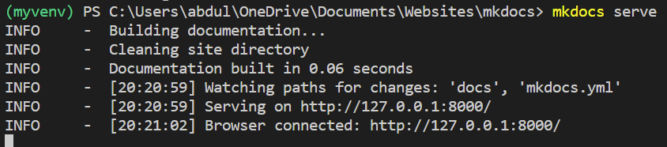
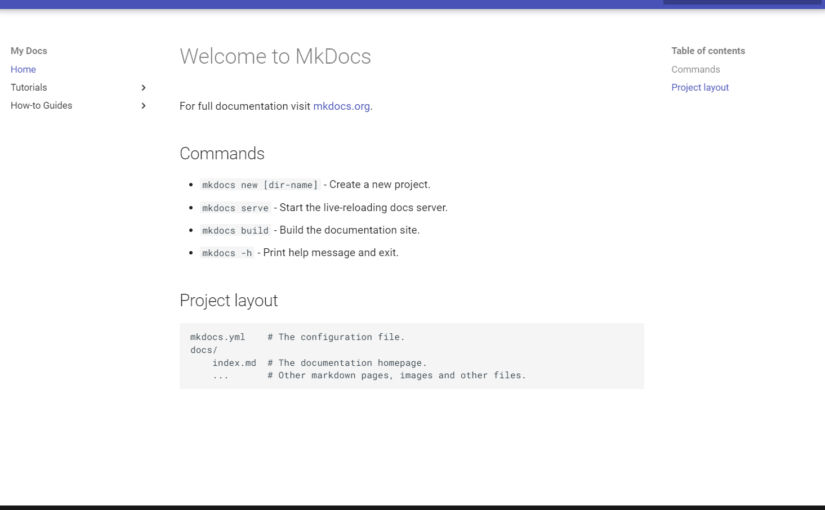
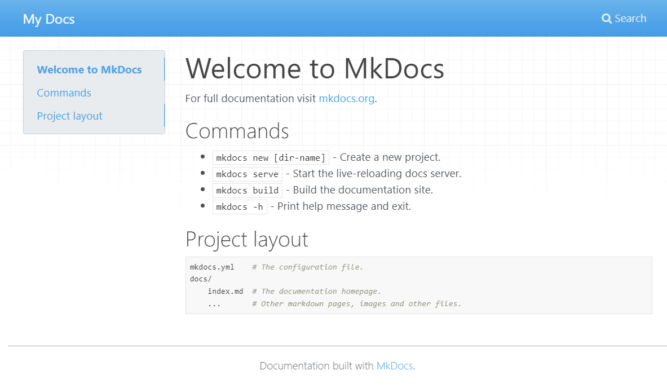
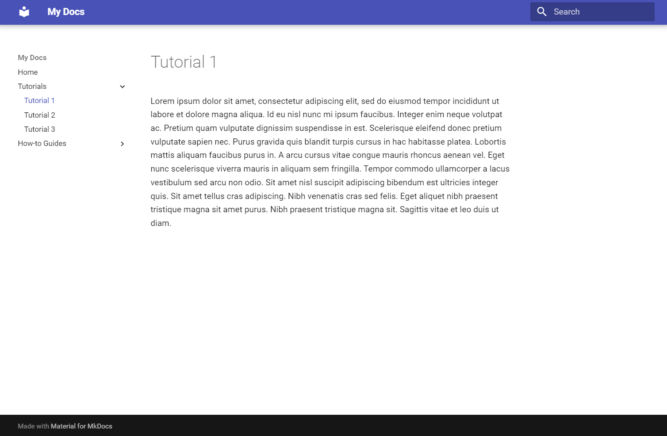
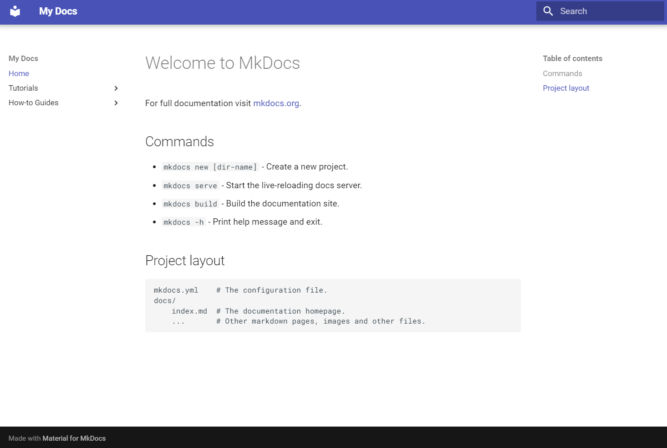
Now we have a dev server. If you open http://127.0.0.1:8000/ in a browser, you’ll see the index page.
Customize The Site
Open mkdocs.yaml to make the following changes.
Change Site Name
The default site name is “My Docs”. You can change it here.
site_name: My DocsAdd Pages to Site
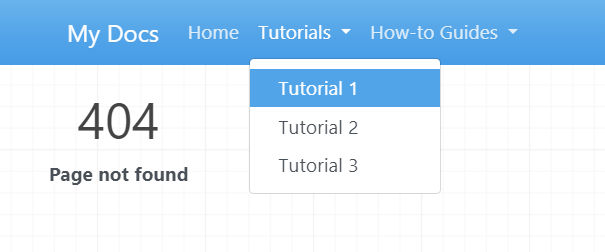
Add an order, title, and nesting of each page in the navigation header by adding a nav setting. For example,
site_name: My Docs
site_url: https://www.mydocssite.com/
nav:
    - Home: index.md
    - Tutorials:
      - Tutorial 1: tutorial-1.md
      - Tutorial 2: tutorial-2.md
      - Tutorial 3: tutorial-3.md
    - How-to Guides:
      - Guide 1: guide/guide-1.md
      - Guide 2: guide/guide-2.md
      - Guide 3: guide/guide-3.md
This creates a nav menu, but the pages don’t exist yet.
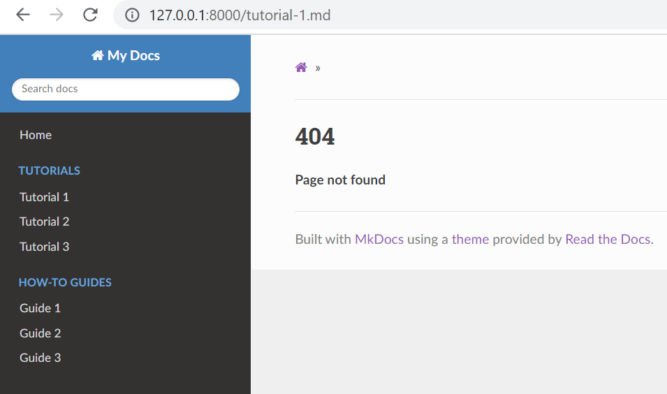
Change the Theme
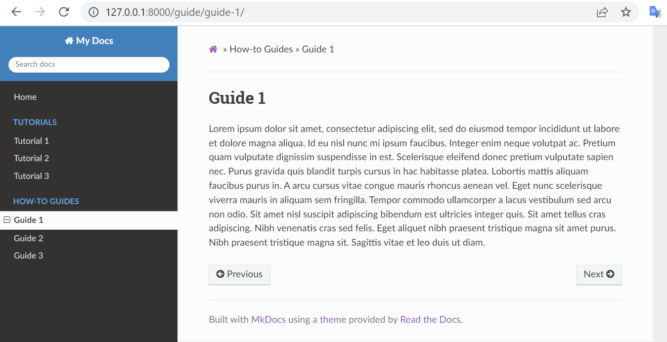
Let’s change the theme from the default mkdocs theme to the readthedocs theme.
site_name: My Docs
site_url: https://www.mydocssite.com/
nav:
    - Home: index.md
    - Tutorials:
      - Tutorial 1: tutorial-1.md
      - Tutorial 2: tutorial-2.md
      - Tutorial 3: tutorial-3.md
    - How-to Guides:
      - Guide 1: guide/guide-1.md
      - Guide 2: guide/guide-2.md
      - Guide 3: guide/guide-3.md
theme: readthedocs
And just like that, the website design changes.
Build the Site
So far, we’ve been previewing the changes to the site. There are still only 2 files. Let’s build the site. In another terminal window, run the following command.
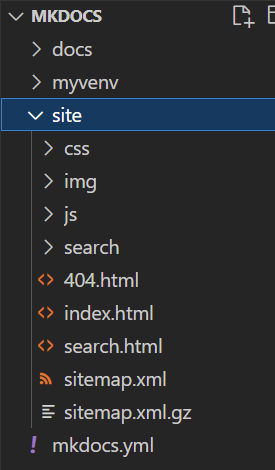
mkdocs buildThis creates a site folder containing the built HTML files and other files.
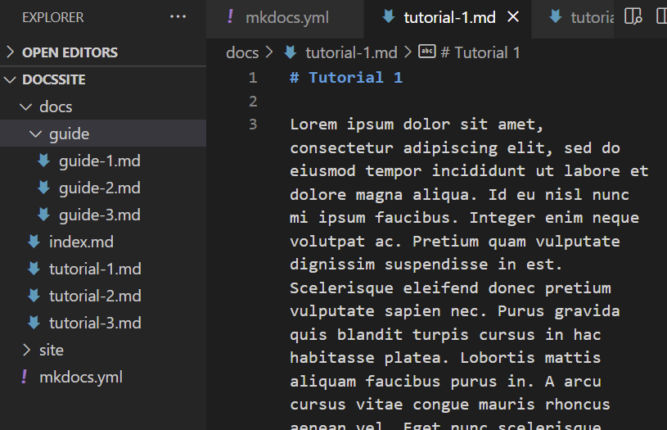
Create Pages
We have our nav menu, but we don’t have pages the nav links to. Let’s create those pages now. The file name and path should match what’s in the mkdocs.yaml config file and the source files should be in the docs folder. I just created some placeholder page content for demonstration purposes.
Now, our documentation website is starting to look good.
Change the Theme to the Material Theme
Let’s change the theme to the Material theme by updating the mkdocs.yaml file.
theme:
    name: material
When you do this, your dev server may crash. Just restart it with mkdocs serve. And just like that, our theme is now the Material theme.
Customize the Theme
You’ll notice that in your source code, there are no theme files. There are different ways you can customize the theme as described in the official manual. You can also create a new theme. Theme files use the Jinja2 templating engine.
Deploy to Netlify
In order to deploy to Netlify, we need
- runtime.txt (a file that specifies the version of python to run)
- requirements.txt
- netlify.toml
- GitHub account
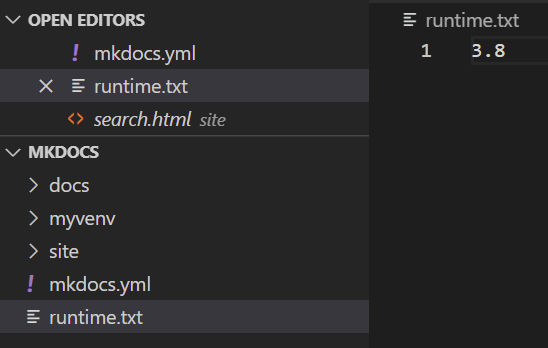
Create runtime.txt
Create a file in the project root with the version of python you want Netlify to use when building the site. The current latest version of python that Netlify supports is 3.8. The version number must be x.y (major and minor versions only, no patch numbers).
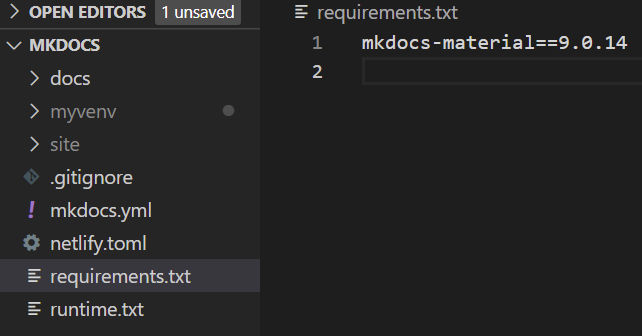
Add requirements.txt
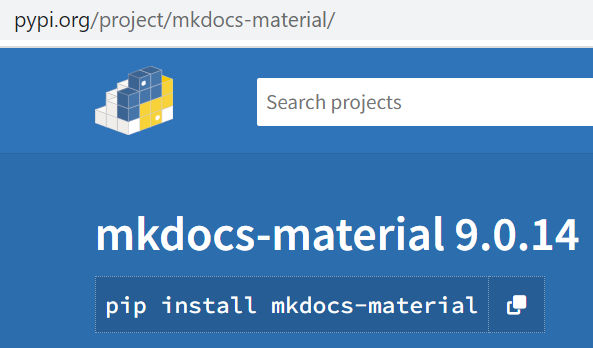
This file will list software dependencies and versions. Create a requirements.txt file with the following
mkdocs-material==9.0.14You’ll end up with a requirements.txt file similar to this. 9.0.14 is the current version of mkdocs-material pip package at https://pypi.org/project/mkdocs-material/.
Create netlify.toml
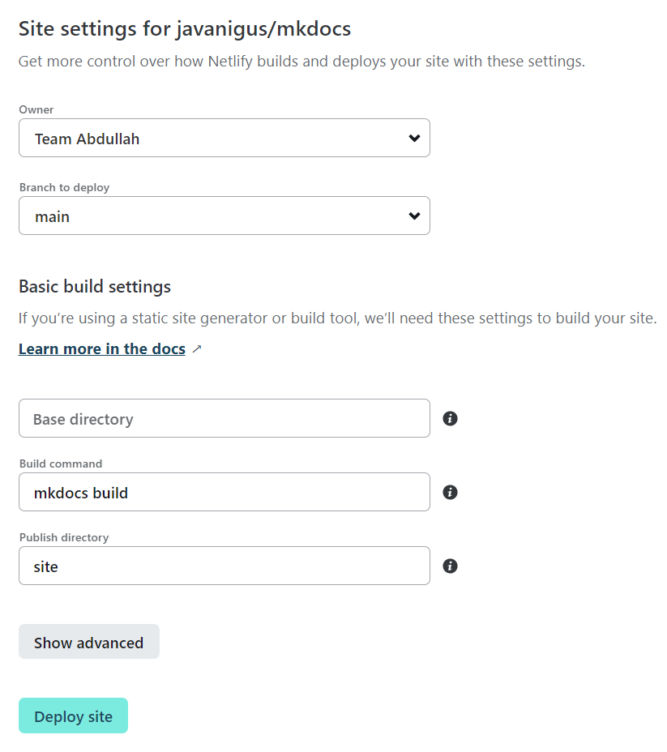
netlify.toml is a Netlify configuration file. Create the file and add the following to it.
[build]

command = "mkdocs build"
publish = "site"
Push Your Changes to GitHub
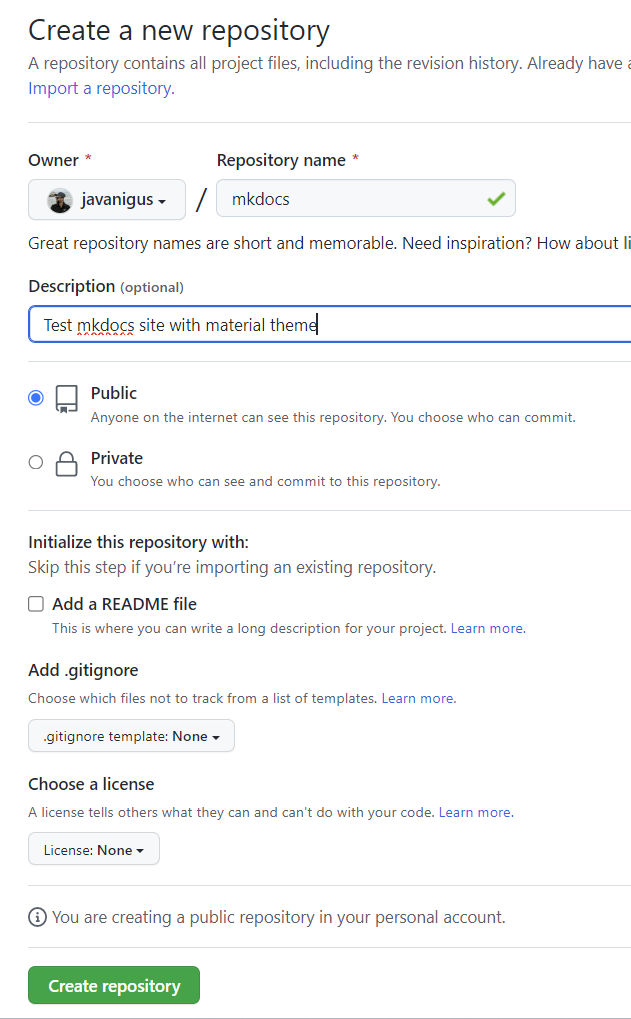
Create a new repository on GitHub.com.
To avoid errors, do not initialize the new repository with README, license, or gitignore files. You can add these files after your project has been pushed to GitHub.
Initialize the local directory as a git repo. If you don’t have git installed, you’ll need to install it first.
Run git init -b main in our project folder. This will create a hidden .git folder.

Create a .gitignore file with the following entries to ignore them from being tracked by git.
site
myvenv
Add the files in your new local repository. This stages them for the first commit.
git add .Commit the files that you’ve staged in your local repository.
git commit -m "First commit"At the top of your repository on GitHub.com’s Quick Setup page, click to copy the remote repository URL.

In the Command prompt, add the URL for the remote repository where your local repository will be pushed.
$ git remote add origin  <REMOTE_URL>
# Sets the new remote
$ git remote -v
# Verifies the new remote URL
Create a branch called main.
git branch -M mainPush your change to Github.
git push -u origin mainSet tracking information for the main branch.
git branch --set-upstream-to=origin/main mainIn Netlify, go to import an existing site and choose the new repo you just created. Netlify will read the netlify.toml file as follows.
Finally, click the Deploy button, verify the build output, and view the site on the Netlify-generated domain.
Customize the Site
Material for MkDocs comes with many customizable features.
https://squidfunk.github.io/mkdocs-material/setup/changing-the-colors/