


In Google Earth Pro for Desktop, you can record a tour in real time by clicking the navigation controls or by clicking on saved placemarks. However, unless you are just moving from one point to another, the resulting tour may not be as smooth as you’d like. For example, if you have three placemarks, then as you click each placemark while recording the tour, the transition between placemarks will not be smooth.
To create a smooth tour that appears as if you are flying a plane or drone at a fixed altitude along a multipoint path, you need to create a path in Google Earth. Here’s an example. Let’s say we want to fly along the Las Vegas Strip.
Change Settings
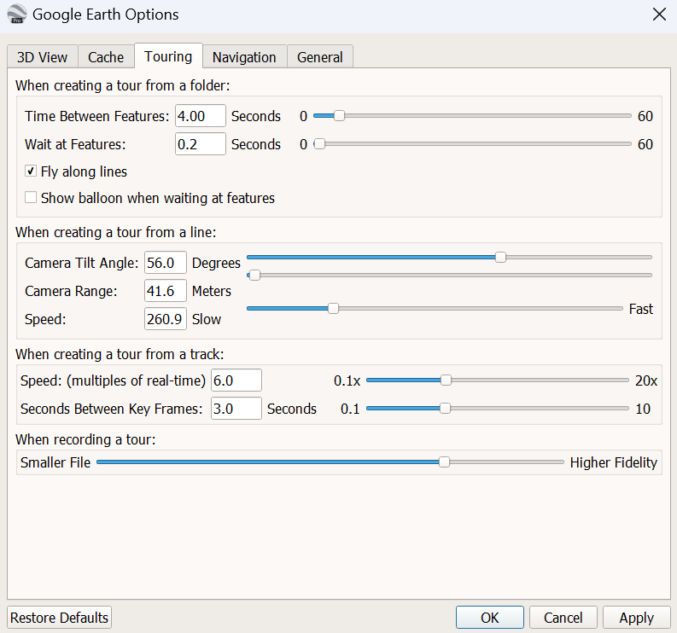
Go to Tools > Options > Touring and change the settings as in this screenshot. Make sure to click the “Apply” button and the “OK” button to save your changes.
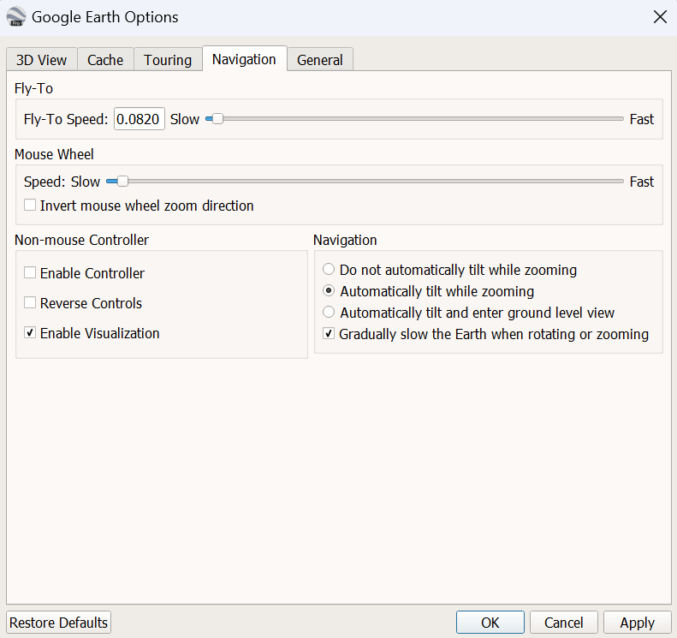
Now, click the “Navigation” tag and change the settings to match this screenshot.
Create Path
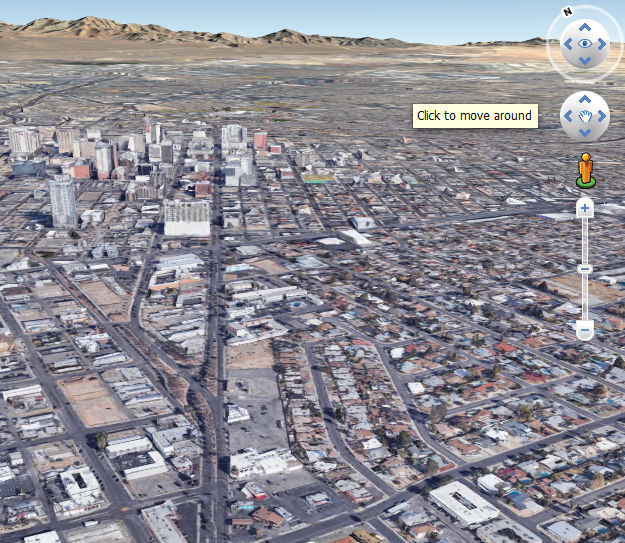
When adding a path, your mouse pointer will turn into a crosshair and you will need click to add points along your desired path. In this mode, you will not be able to zoom, change altitude, direction or pan by clicking on the screen because doing so would add path points. If you need to move around, you’ll need to use the navigation controls.
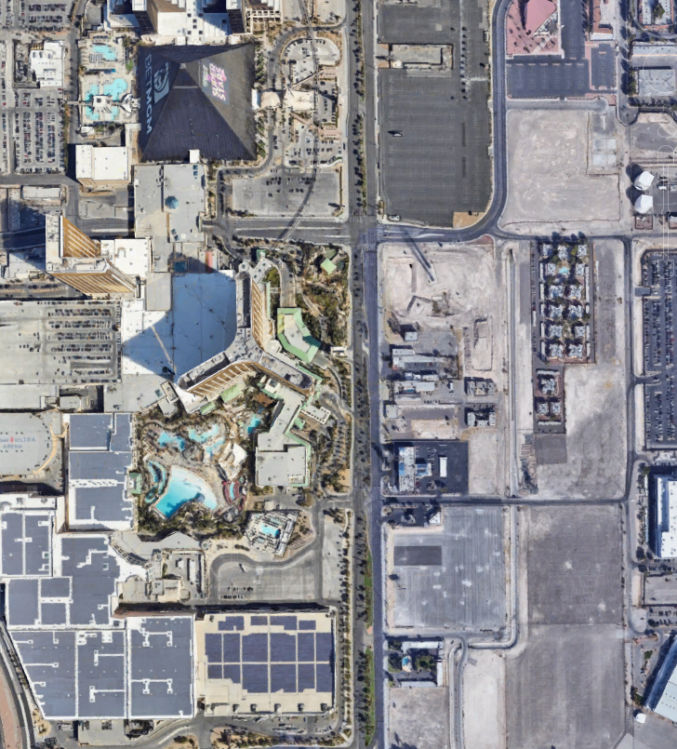
When creating a path, I find it easier to have your view facing straight down to the ground like this. In this example, my starting point will be just south of the south end of the Strip before the Mandalay Bay.
Click Add > Path
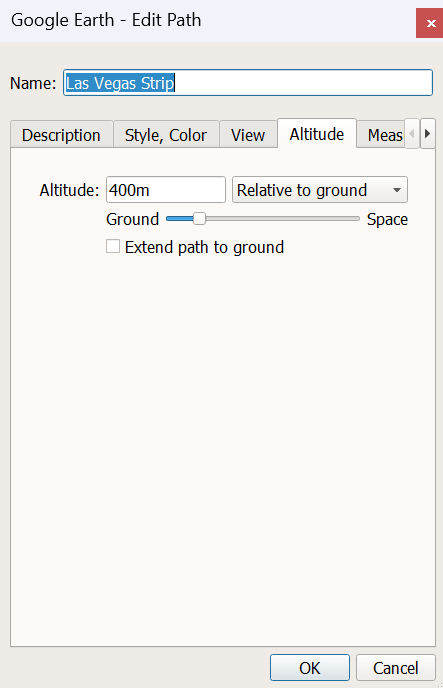
A dialog window will pop up. We’ll name the path “Las Vegas Strip”. Let’s also specify the altitude we want our flight path to be from the ground.
- Click the “Altitude” tab.
- Set Altitude to “400m” for 300 meters.
- Make sure “Relative to ground” is selected.
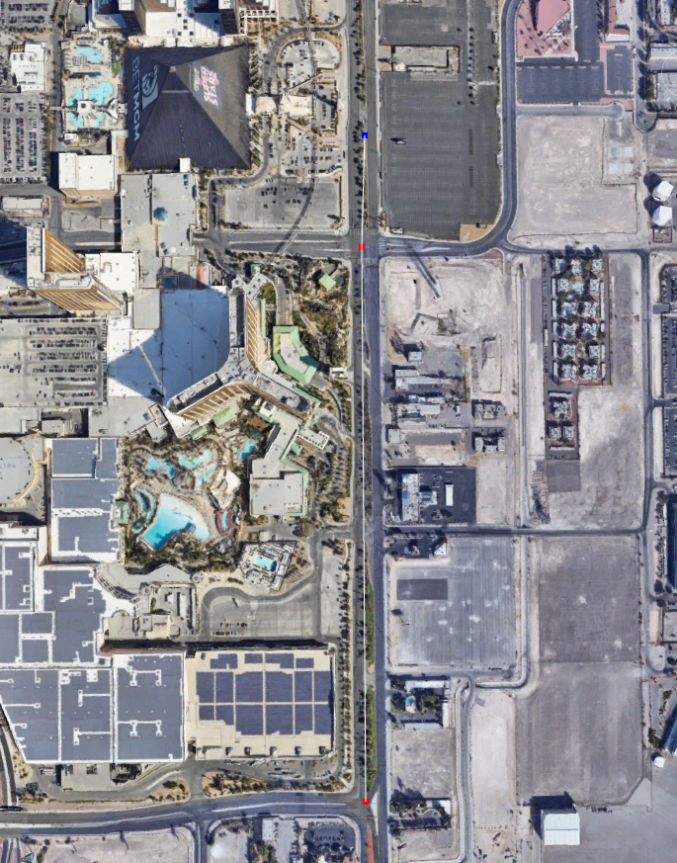
Click to add path points
In the screenshot below, you’ll see that I created 3 points. From bottom to top, there’s 2 red points and 1 blue point.
Since I need to pan to the north to add more points along the Strip, I will use the navigation control up arrow to do so.

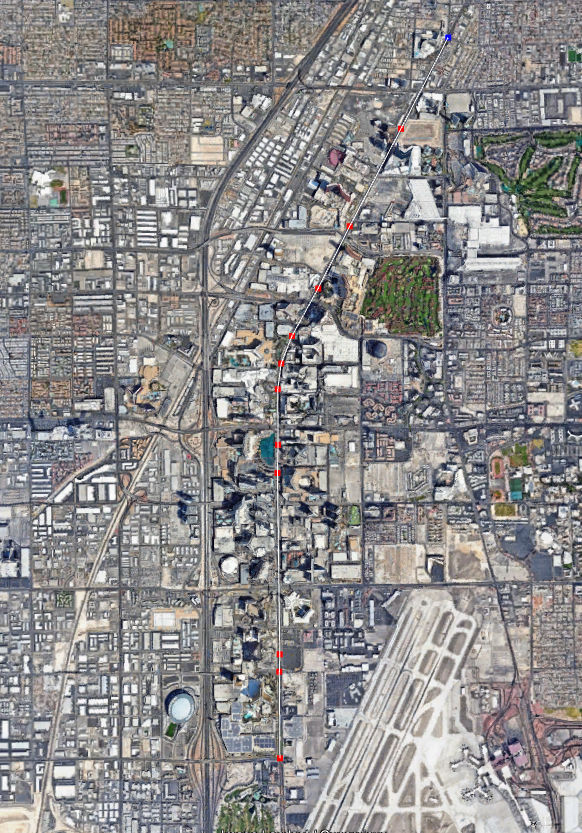
After adding all the last point (just north of the STRAT), I zoomed out to check the entire path. As you can see, all but the last point are red and the path curves to the right as it goes north.
Now that my path is done, I’ll click the OK button in the path dialog window. That adds the path to My Places.
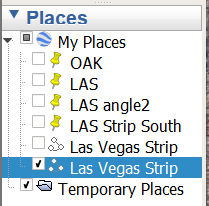
Since I don’t want to see the white path line / curve, I’ll uncheck the checkbox next to the path name.
To play the path tour, just click the path Play Tour button, as shown below.

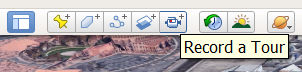
If you’re happy with how the tour looks, you can record it by clicking the “Record a Tour” button and then click the Play Tour button.
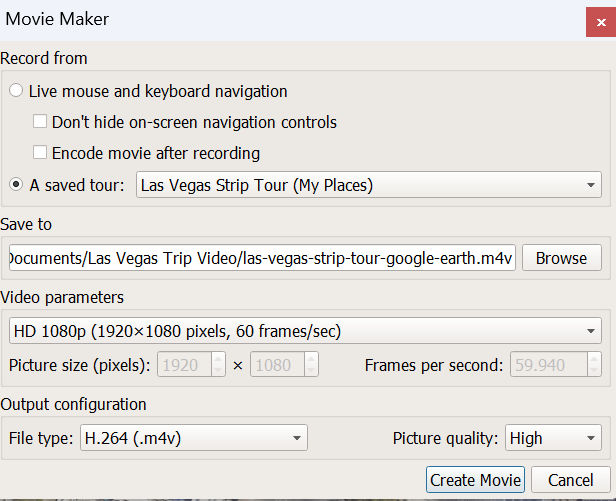
Then click Tools > Movie Maker to export the video.
Here’s how the video tour came out.