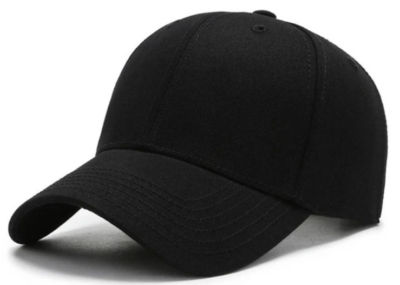
While there are many services that let you buy a hat and customize it, you may not like the style, quality or fit of the hat. Also, you are limited in how you can customize it. In this post, I explain how I customized a hat I already own. Since I’m planning to go on a cruise, I wanted a hat that kinda looked like a captain’s hat. My preferred hat is a black cap that I get at a nearby mall.
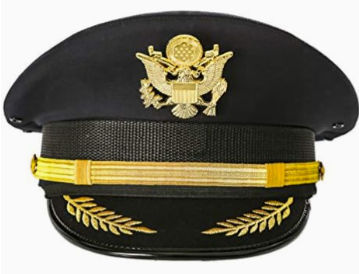
I wanted to customize it with design elements from the captain hat shown below.
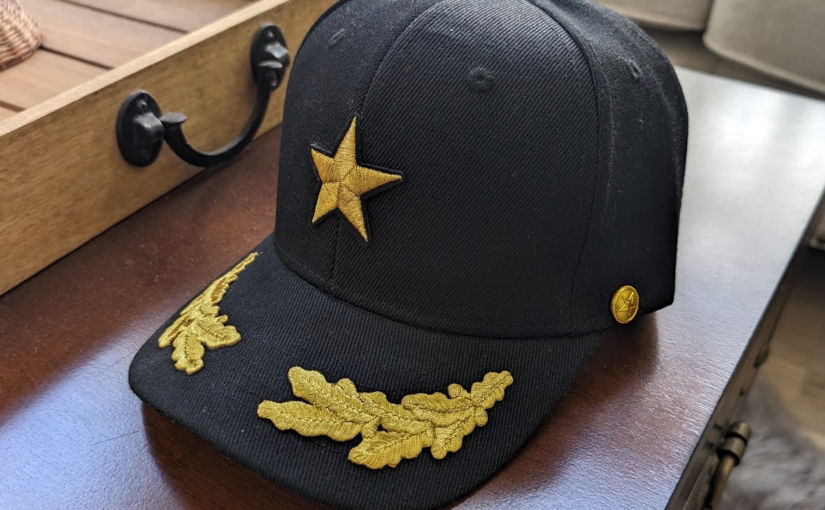
After much research, trial and error, I ended up with this:
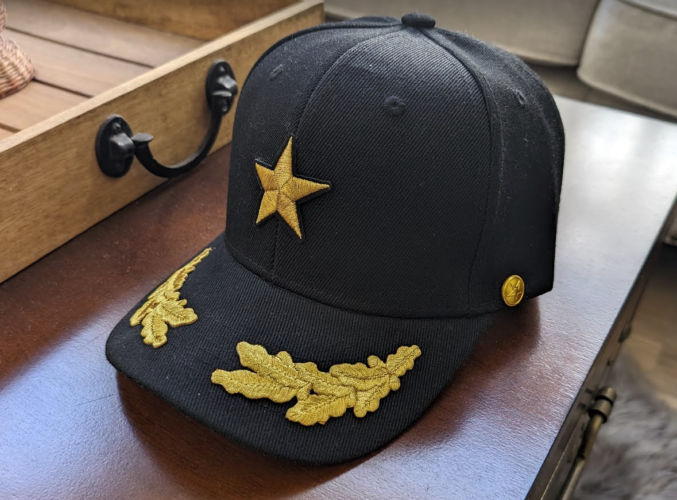

Here’s how I made it.
Materials
- Scrambled Eggs, Embroidered, Iron on Patch (Metallic Gold)
- Gold Star Embroidered, Iron on Patch
- E6000 adhesive
- Gold buttons (similar to this)
- Sewing pins
Instructions
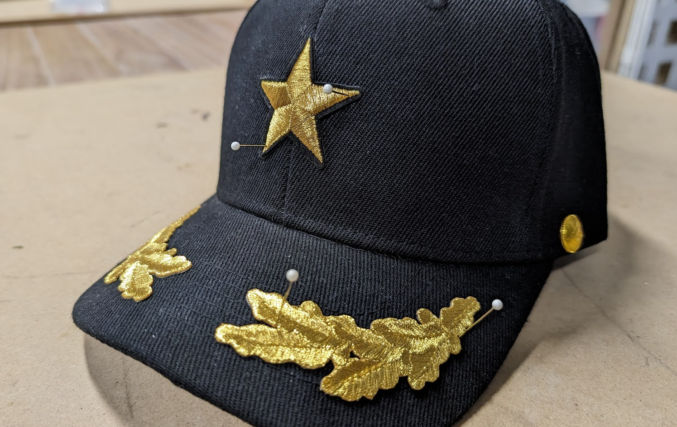
- Place the patches on the hat and secure using sewing pins.
- When you know where the patches should go, put sewing pins in hat at certain points along perimeter of patches to guide where the patches should go.
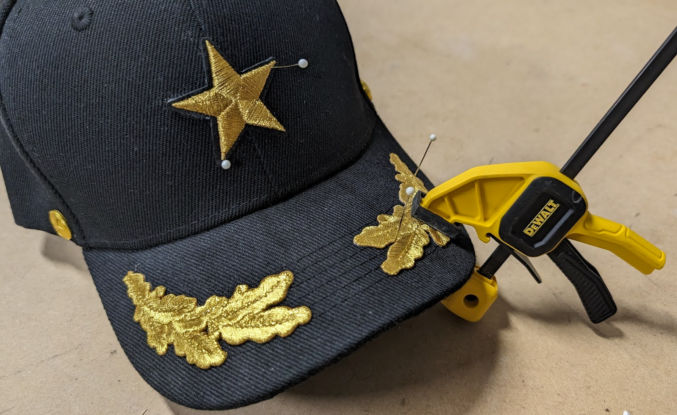
- Add glue to the back of the patches and place patches on hat.
- Insert sewing pins into hat through patches to secure patches in place. If necessary, clamp patches to hat using a clamp.
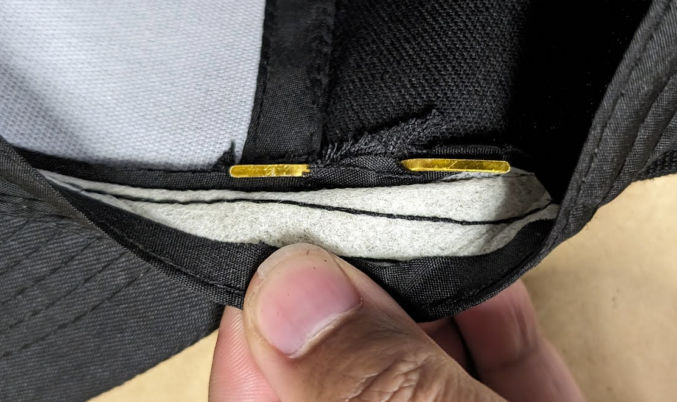
- Decide where to put the gold buttons.
- Drill hold in hat where gold buttons would go.
- Fasten gold buttons to hat via the holes you just created.
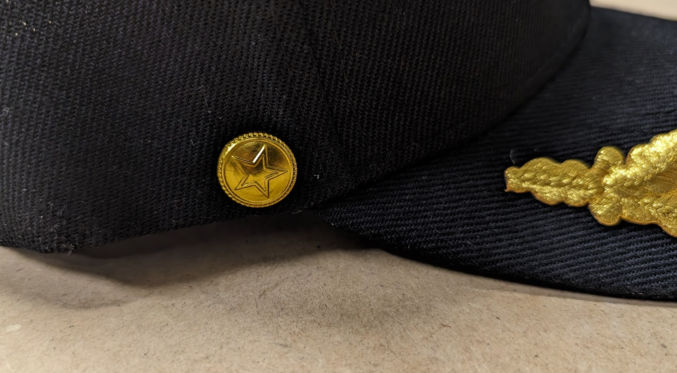
For the buttons, I actually took mine off of a cheap hat I had bought on Amazon. The buttons have 2 flat metal pins that can be folded to secure the buttons.