


Many website files include PDFs. These PDF files are usually much larger than other file types and can take up a lot of space. You may want to keep all website files like images and PDFs (binary files) together with your HTML, CSS and JS files (text files) and put them all in version control, like GitHub, but there are downsides to this:
- Git version control is designed for text files, not binary files. Even though you can use Git LFS so you can version your binary files, there are simpler, better alternatives.
- Website images are better served from an image CDN like Cloudinary or ImageKit. These services will automatically and quickly optimize images on the fly.
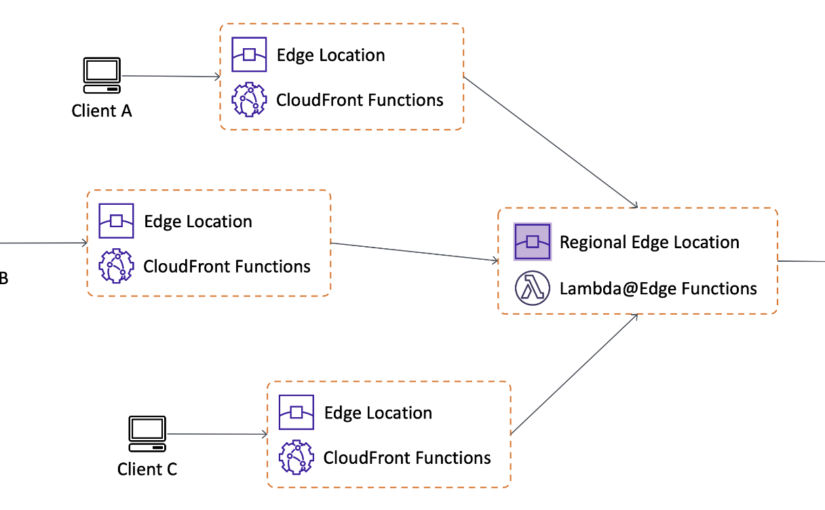
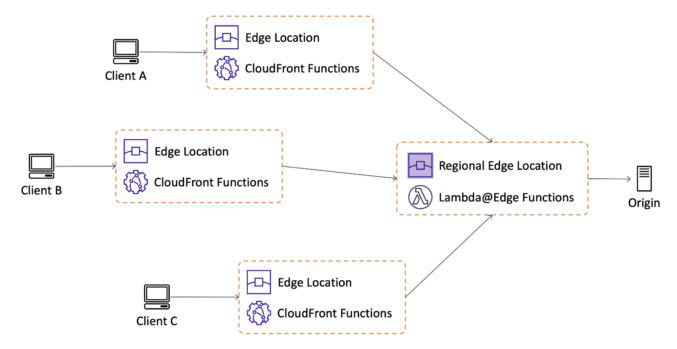
- PDF files are better served from a CDN. Amazon AWS S3 can be used to store your PDFs with versioning and AWS CloudFront can serve those PDFs from a CDN. With CloudFront, you can also write a function to redirect one PDF file to another in case you need to delete a file.
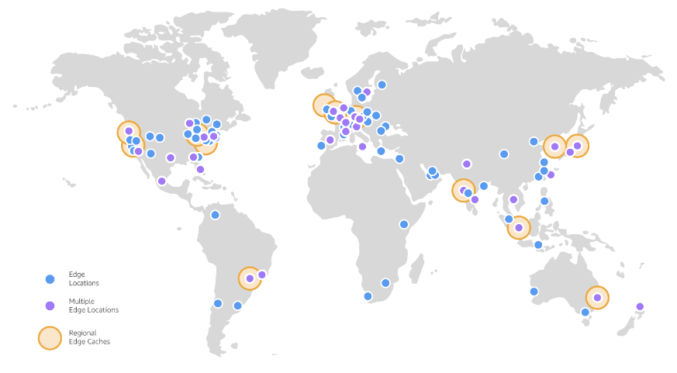
As of this writing, the AWS CloudFront CDN has 218 global edge locations.
The steps below describe how to set up AWS S3 and CloudFront to host PDFs and to set up redirects.
Note: you can create redirects using AWS Lambda functions (launched in 2017), but they are more complicated and cost 6 times as much as the cost of CloudFront functions (launched in 2021). Learn more.
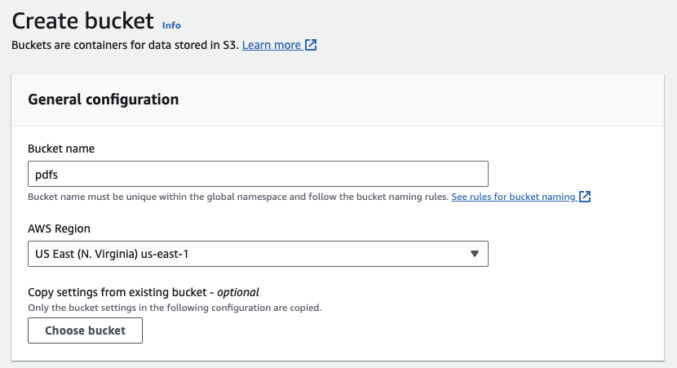
1. Create an S3 bucket
Log in to the AWS console, go to S3, and click “Create bucket”. Choose a bucket name like “pdfs”.
Since you want people to be able to access the PDFs, uncheck “Block all public access” and check “I acknowledge that the current settings might result in this bucket and the objects within becoming public.”
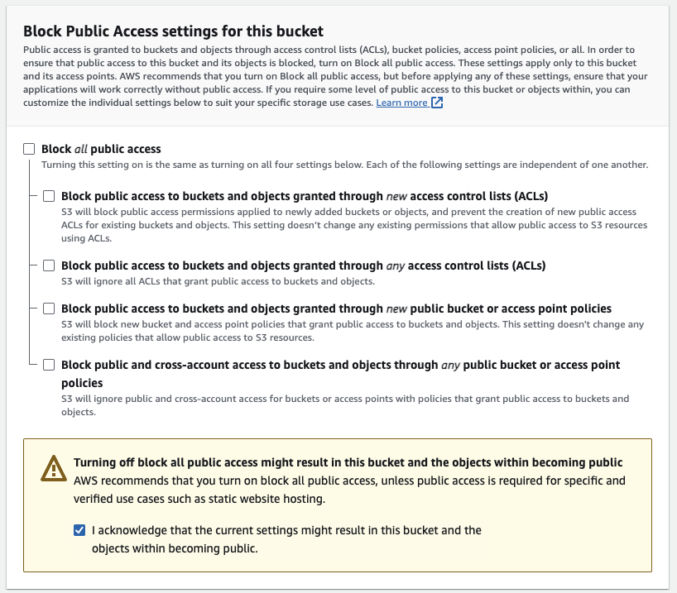
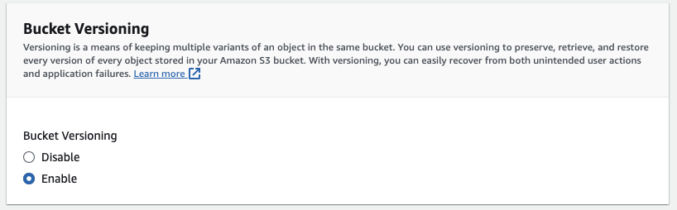
If you want, click the radio button that enables versioning
Ignore the other options, if you want, and then click the “Create bucket” button.
2. Upload PDFs
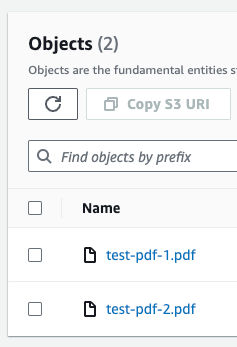
You can drag and drop your PDFs to upload them. If you have many PDFs, like thousands, then it’s better to use the AWS CLI S3 Sync command.
As a test, I just uploaded 2 PDF files/
3. Create a CloudFront Distribution
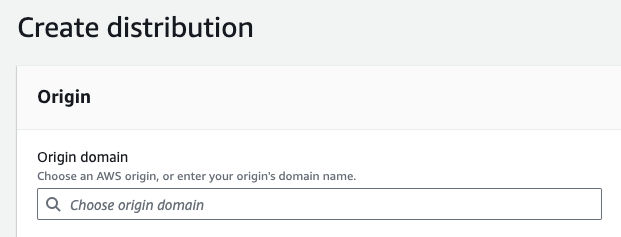
In the AWs console, go to CloudFront and click “Create Distribution”. For “Origin domain, choose the Amazon S3 bucket you created in step 1.
For the viewer protocol policy, choose “Redirect HTTP to HTTPS” since that’s a good policy IMO.

Ignore all other options, if you want, and click the “Create Distribution” button.
Now, the PDF files in your S3 bucket will be available in a CDN at the CloudFront domain provided, e.g. d2a5k3j4u1zr32.cloudfront.net/test-pdf-1.pdf
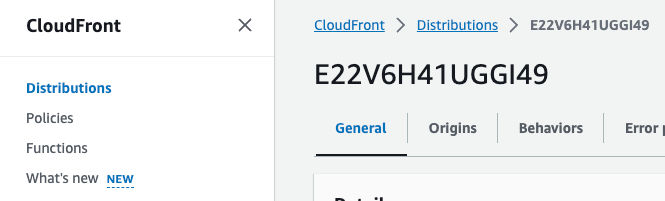
4. Create a CloudFront Function to Redirect Requests
Click on the distribution and then click on “Functions” in the left sidebar.
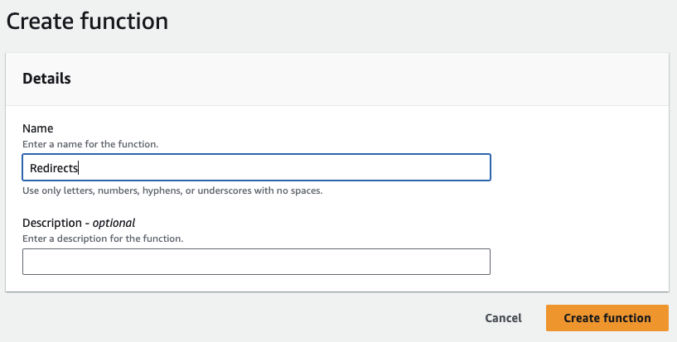
Click the “Create Function” button and enter a name for the function, e.g. “Redirects”.
You will see 3 tabs: Build, Test, and Publish.
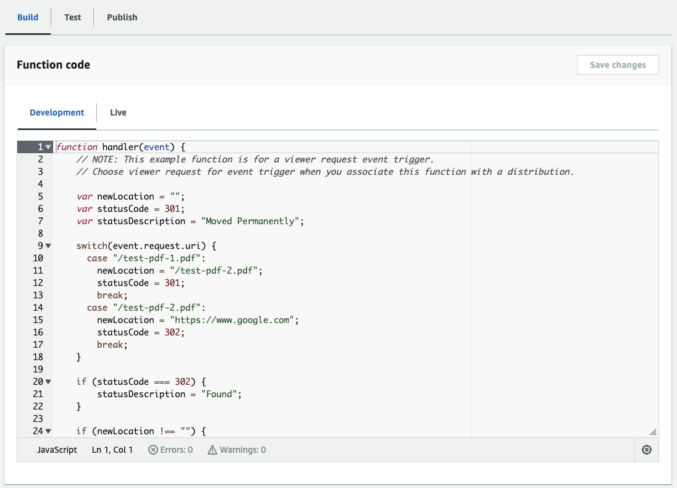
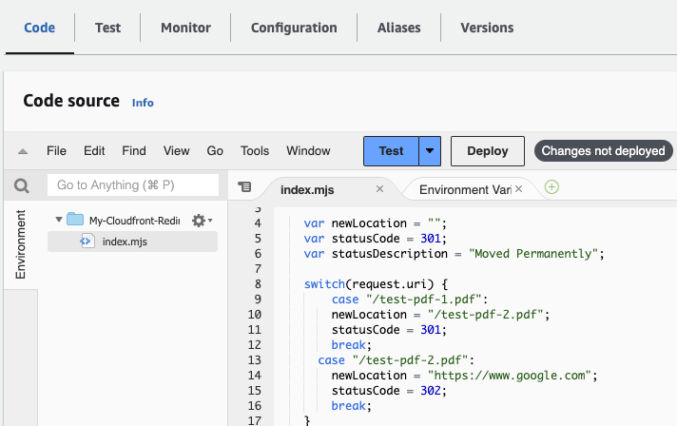
In the “Build” tab, enter the code below and customize as needed.
Note that there is a 10 KB limit on the size of your CloudFront function.
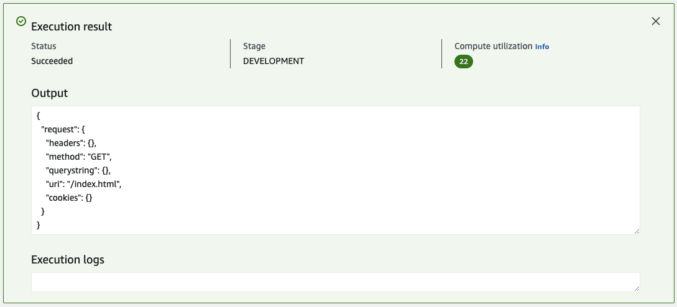
Click the “Save Changes” button and then click the “Test” tab. You will see a field labeled “URL Path” with a default value of “/index.html”.
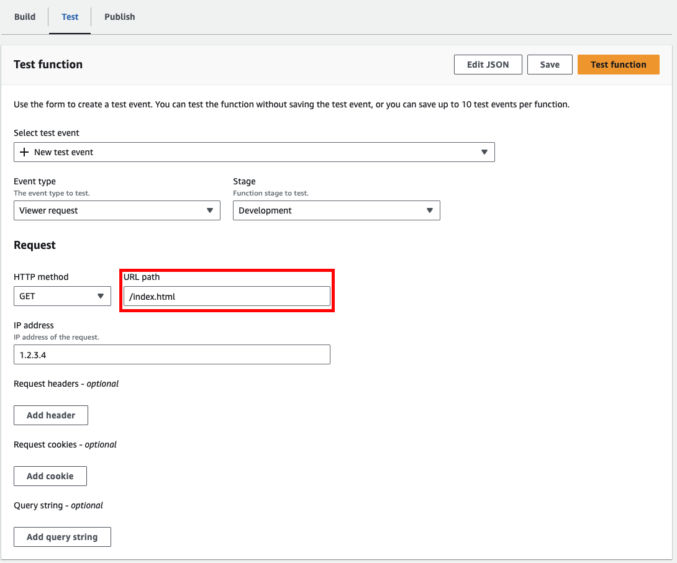
Since we don’t have a redirect rule for that URL path, we don’t expect any redirection to happen. Click the “Test Function” button. You will see output like below indicated that the response URI is “/index.html” as expected.
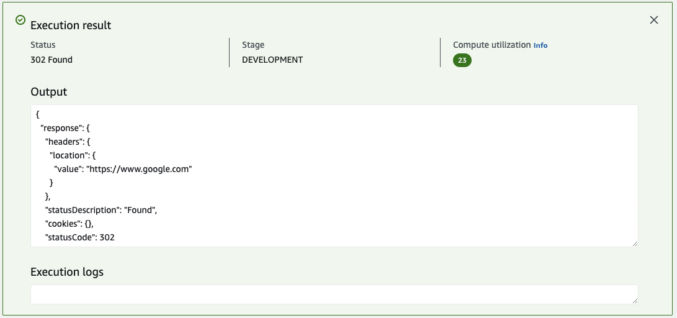
Now, change the URL path to one you have a redirect for. In my example code, I am redirecting “/test-pdf-2.pdf” to “https://www.google.com”. Click the “Test Function” button. The output shows “https://www.google.com”.
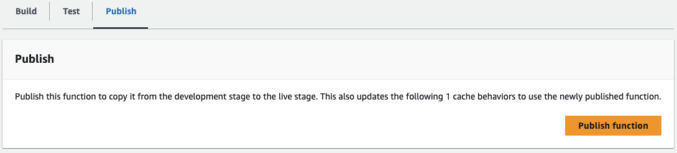
Now, publish the CloudFront function. Click the “Publish” tab, then click the “Publish Function” button.
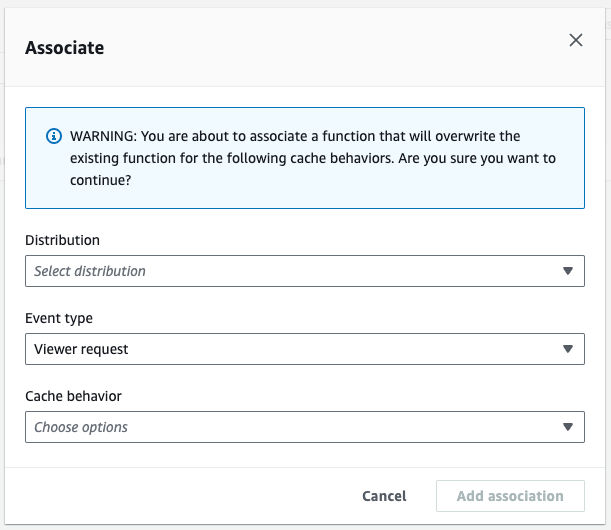
Click “Add Association” to associate the function to your distribution. Choose your distribution in the Distribution field. Leave Event Type as “Viewer Request” and ignore Cache behavior. Click the “Add association” button.
Note that you can only have one CloudFront function for a given cache behavior and event type.
Wait for the function to be deployed. Go back to the function list page and check the status column. It will say “Updating” for a few minutes.
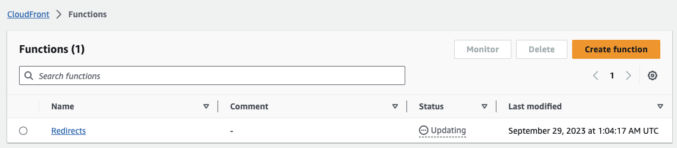
Wait a few minutes. Reload the page. The status should change to “Deployed”.

Now, test out the redirect in production by going to the CloudFront URL of a path you have a redirect for. You should see the redirect work.
Using Lambda Functions
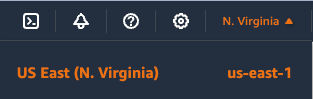
Make sure the location is set to us-east-1.
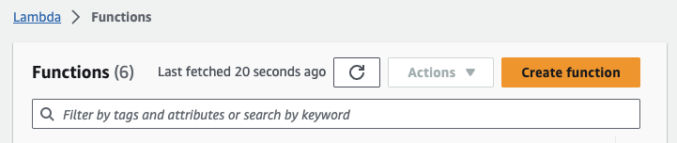
Go to the Lambda page and click “Create function”.
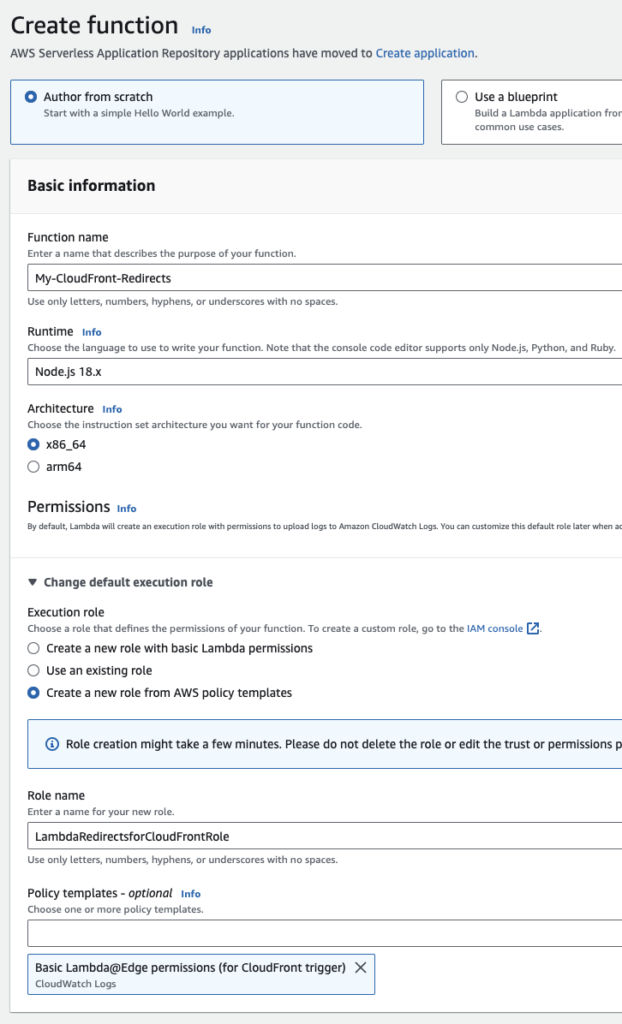
- Enter a name for your function.
- Under “Execution Role”, choose “Create a new role from AWS policy templates”
- Enter a role name
- Under “Policy Templates”, choose “Basic Lambda@Edge permissions (for CloudFront trigger)”. This is IMPORTANT. Do NOT choose “Create a new role with basic Lambda permissions”.
In the “Code” tab, enter the redirect code below and then click File > Save.
In order to test your code, you must deploy it first. Click the Deploy button.

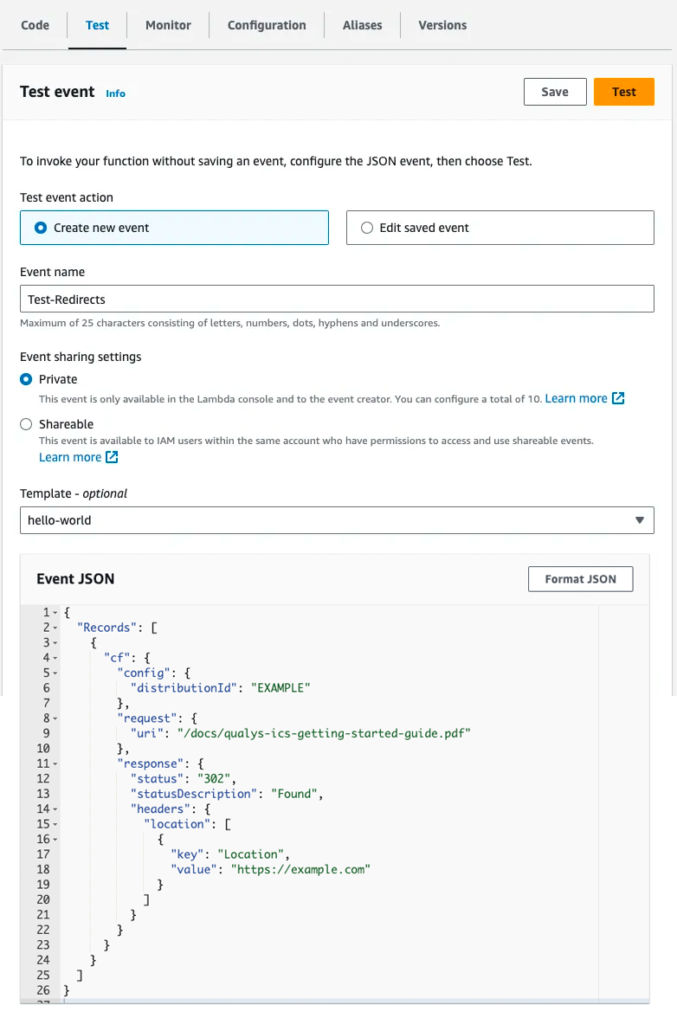
- Test your code by clicking the “Test” tab
- Choose “Create new event”
- Enter a name for the test
- Replace the event JSON with relevant test data, e.g.
{
  "Records": [
    {
      "cf": {
        "config": {
          "distributionId": "EXAMPLE"
        },
        "request": {
          "uri": "/docs/test-pdf-2.pdf"
        },
        "response": {
          "status": "302",
          "statusDescription": "Found",
          "headers": {
            "location": [
              {
                "key": "Location",
                "value": "https://example.com"
              }
            ]
          }
        }
      }
    }
  ]
}
Click the “Save” button and then the “Test” button.

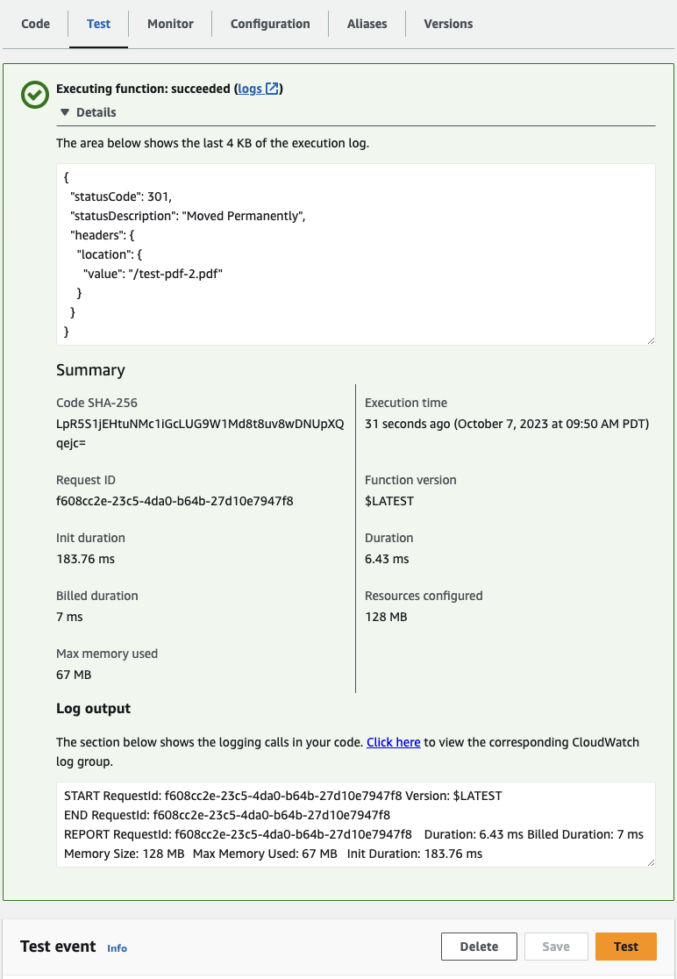
You will either see an error or a success response similar to what’s shown below.
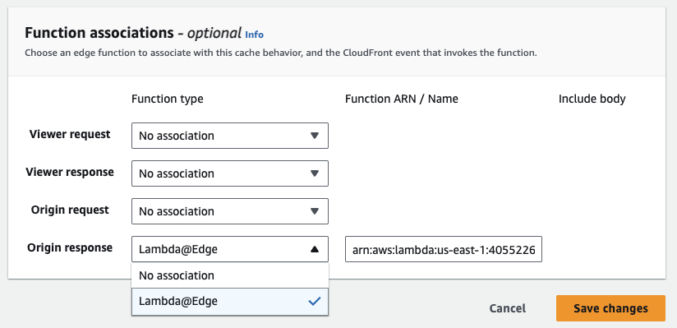
Under “Actions”, click “Deploy to Lambda@Edge”. This will deploy the Lambda function to the CloudFront edge network.
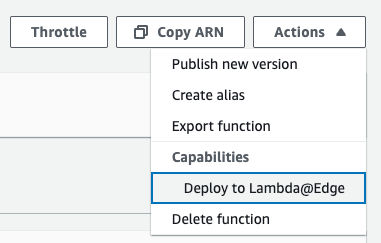
- Choose your CloudFront distribution from the dropdown list.
- For CloudFront event, choose “Origin Response”.
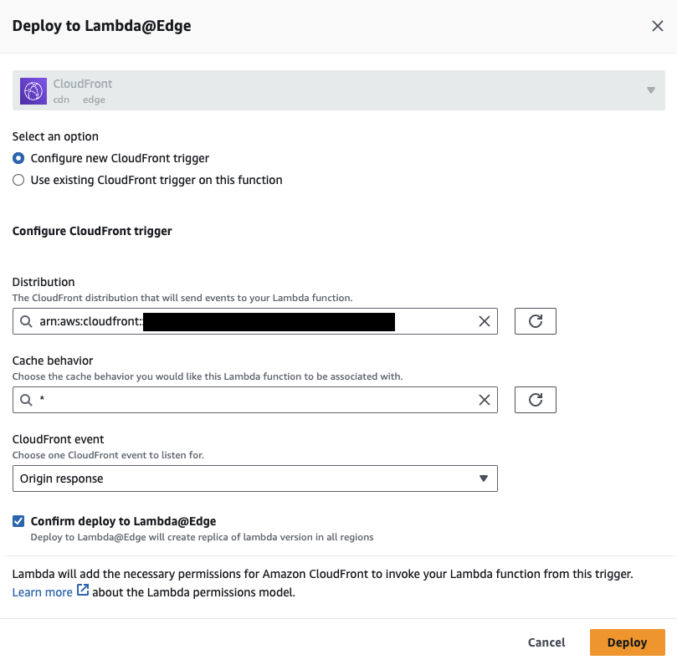
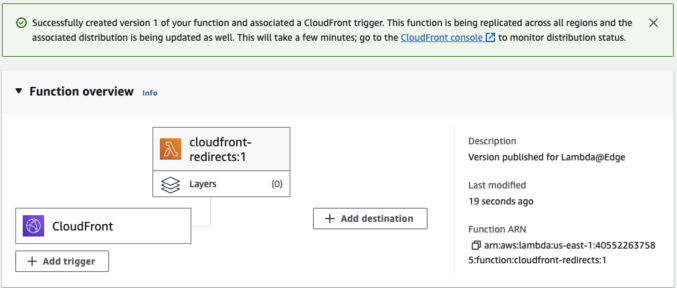
The green banner will state that the function is being replicated, but that it will take a few minutes to complete.
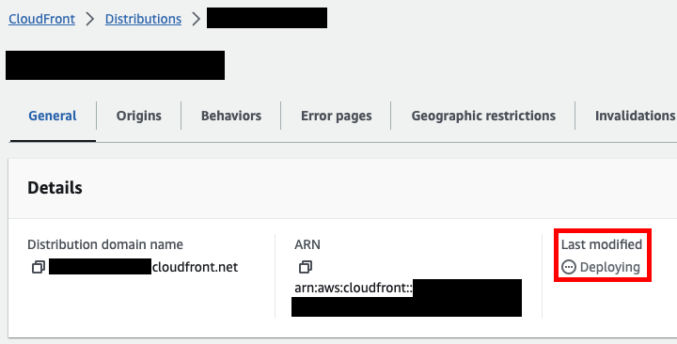
Go to the CloudFront distribution. You’ll see the status “Deploying”. Wait till it changes to a date/time indicating the deployment has completed.
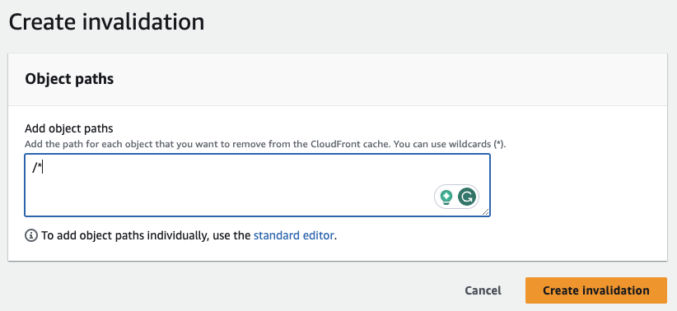
Invalidate the CloudFront cache for all objects using /*
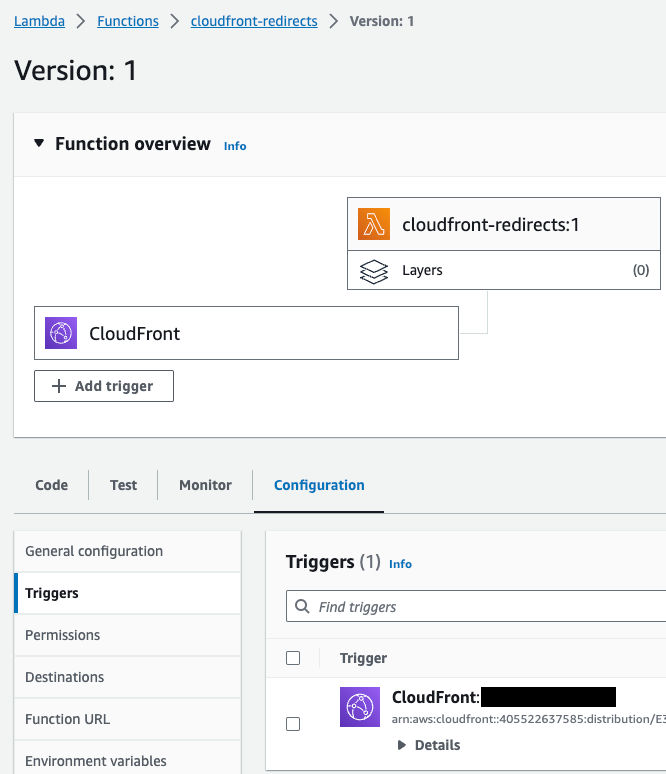
When the trigger is created, it will create a new Lambda function version. Click on the “Versions” tab and then click the version number to see that the trigger is saved in the version.
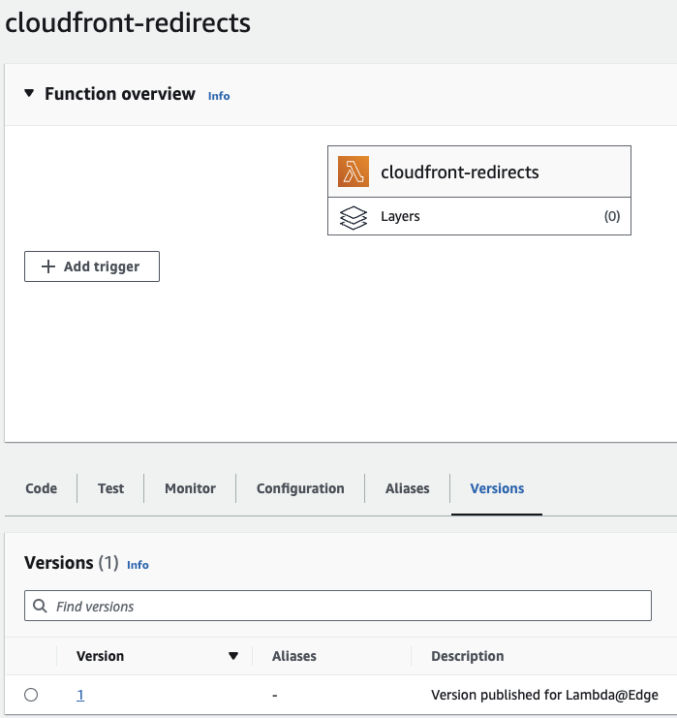
You will then see the CloudFront trigger in the diagram and other saved details.
Test the redirect using the cURL command.
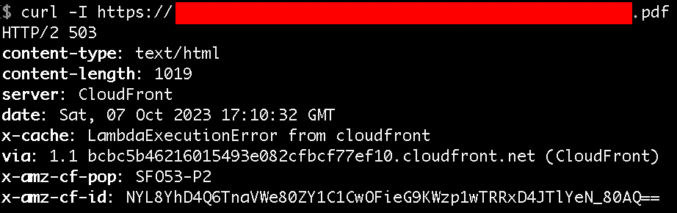
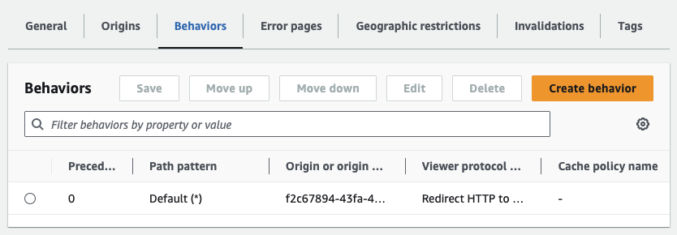
If you need to remove a Lambda function from a Cloudfront distribution,
- go to the distribution
- click “Behaviors”
- choose a behavior and click “Edit”
- Scroll down to “Function Association” and select “No association” for the function type
- Click “Save changes”
- Invalidate the Cloudfront distribution using /*
Put Redirect Data in an External JSON File
The instructions above work, but whenever you want to update the redirects, you have to edit the lambda JavaScript function and redeploy it to the Cloudfront edge. The deployment process takes about 5 minutes. To improve this process, we can move the redirect data to a JSON file in an S3 bucket. Then, you can just upload an updated JSON file, overwriting the existing file, and the updated redirects will work immediately. Here’s how to do that.
Create a JSON file containing all redirects like the following and upload it to S3.
{
  "/file1.pdf": { "to": "/file2.pdf", "statusCode": 301 },
  "/resources/file3.pdf": { "to": "/resources/file4.pdf", "statusCode": 301 },
  ... etc. ...
}
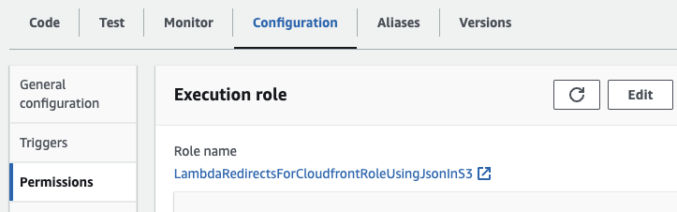
Add permissions to the lambda function to have read access to S3. Go to Lambda > Functions > and click on the function name. Then, go to Configuration > Permissions > Execution Role > and click on the role name.
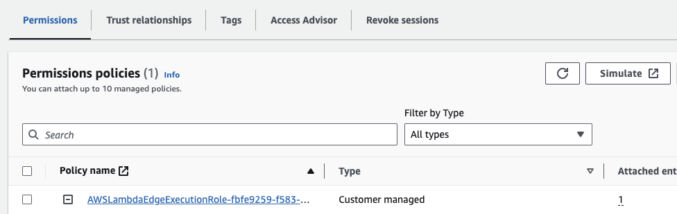
A new tab containing the role’s permission will open. Under “Permissions policies”, click on the policy name.
That will open a new tab showing the permissions defined in the policy. Click the Edit button.
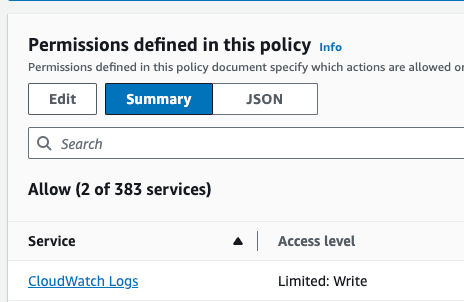
A new table will open showing the existing permission. Add the following S3 permissions. Replace “mybucket” with the name of the S3 bucket where you put the JSON redirect file.
"Effect": "Allow",
	"Action": [
		"s3:Get*",
		"s3:List*"
	],
	"Resource": [
		"arn:aws:s3:::mybucket",
		"arn:aws:s3:::mybucket/*"
]
The entire JSON object may look like this.
{
	"Version": "2012-10-17",
	"Statement": [
		{
			"Effect": "Allow",
			"Action": [
				"logs:CreateLogGroup",
				"logs:CreateLogStream",
				"logs:PutLogEvents"
			],
			"Resource": [
				"arn:aws:logs:*:*:*"
			]
		},
		{
			"Effect": "Allow",
			"Action": [
				"s3:Get*",
				"s3:List*"
			],
			"Resource": [
				"arn:aws:s3:::mybucket",
				"arn:aws:s3:::mybucket/*"
			]
		}
	]
}
Back at the lambda function page, click on the Code tab and update the code as follows:
Replace the first 3 constant values with your S3 bucket’s region, bucket name and the path to the redirect JSON file.
const REDIRECTS_DATA_REGION = 'us-east-1';
const REDIRECTS_DATA_BUCKET = 'pdfs';
const REDIRECTS_DATA_OBJECT = 'docs/pdf-redirects.json';
Click “Deploy” so you can test the lambda function. Once you verify it is working, go to Actions > Deploy to Lambda Edge. Follow the remaining steps as shown above.
Resources
- https://making.close.com/posts/redirects-using-cloudfront-lambda-edge