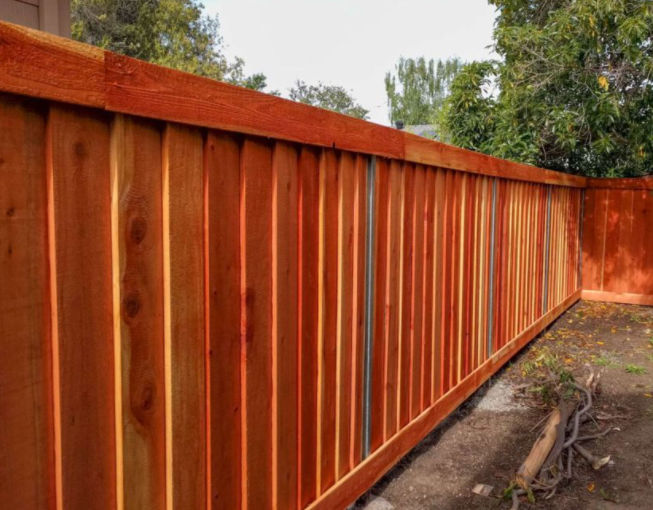
I recently had to rebuild a bunch of fences on a new rental property. As you may already know, the hardest part is digging the holes and building the frame. This article explains step by step how to quickly and correctly build a fence frame.
1. Run string from one end of new fence to the other end near the ground
In order for the fence to be straight, we need to make a straight line from both ends. Since we haven’t dug holes yet, we put the string near the ground so we can mark where we want the holes for the fence posts to go.
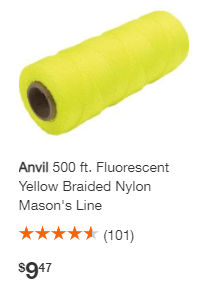
Nylon Mason’s line is thin and can easily break. Instead, you can use paracord.
2. Mark post hole locations
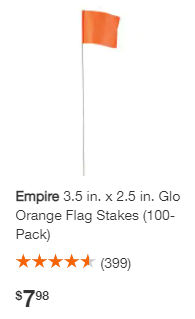
Depending on the existence of neighboring fences, we may or may not need posts at the ends. Mark where the post holes will go. Each fence panel between posts will be 8′ long. For marking the locations, you can use a wood stake, metal stake, flag stake, or spray paint. I prefer using flag stakes.
3. Dig fence post holes
Post type
Normally, people use 8′ long 4×4 pressure-treated wood for fence posts. If you do that, then the horizontal 2x4s (rails) will have to be toenailed into it or secured using metal brackets.
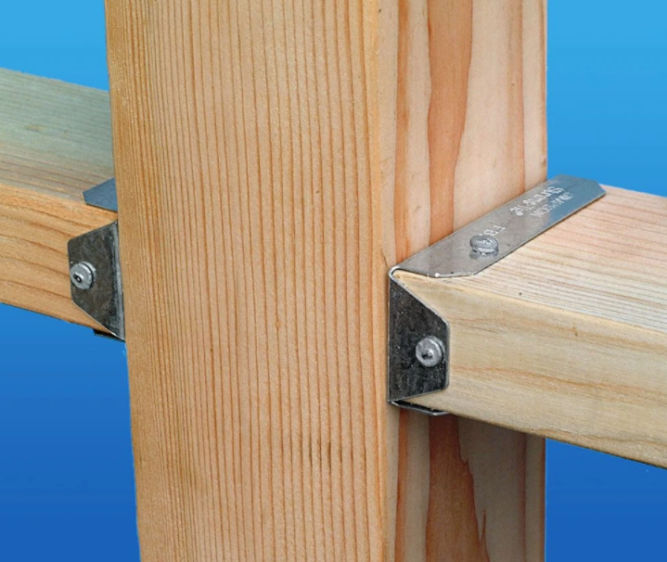
Either way, that’s a lot of work, especially if you later decide to make adjustments. Also, the wood can rot,weaken, and become warped over time. For these reasons, I just spend the extra money and buy steel fence posts.
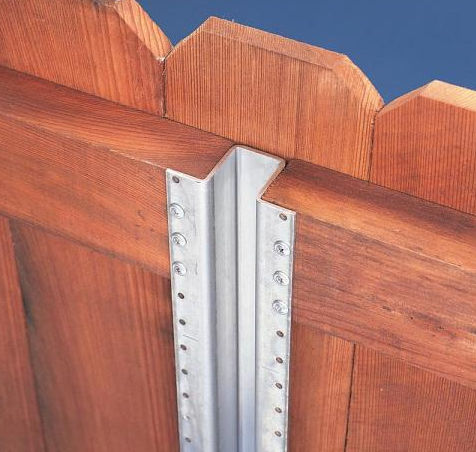
The Postmaster 1-3/4 in. x 3-1/2 in. x 7-1/2 ft. Galvanized Steel Fence Post is $30 at Home Depot. These posts have holes along them for securing the rails.
Post hole diameter
The post hole diameter should be about 3 times the width of the post. Since the steel posts are 3.5″ wide, then the hole should be about 10.5″ in diameter.
Post hole depth
The post hole depth should be 1/3 to 1/2 the post height above the ground. Since we want our fence to be the standard 6′ tall, and the steel posts are 7.5′ long, we’ll make our holes 2.5′ deep.
Top of fence
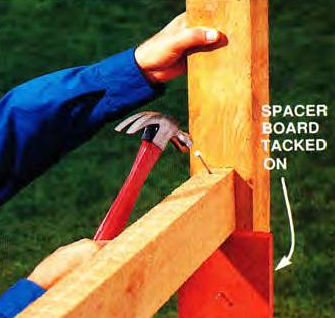
The height of the fence post and the top rail above ground will be 5′. Therefore, the top one foot of the 6′ tall vertical fence boards will be above the top rail. The problem with this is the top one-foot portion of the fence boards can warp.
To fix this, you can screw a horizontal piece of wood (2×3 or 2×4) at or near the top of the fence boards on the side where the fence rails are.
Soak the ground
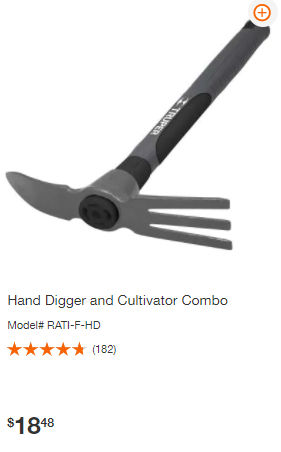
Before digging holes, you’ll want to soak the ground, preferably overnight. This will make it much easier come time to dig. The deeper you dig, the harder the soil. You can dig a small hole first using a hand digger.
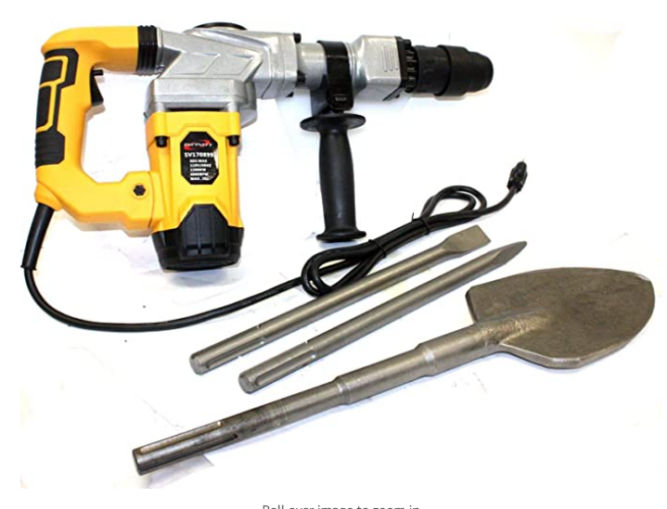
Or, preferably, you can just use a jackhammer with a spade bit.
Digging tool
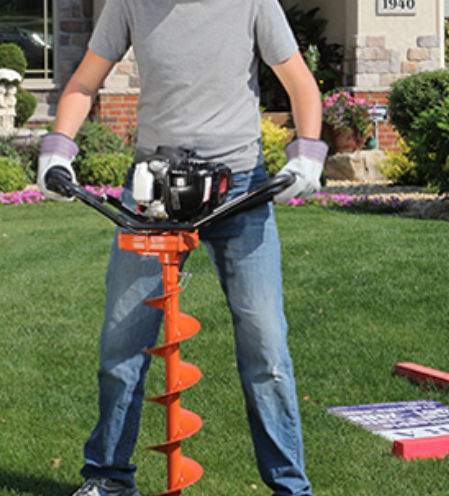
To dig holes, the easiest and cleanest way is to use a gas-powered earth auger. You can rent one from the Home Depot ($55 for 4 hours). You can choose from a variety of auger bit diameters. Choose a 10″ or 12″ diameter auger bit.
When you are digging, if you can’t dig any deeper, then stop and pour water into the hole and let the water drain. You can then dig again.
You may run into roots and rocks while digging with the auger. In this case, you’ll need to cut the roots using a reciprocating saw or break up the rocks using a jack hammer.
4. Tie a string to both end posts
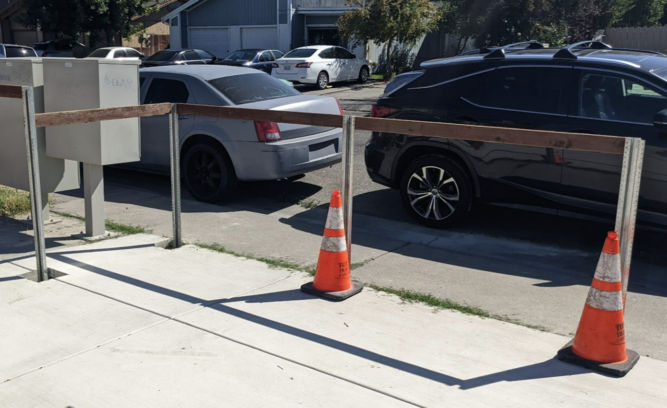
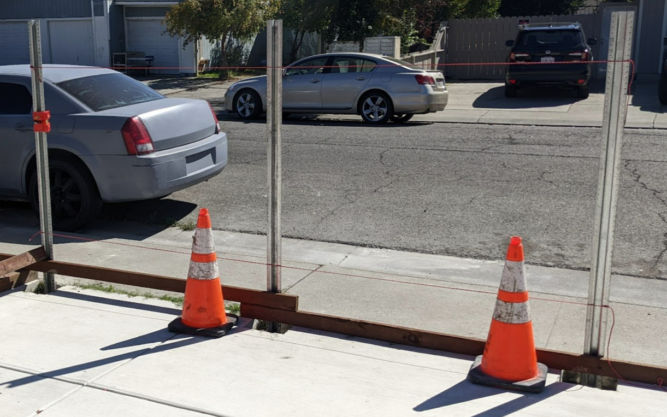
Now that you have 2.5′-deep holes, you can insert the steel posts at each end. Tie string or paracord from one end post to the other both near the bottom and top of each post. The purpose is to adjust the middle posts to be aligned with the end posts. Later on, when concrete is poured into the middle post holes, the middle posts should touch the string.
In the photo below, there are a total of 3 posts and 2 string lines connected to each end post.
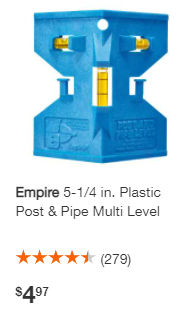
5. Plumb and brace the posts
Adjust the position of each post using a fence post level and check for plumb.
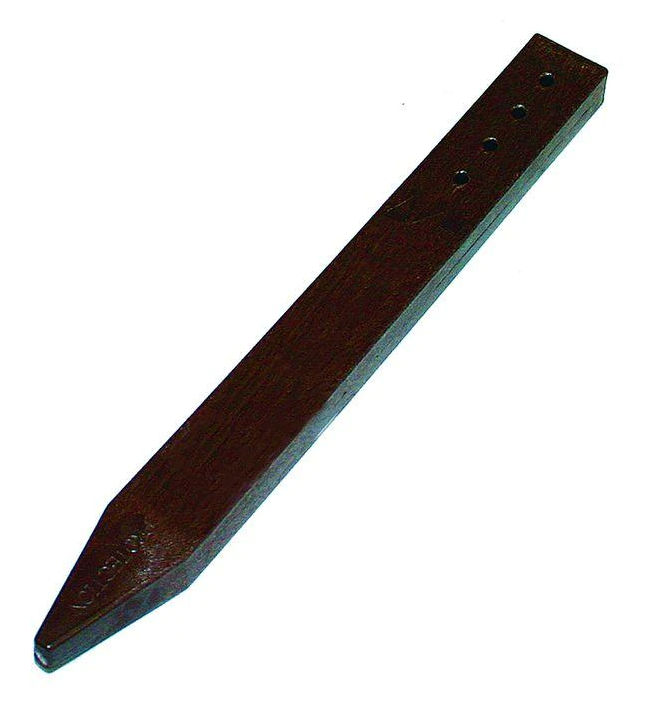
To hold the posts in place, if the surrounding ground is dirt, brace them using stakes. I prefer hitting a 2′ long steel stake straight into the ground and then screwing a piece of wood horizontally between the steel stake and the post. The steel stakes are pre-drilled. There should be two braces perpendicular to each other to hold the post plumb.
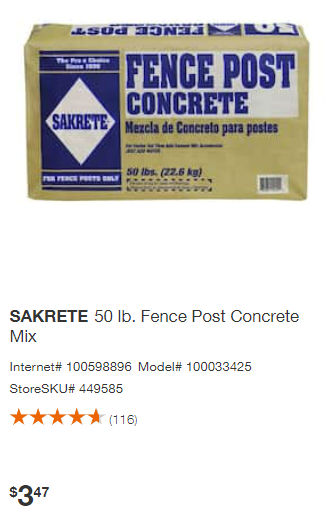
6. Mix and pour concrete
Buy fence post concrete.
Pour half the bag of concrete in a 5-gallon bucket, add water, and mix using a special mixer for concrete.
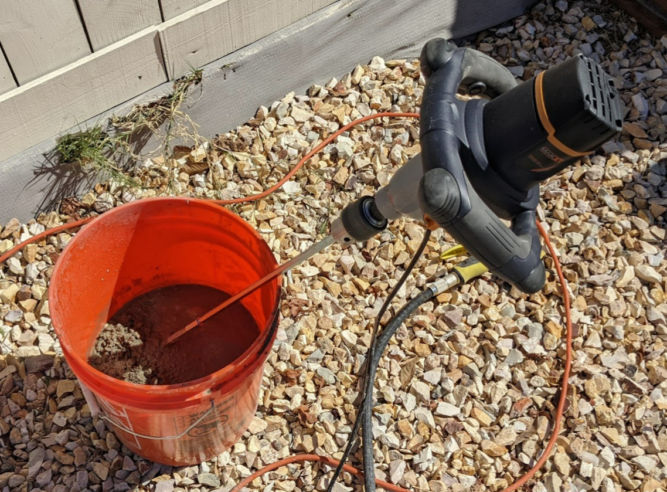
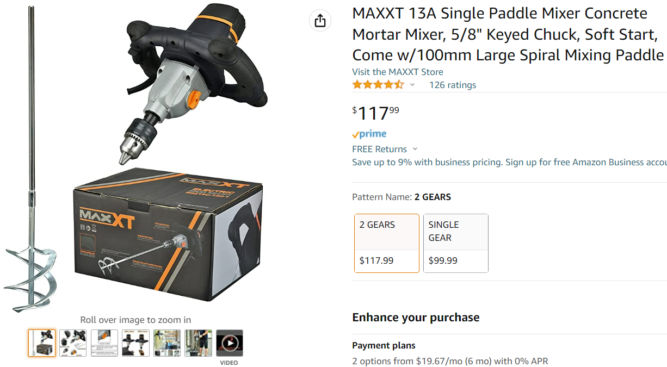
The mixer I use is a 2-gear mixer shown below. The first / low gear is for mixing concrete. It has high torque and low speed which is what you want. If you use a high-speed mixer, the concrete mix gets everywhere, creates a mess, and can crack the bucket. I find this particular mixer to be perfect for mixing concrete.
The consistency of the mix should be watery but not too watery. You should be able to pour the concrete mix straight out of the bucket. If you can’t pour the concrete mix, then you need to add water.
7. Add concrete to the middle posts
Now that the 2 end posts are done, add concrete to the middle posts. If you haven’t braced the middle posts, that’s fine. Once you add some concrete, you can position the posts while the concrete is still wet. Make sure the middle posts touch the top and bottom string lines to ensure a straight fence.
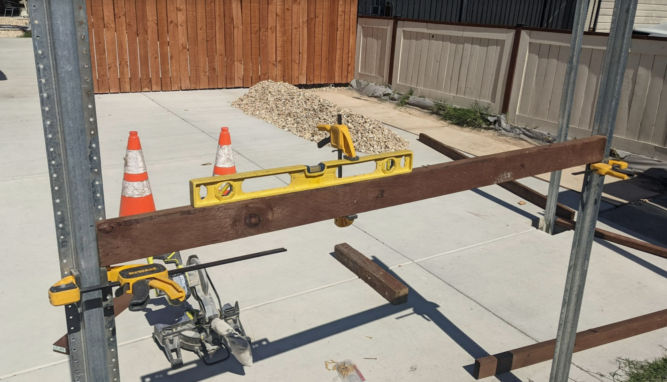
8. Add horizontal fence rails between posts
Once the posts are secure and the concrete is dry, measure how high you want the horizontal rails to be. Then, add clamps to the posts. The clamps will hold the rails in place before you’ve had a chance to screw them to the posts. Secure a level to the top fence rail
9. Cut posts
Cut the top portion of each post using a reciprocating saw with metal blade.

10. Screw rails into the fence posts