


Whenever you make a change to a website, you need to deploy your changes to a production server. This can be as simple as uploading some files and as complex as having a multi-step process involving version control, building code, running custom scripts, checking links, image optimization, and then rsync-ing files to multiple production servers. To manage the build and deployment process, developers often use continuous integration (CI) and either continuous delivery or continuous deployment (CD). CI/CD bridges the gaps between development and operation activities and teams by enforcing automation in building, testing and deployment of applications.
I’ve used Travis CI and attempted to use CircleCI but both seemed more complicated than I would like them to be. I then came across Buddy which got a lot of good reviews and looked super simple to set up. For me personally, I just wanted a simple way to commit changes to this blog’s custom WordPress theme in GitHub and have the changes SFTP’d to the production server. Though you can do that using GitHub Actions, it looked like more work and didn’t come with useful reporting and notifications like what you get with Buddy. Below is how I set up Buddy to detect whenever I commit or push to GitHub and then SFTP the changes to a server.
1. Sign up for Buddy
Buddy requires that you sign up using a work email address or to log in using your GitHub account. I wasn’t using this for work so I just logged in using my existing GitHub account.
2. Create a project
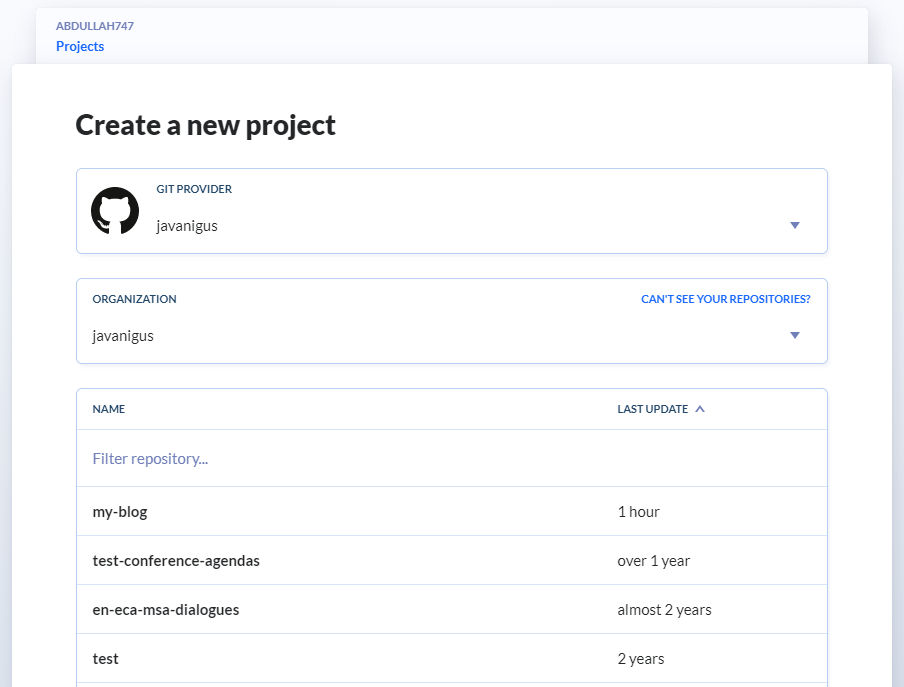
Click the “Create a new project” button. Since I logged in using my GitHub account, Buddy instantly showed me my GitHub repos. Click on a repo for this project you are working on. In my case, I chose “my-blog”.
3. Add a new pipeline
Click to add a new pipeline. You will be asked for a number of things including:
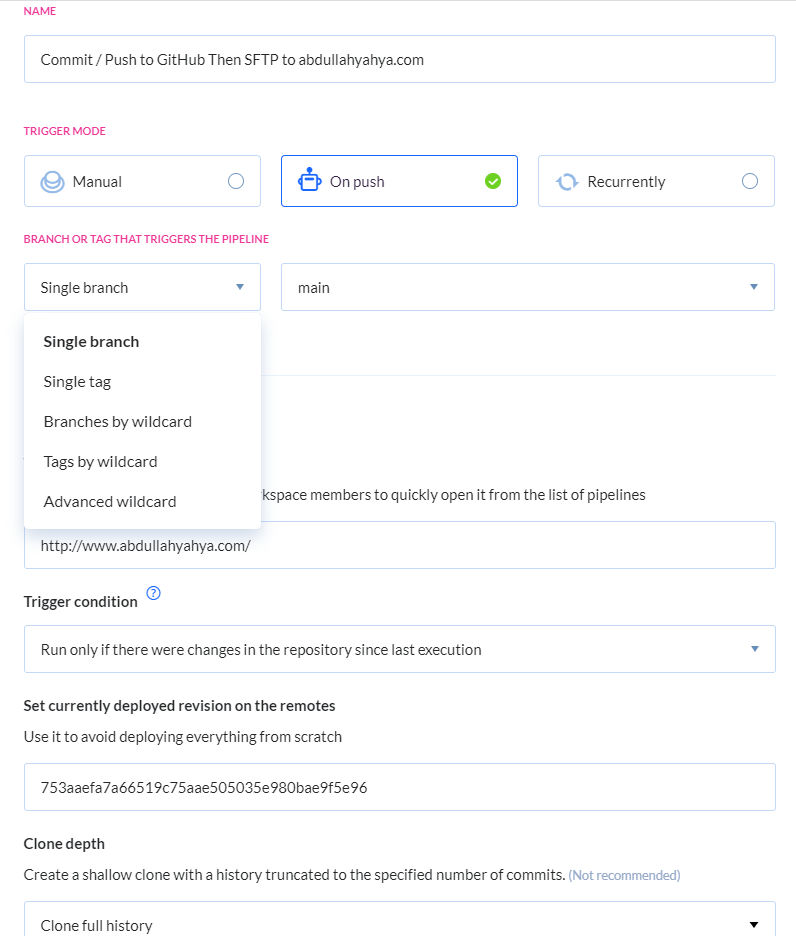
- Name – I just called the pipeline “Commit / Push to GitHub Then SFTP to abdullahyahya.com”
- Trigger Mode – I chose “On push” because I want to trigger the pipeline whenever I commit or push to GitHub.
- Branch or Tag That Triggers the Pipeline – I chose “Single branch” and “main” since, well, I only have one branch (main) and no tags.
- Target Website URL – I entered my blog’s website URL
- Trigger Condition – there are a few options here but I chose to have the pipeline be triggered only if there were changes in the repository since last execution which is probably what most people want.
- Set currently deployed revision on the remotes – Since I already had commits in GitHub that were in sync what production, I chose the most recently commit revision to avoid unnecessarily deploying everything from scratch.
- Other – there are other options but I just left them at their defaults
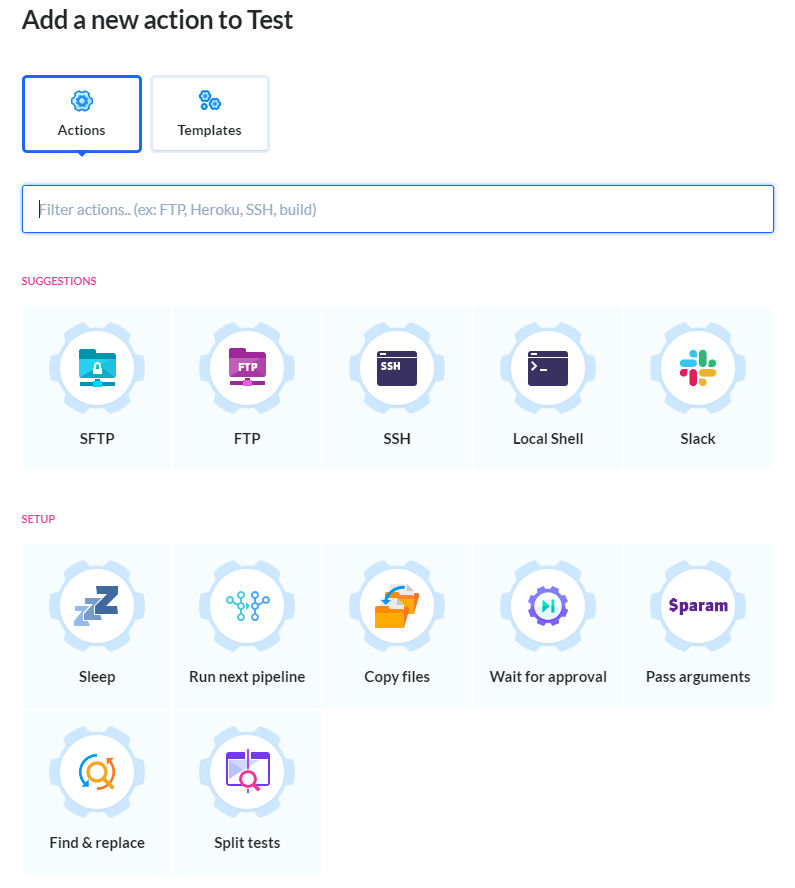
4. Add an action
On the next step, you need to choose an action that will take place in the pipeline (when there is a change committed / pushed to GitHub). Since I just want to SFTP the changes, I chose the SFTP action. Browse all Buddy actions.
5. Set up action
Now, you need to set up your chosen action. In this case, I need to set up my source and destination file paths and SFTP login credentials.
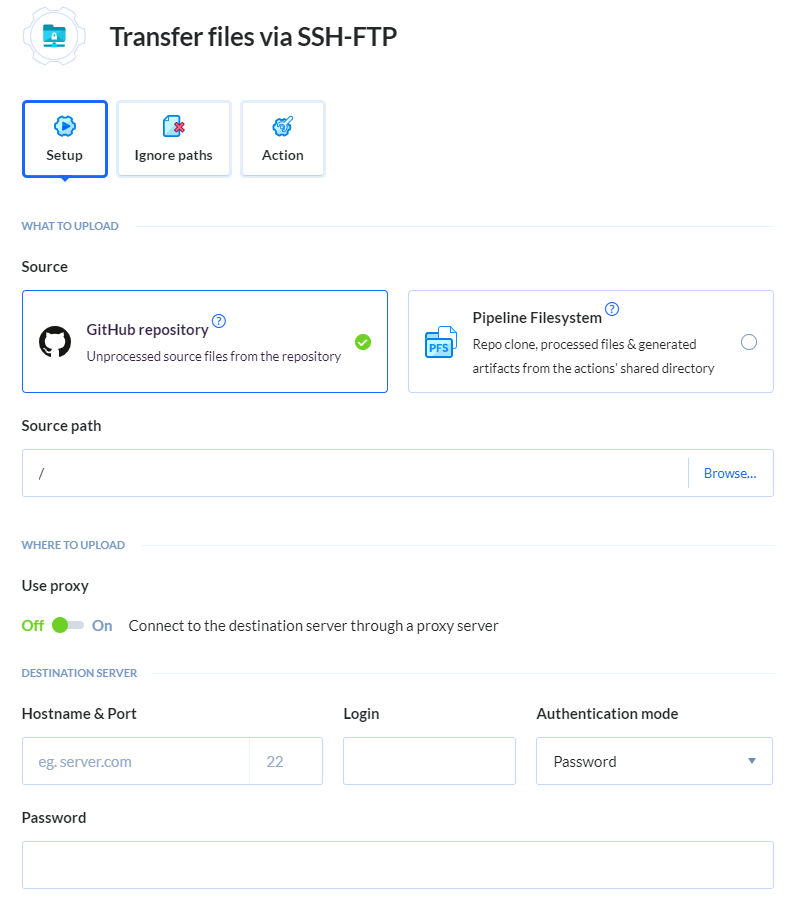
If you click the Action tab / button, you can name your action and temporarily disable the action, among other things.

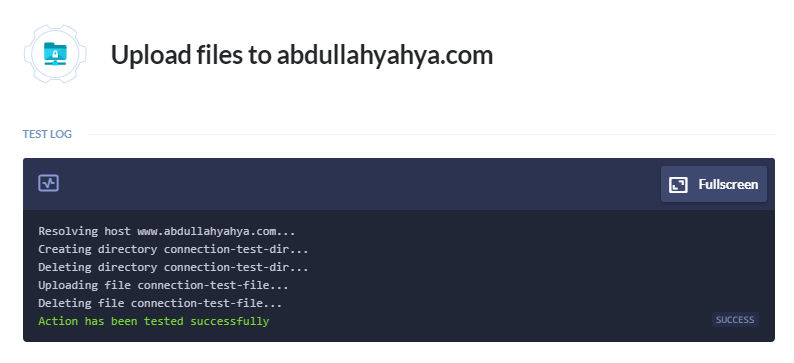
Test your action by clicking the “Test action” link. In my case, Buddy connecting to the production server of SFTP, created a test directory, deleted the test directory, testing uploading a file, and deleted the test file.
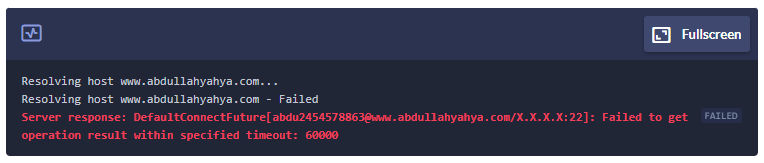
If your test fails, e.g. you get the following error, then you may need to whitelist Buddy’s IP addresses.
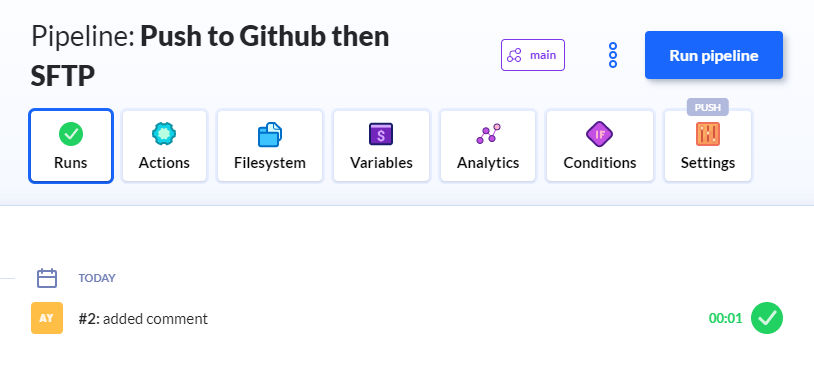
6. List all pipelines
When you are done, you will see your new pipeline listed along with any other pipelines you have. You can manually run the pipeline also.

7. Do a real test
To do a real test of my pipeline, I added a comment to a file directly in GitHub and committed it. Seconds later, I saw the commit message show up in Buddy. I then verified that the comment was actually added to the file on the production server.
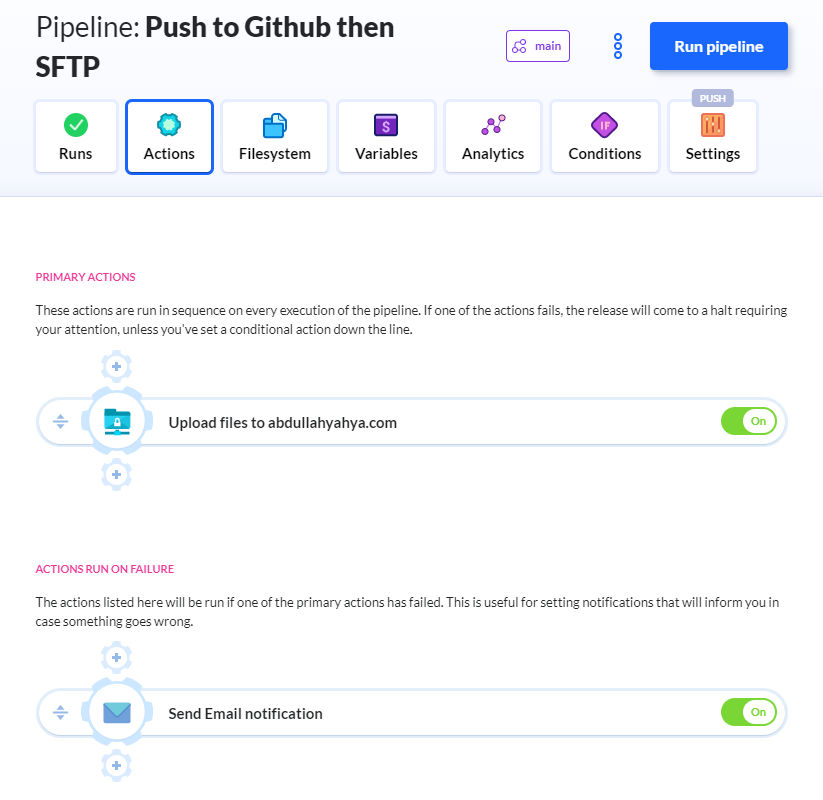
8. Add more actions to the pipeline
If you click the Actions button / tab, you’ll see all actions in the pipeline. You can add more actions that run in certain situations. In this example, I added an action to send myself an email if the pipeline fails. You can also add actions that rsync files to a server, optimize images, perform link checking, run a custom shell script, and much more.
9. Done
So that’s it. Super easy. Intuitive. Fast. I like it!