The Fujitsu ScanSnap iX500 document scanner is one of the best sub $500 scanners. Unfortunately, the documentation isn’t good. I tried scanning a document over wi-fi to my laptop, which normally works fine, but one day the blue light would keep changing to orange. I ended up having to uninstall and reinstall the installation software. Fortunately, my scanner’s wi-fi settings were still saved. Here are some tips (which I’m writing more as a reminder to myself) that may be of help to anyone experiencing the orange light error.
ScanSnap Icon Color
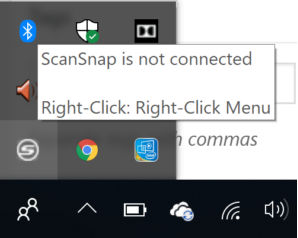
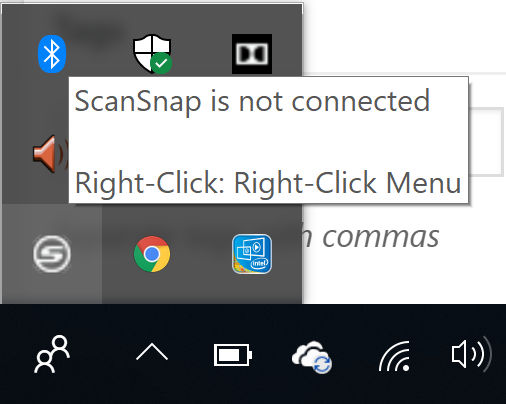
On Windows, in your system tray there should be a ScanSnap icon. When the scanner is off, the icon is grayed out and the tooltip message says “ScanSnap is not connected.”
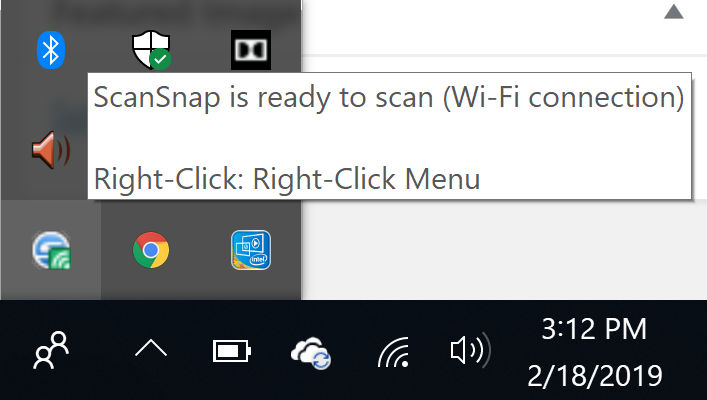
Scan over wi-fi to laptop
To scan over wi-fi to your laptop, do the following
- Turn on both the ScanSnap scanner and your laptop
- Wait for the ScanSnap icon to change as shown below. The tooltip will also say that ScanSnap is ready to scan over wi-fi.
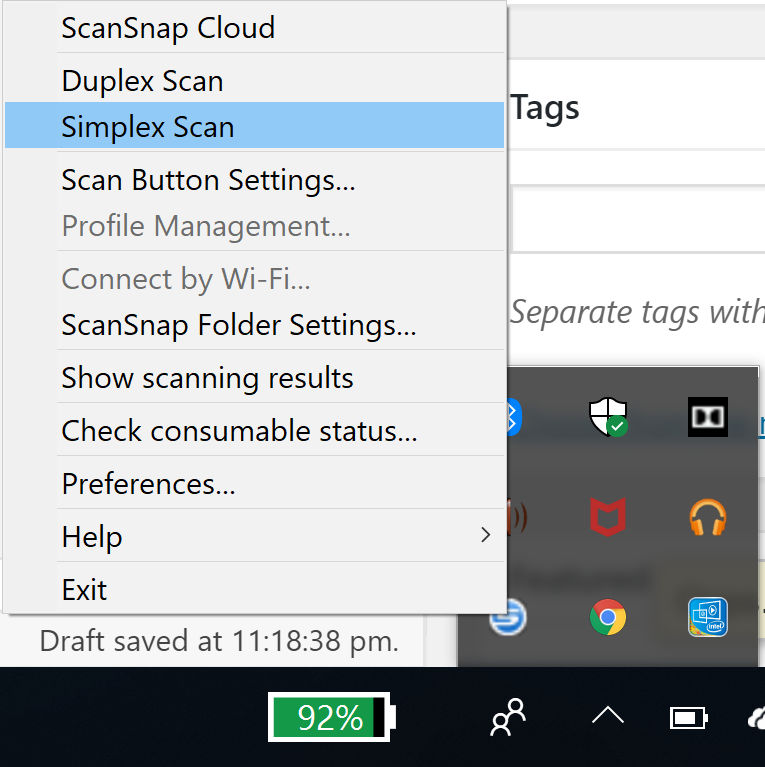
- Load a document and push the blue button on the scanner or right-click on the ScanSnap icon and click either Simple Scan (one-sided) or Duplex Scan (double-sided)
- The document will pass through the scanner and a window will appear on your desktop asking where you’d like to save the document, e.g. local folder, Google Drive, etc.
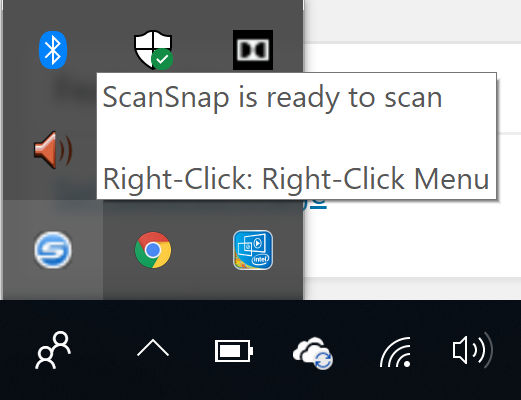
Scan over USB to laptop
If you want to scan to a laptop over USB, e.g. if you are having wi-fi problems, do this:
- Turn on both the ScanSnap scanner and your laptop
- Connect both devices with a USB cable
- Wait for the ScanSnap icon to change as shown below. The tooltip will also say that ScanSnap is ready to scan.
- Load a document and push the blue button on the scanner or right-click on the ScanSnap icon and click either Simple Scan (one-sided) or Duplex Scan (double-sided)