


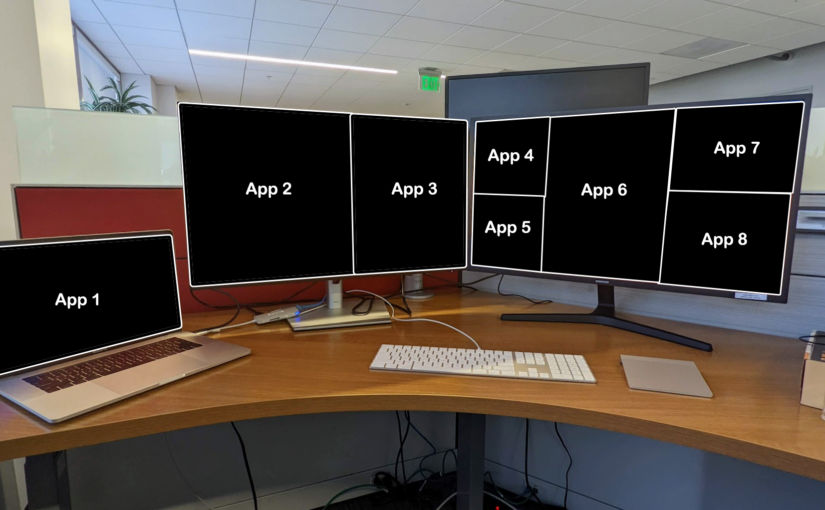
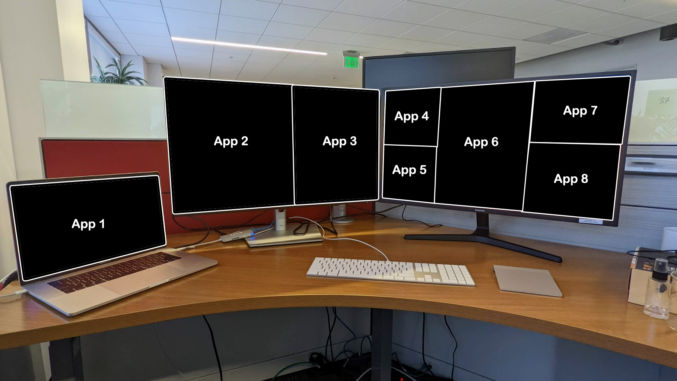
With so many people working both from home and at the office, it can become annoying to have to rearrange your application windows when you move between the two locations. This is especially true for people like me who need multiple monitors, two of which are 32″ 4K ones as shown below, which I need to display multiple windows on each screen.
Though I have a similar setup at home, my application windows always get jumbled up when I move between locations, possibly because the standalone monitors are not all the same brand with the same exact resolution.
Most window management apps allow you to move and resize windows in a grid, e.g.
- left 50% of screen,
- bottom 50% of screen,
- right 33% of screen,
- top 50%, left 50% of screen,
- etc
These are fine if you aren’t going to move locations often and don’t have too many windows. If you want the same layout spanning multiple monitors and the ability to instantly move and resize all windows to that layout, then I recommend Moom. Here’s how to use Moom to save layouts for multiple monitor configurations.
- At location 1, e.g. work, open your applications and arrange them how you like
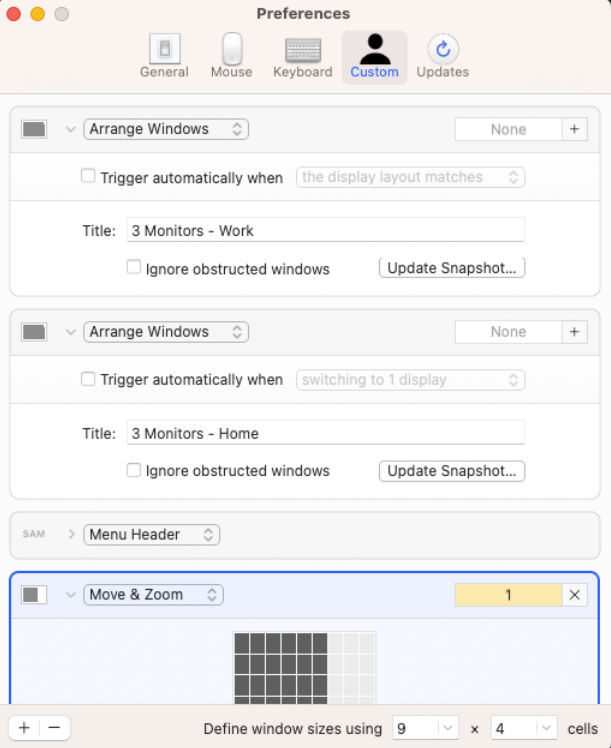
- Open Moom and create a custom preset with the following settings
- Type: Arrange Windows
- Name: I put “3 Monitors – Work”
- Uncheck all checkboxes
- Click “Update Snapshot”
This saves the layout as a preset. To test it, resize and move all your windows around. Then, hover over the green dot in any one window and click on the preset. All windows will instantly move to how you had them.

When you’re at home, you can create another preset and call it something like “3 Monitors – Home”. Now, you no longer have to mess around with moving windows around. Just click on a preset from any open window and get back to business.
Moom has a one-time cost of $10, but it’s obviously worth it.