Let’s say you want to install a bath exhaust fan in a bathroom that doesn’t have one. You’ll need to cut the wall or ceiling where the fan will go and you’ll also likely need to make holes in the wall or ceiling to run electrical wiring.
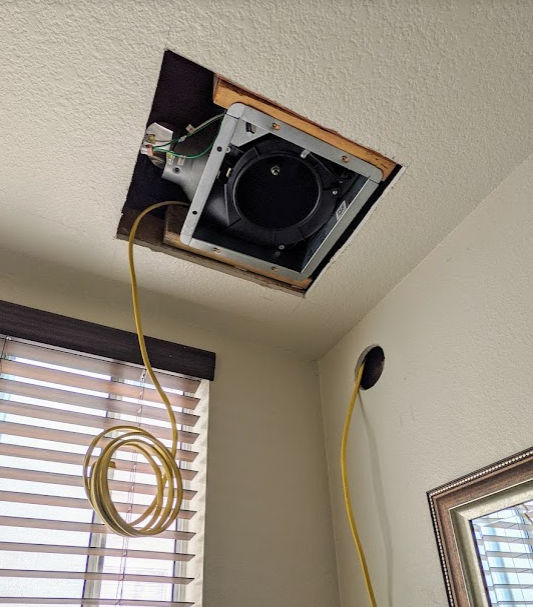
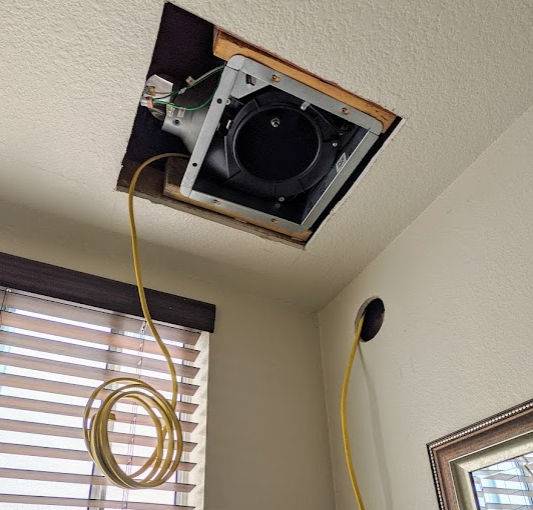
In the photo above, you can see that I made two types of openings:
- Circular opening
- Square opening
Making a Circular Opening
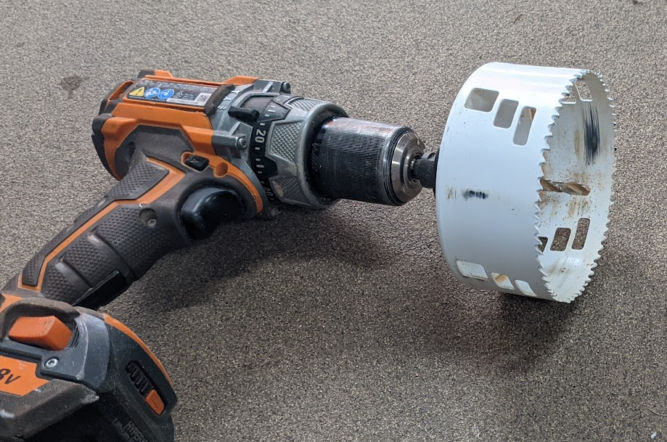
For the circular opening, I just used a hole saw attached to a drill. The benefit of this is it creates a clean, perfectly circular hole and you can reuse the cut drywall later to patch the hole. This type of hole can be made anywhere – it doesn’t need to be near or over a stud or joist.
Patching a Circular Opening
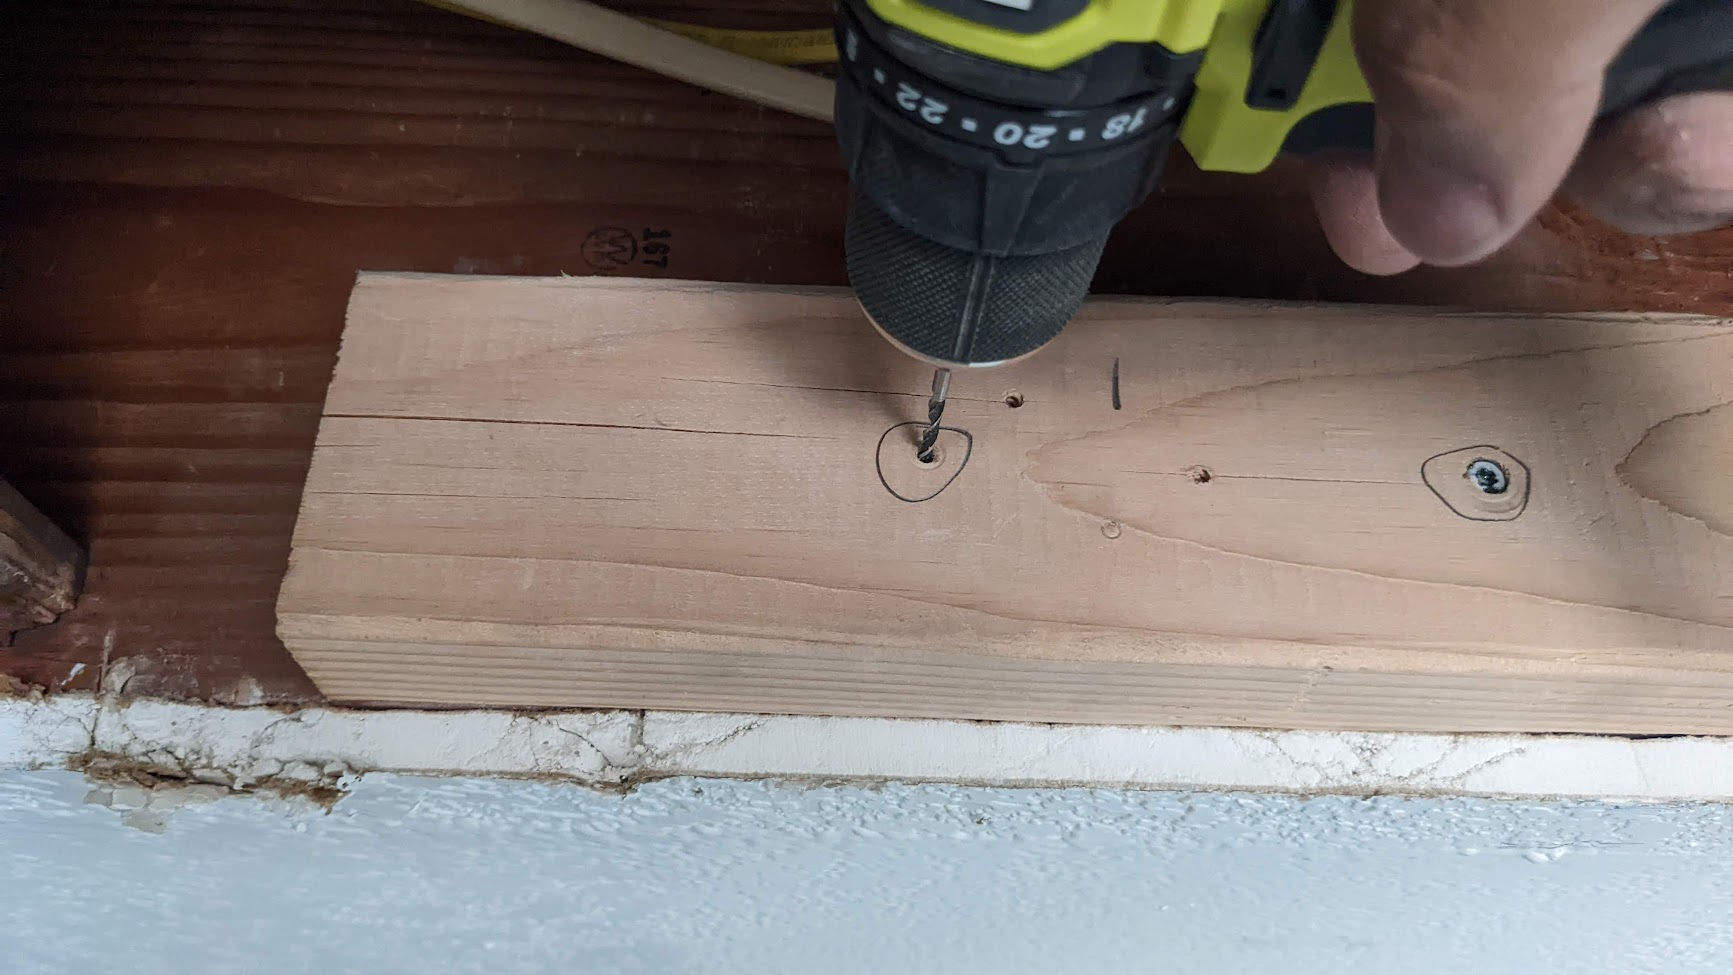
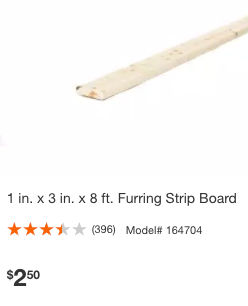
To patch a circular opening, I use a 1″x3″ piece of furring strip wood.
Partially drill a long screw in the middle of a piece of furring strip that is about 3 inches longer than the diameter of the hole. Insert the wood into the hole as pictured below. Then, drill 2 screws while pulling the long center screw so that the wood doesn’t move around. Now you’ve created a backing for the drywall to be screwed into.
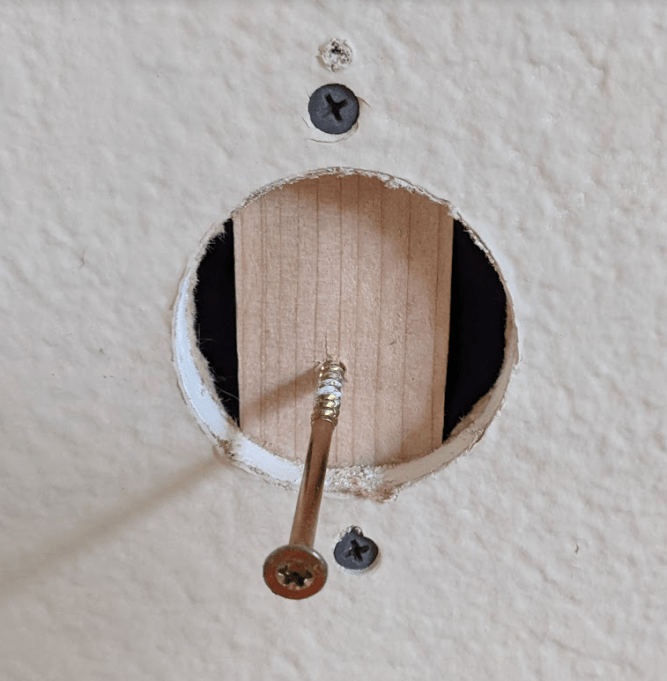
Remove the center screw and screw the drywall into the wood.

Making a Square Opening
For the square opening, I like to use a reciprocating saw – specifically, the Milwaukee 12V mini cordless saw because it’s small and lightweight. Use a stud finder to find the studs or joists and draw an outline of the square you want to make such that the square (or rectangle) goes to each stud or joist. Then, try to make a clean rectangular cut so that you can reuse the drywall.
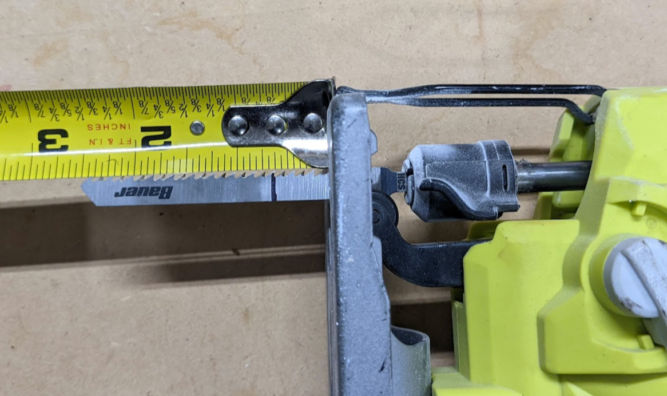
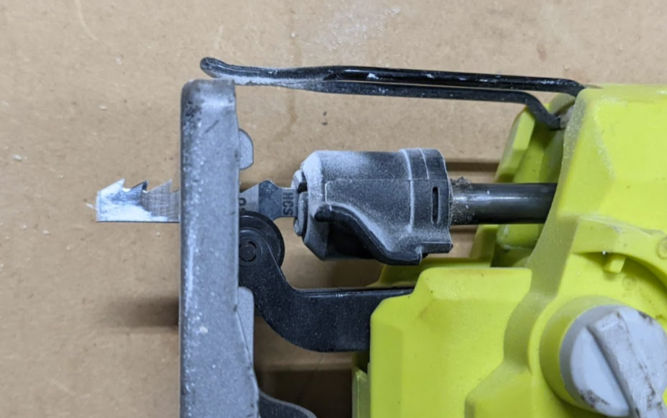
UPDATE: With a reciprocating saw, you may accidentally cut some wires. An easier and safer way is to use a jigsaw with a shortened blade. Insert a blade into your jigsaw, extend the stroke as far as possible, mark 1/2″ or 5/8″ from the jigsaw shoe (bottom part), then, using a bolt cutter, cut to shorten the blade. Now, you can use your jigsaw to safely and easily cut drywall.

Patching a Square Opening
To patch a square opening, I use a 2×4 piece of wood to fur out the studs or joists to create a backing for the drywall will be screwed into. Pre-drive the screws into the wood a little bit and then clamp the wood to the joists to make fastening the wood piece easier. The 2×4 should be longer than the opening so you can position it such that the cut drywall will be level with the existing drywall when you go put it back in.
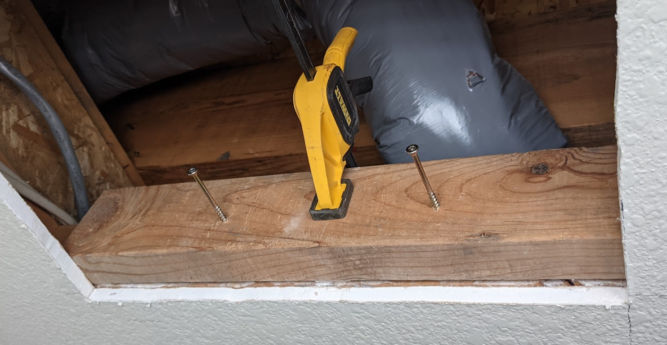
When you put the cut piece of drywall in the opening, if the four edges are not level with the four edges of the existing drywall, then you either must
- reposition the 2×4
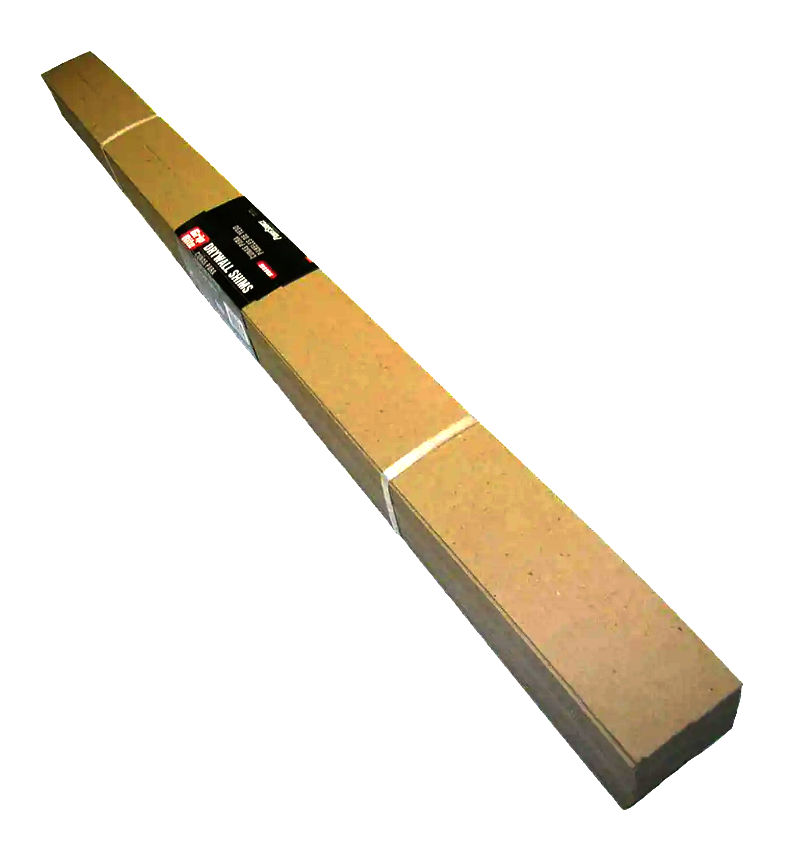
- shim the 2×4 with something like cardboard shims
For example, in the picture below, I folded the shims 3 times for a 3-layer thick shim.
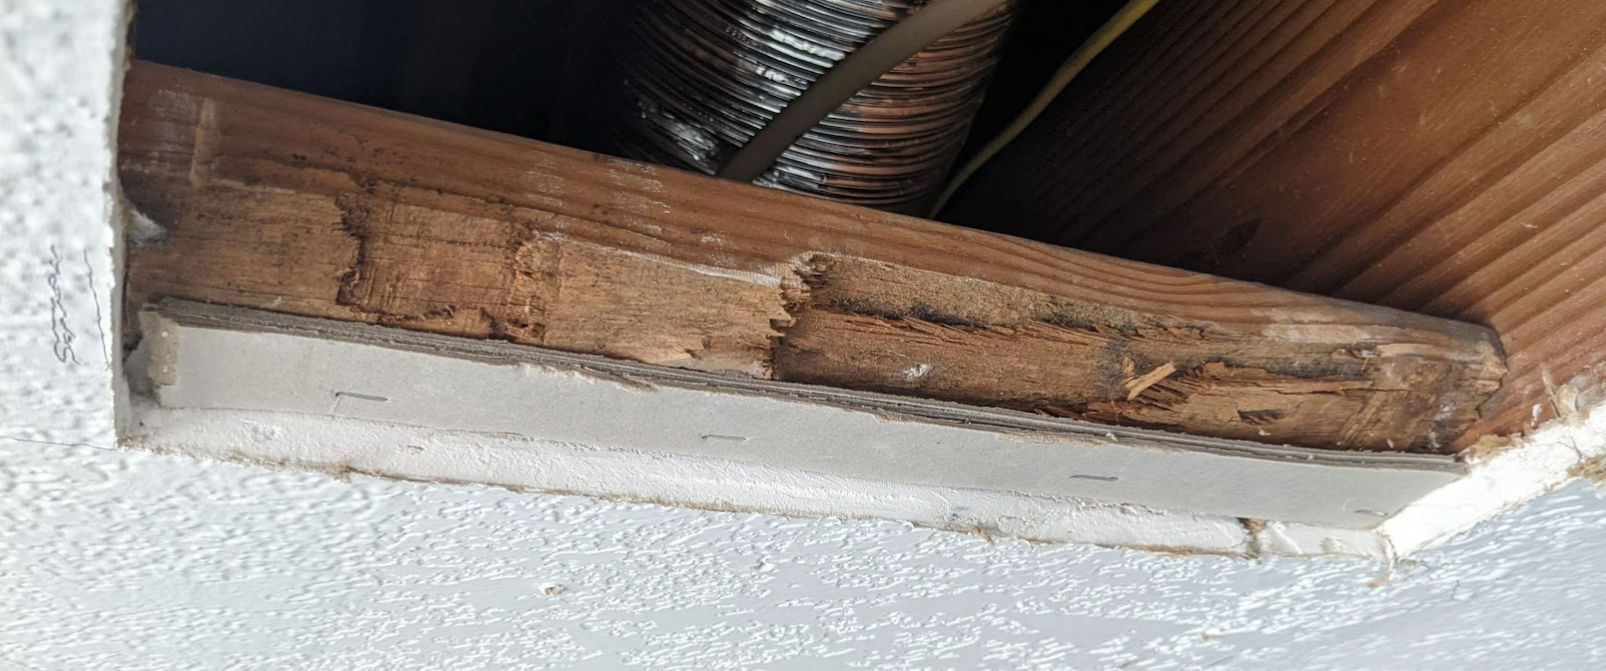
If the edges aren’t level, the results will be very bad and you will have a hard time creating an imperceivable patch.
If you must eyeball the position of a 2×4, drill pilot holes first. If you don’t, the 2×4 would likely move a little when screwing a screw into it.