If you need to only create 2d house floor plans, I personally have found Lucidchart to be easy to learn and intuitive to use.
If you need to create 3d house floor plans, I have found Live Home 3D to offer the best features for the price. At $10 (on sale), you can easily create 2d and 3d home plans. You download and install the program which allows for faster 3d rendering. My typical workflow to design a house is as follows:
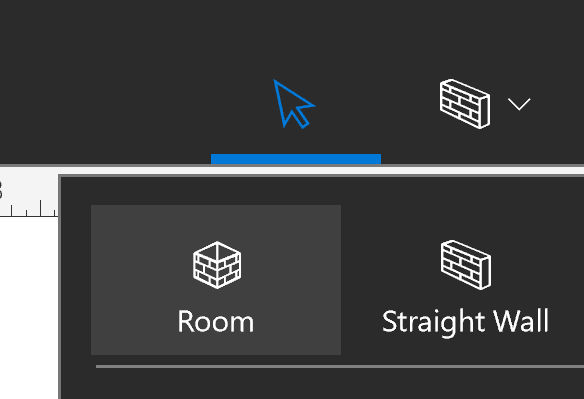
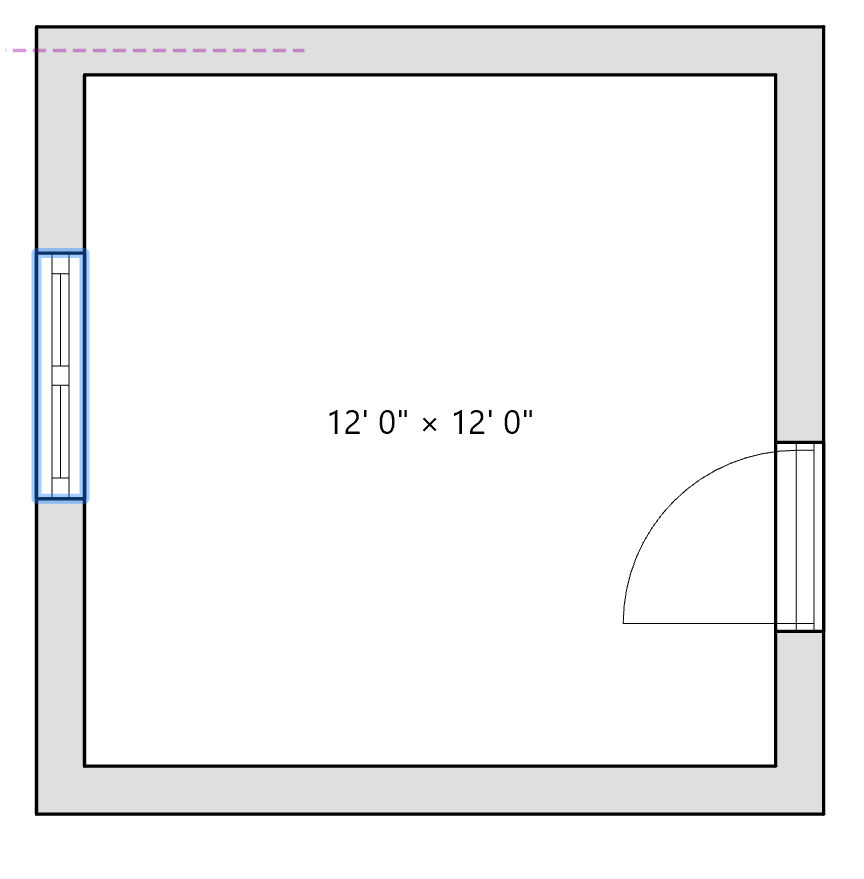
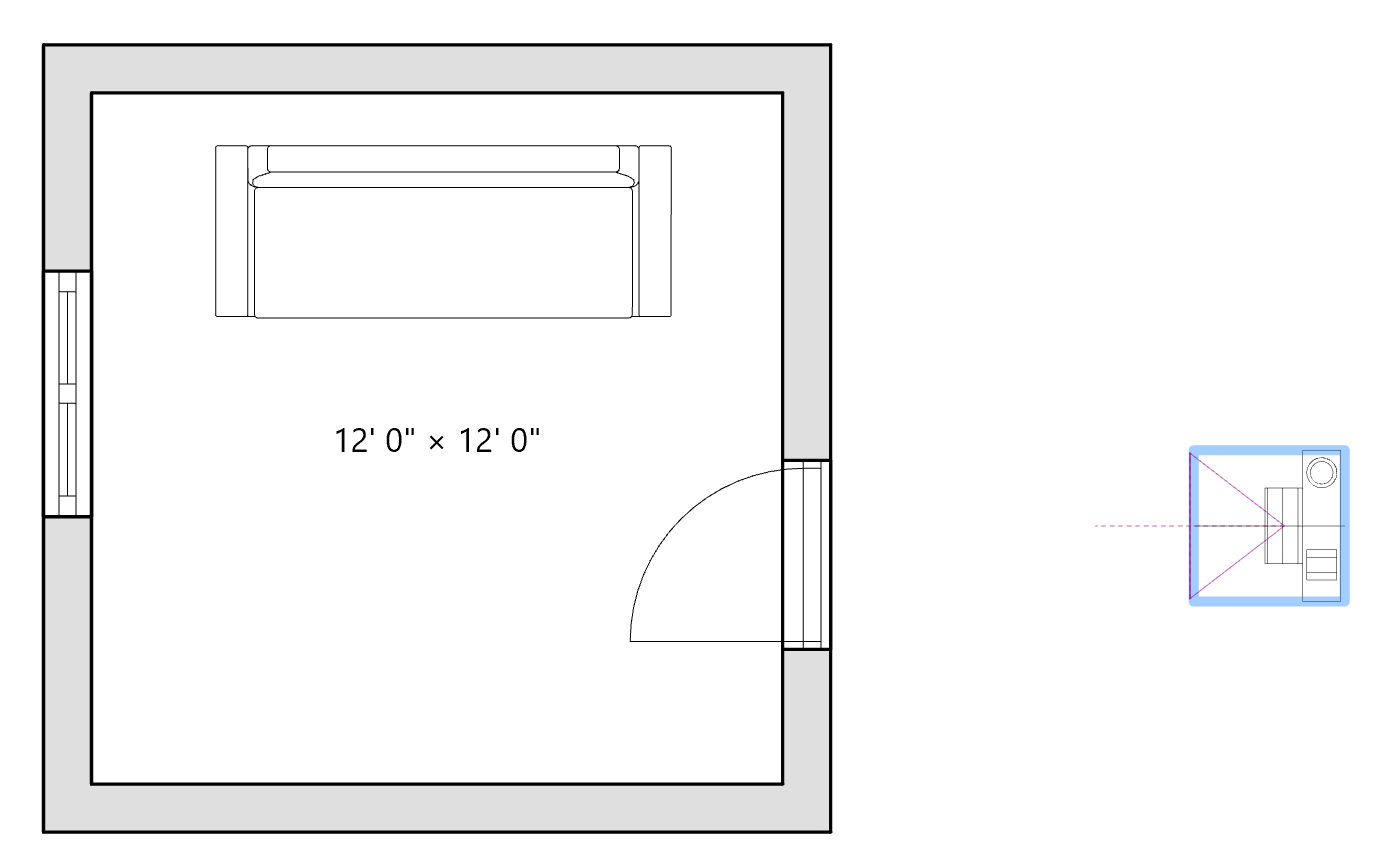
1. Create a room by clicking the Room button
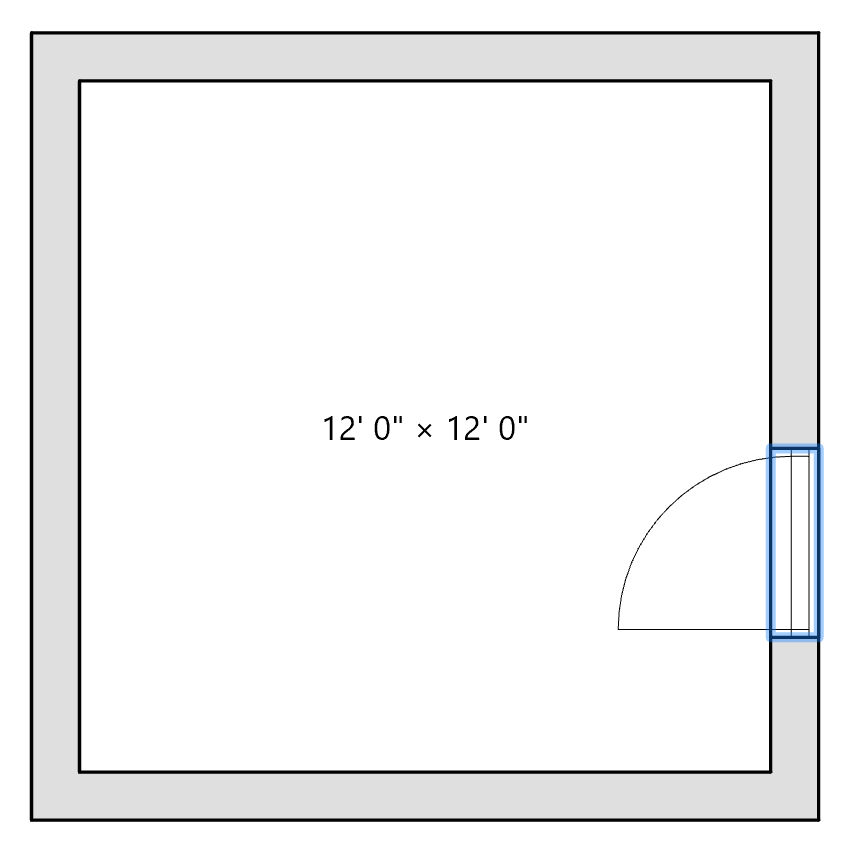
2. Draw a room (2d) by dragging the shape of a rectangle

3. Pick a door style

4. Place the door on a wall of the room by dragging it to one of the walls
5. Pick a window style
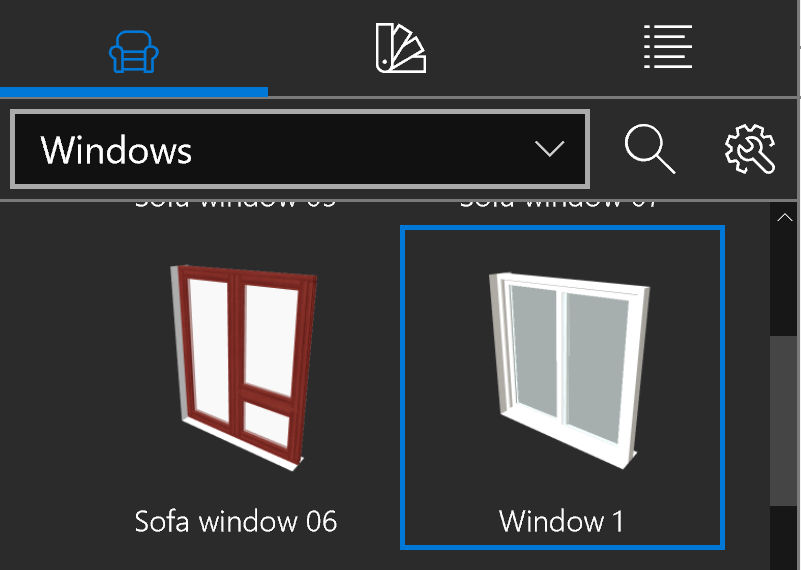
6. Place the window on a wall of the room by dragging it to one of the walls
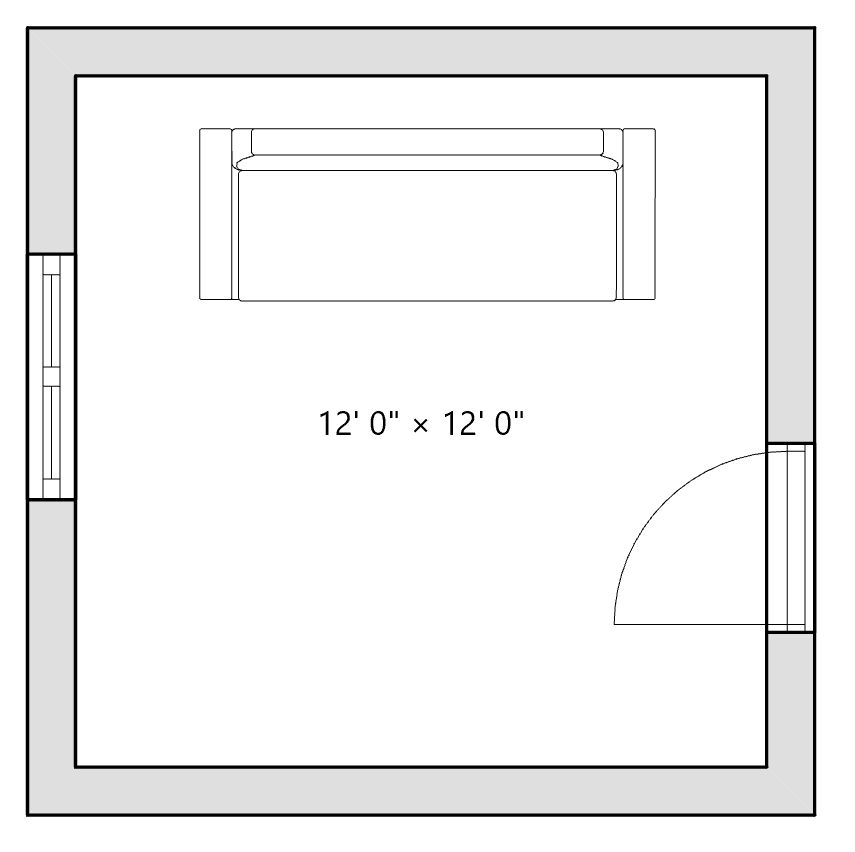
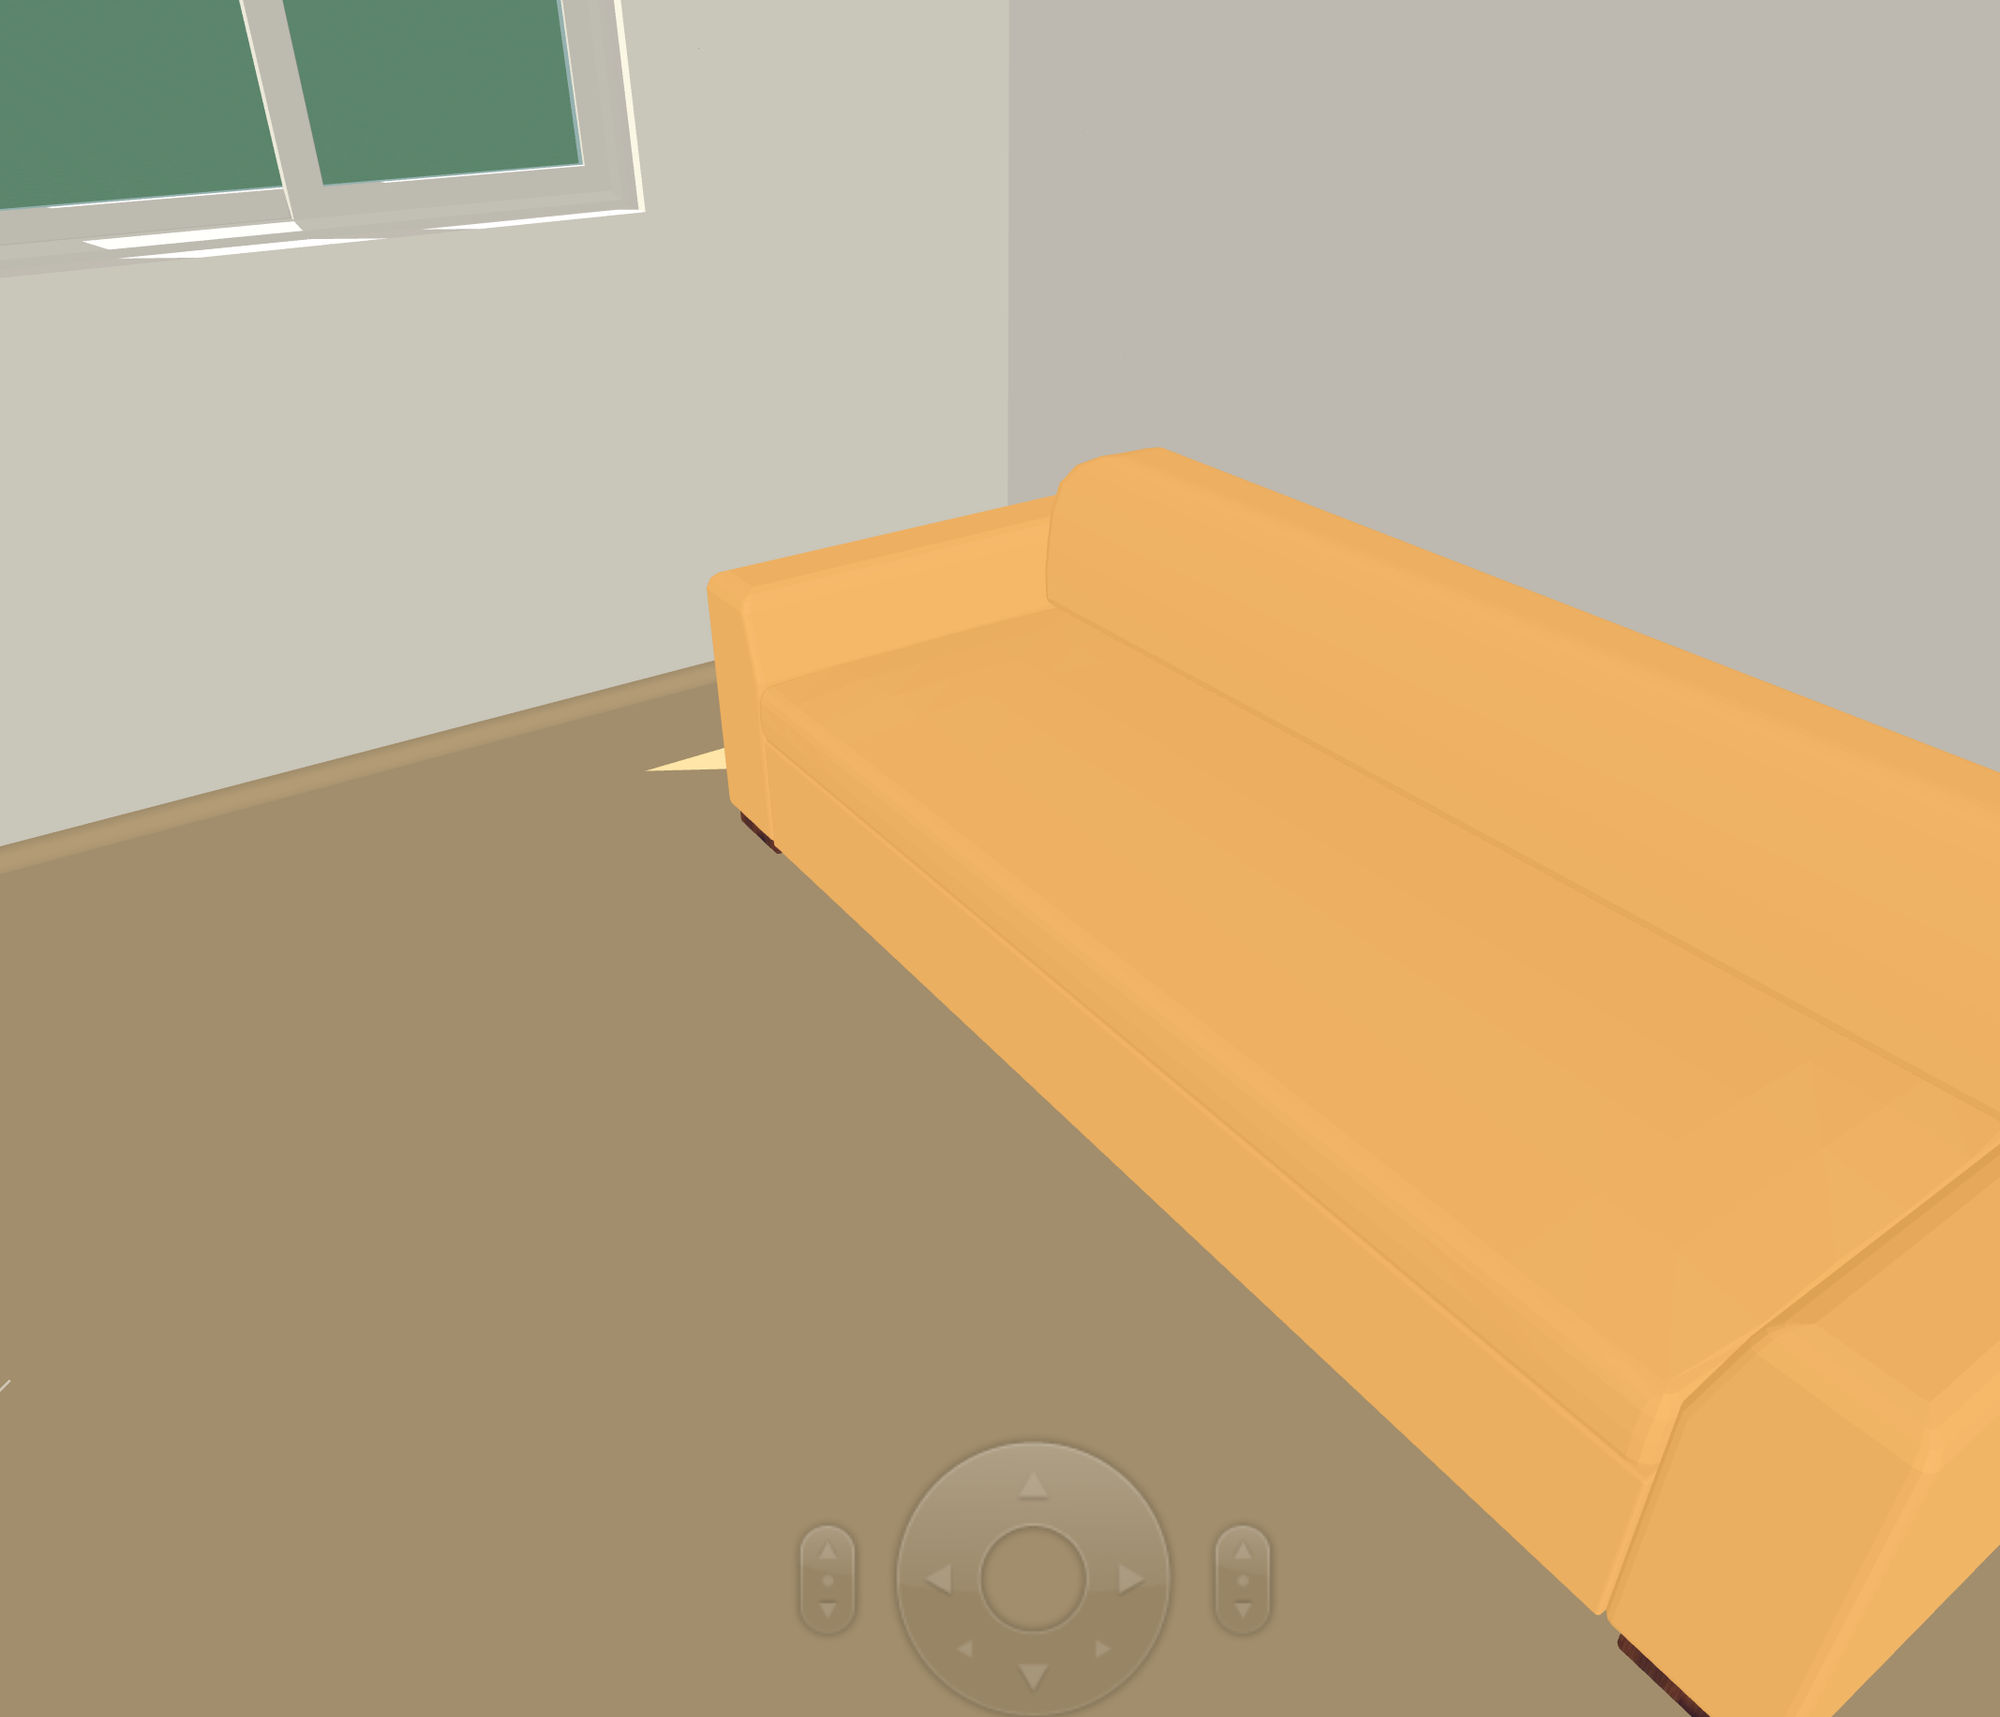
6. Pick some furniture, e.g. a sofa, by either searching by keyword or browsing by category

7. Place the furniture in the room by dragging it into the room
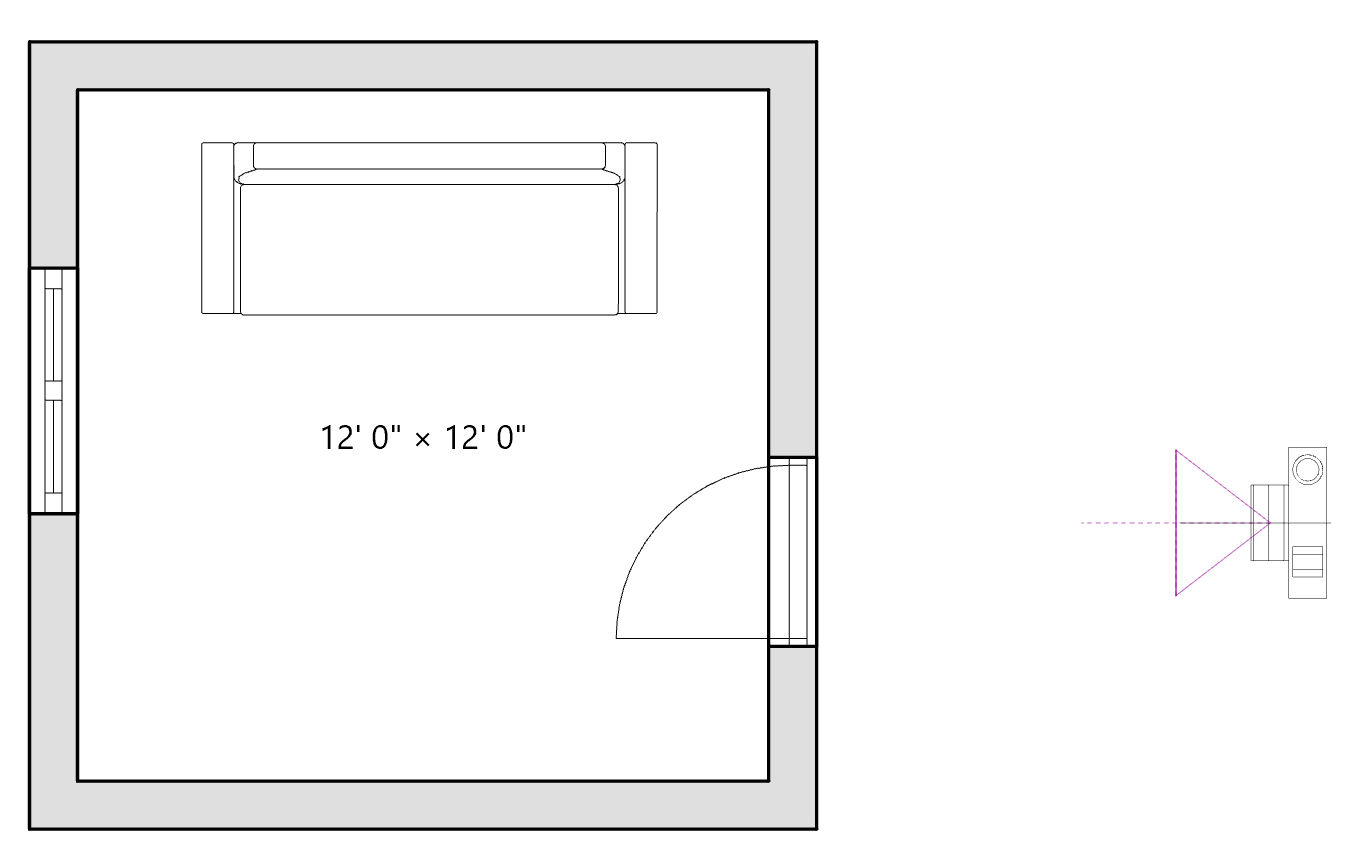
8. Add a User Camera so that you can move it around to preview your work in progress

9. Place the camera facing the space you want to preview or pick one of the predefined cameras
- From Back
- From Front
- From Left
- From Right
- From Top
10. Click the 3D button in the top right corner
11. Zoom in and out by pinching / unpinching on your trackpad
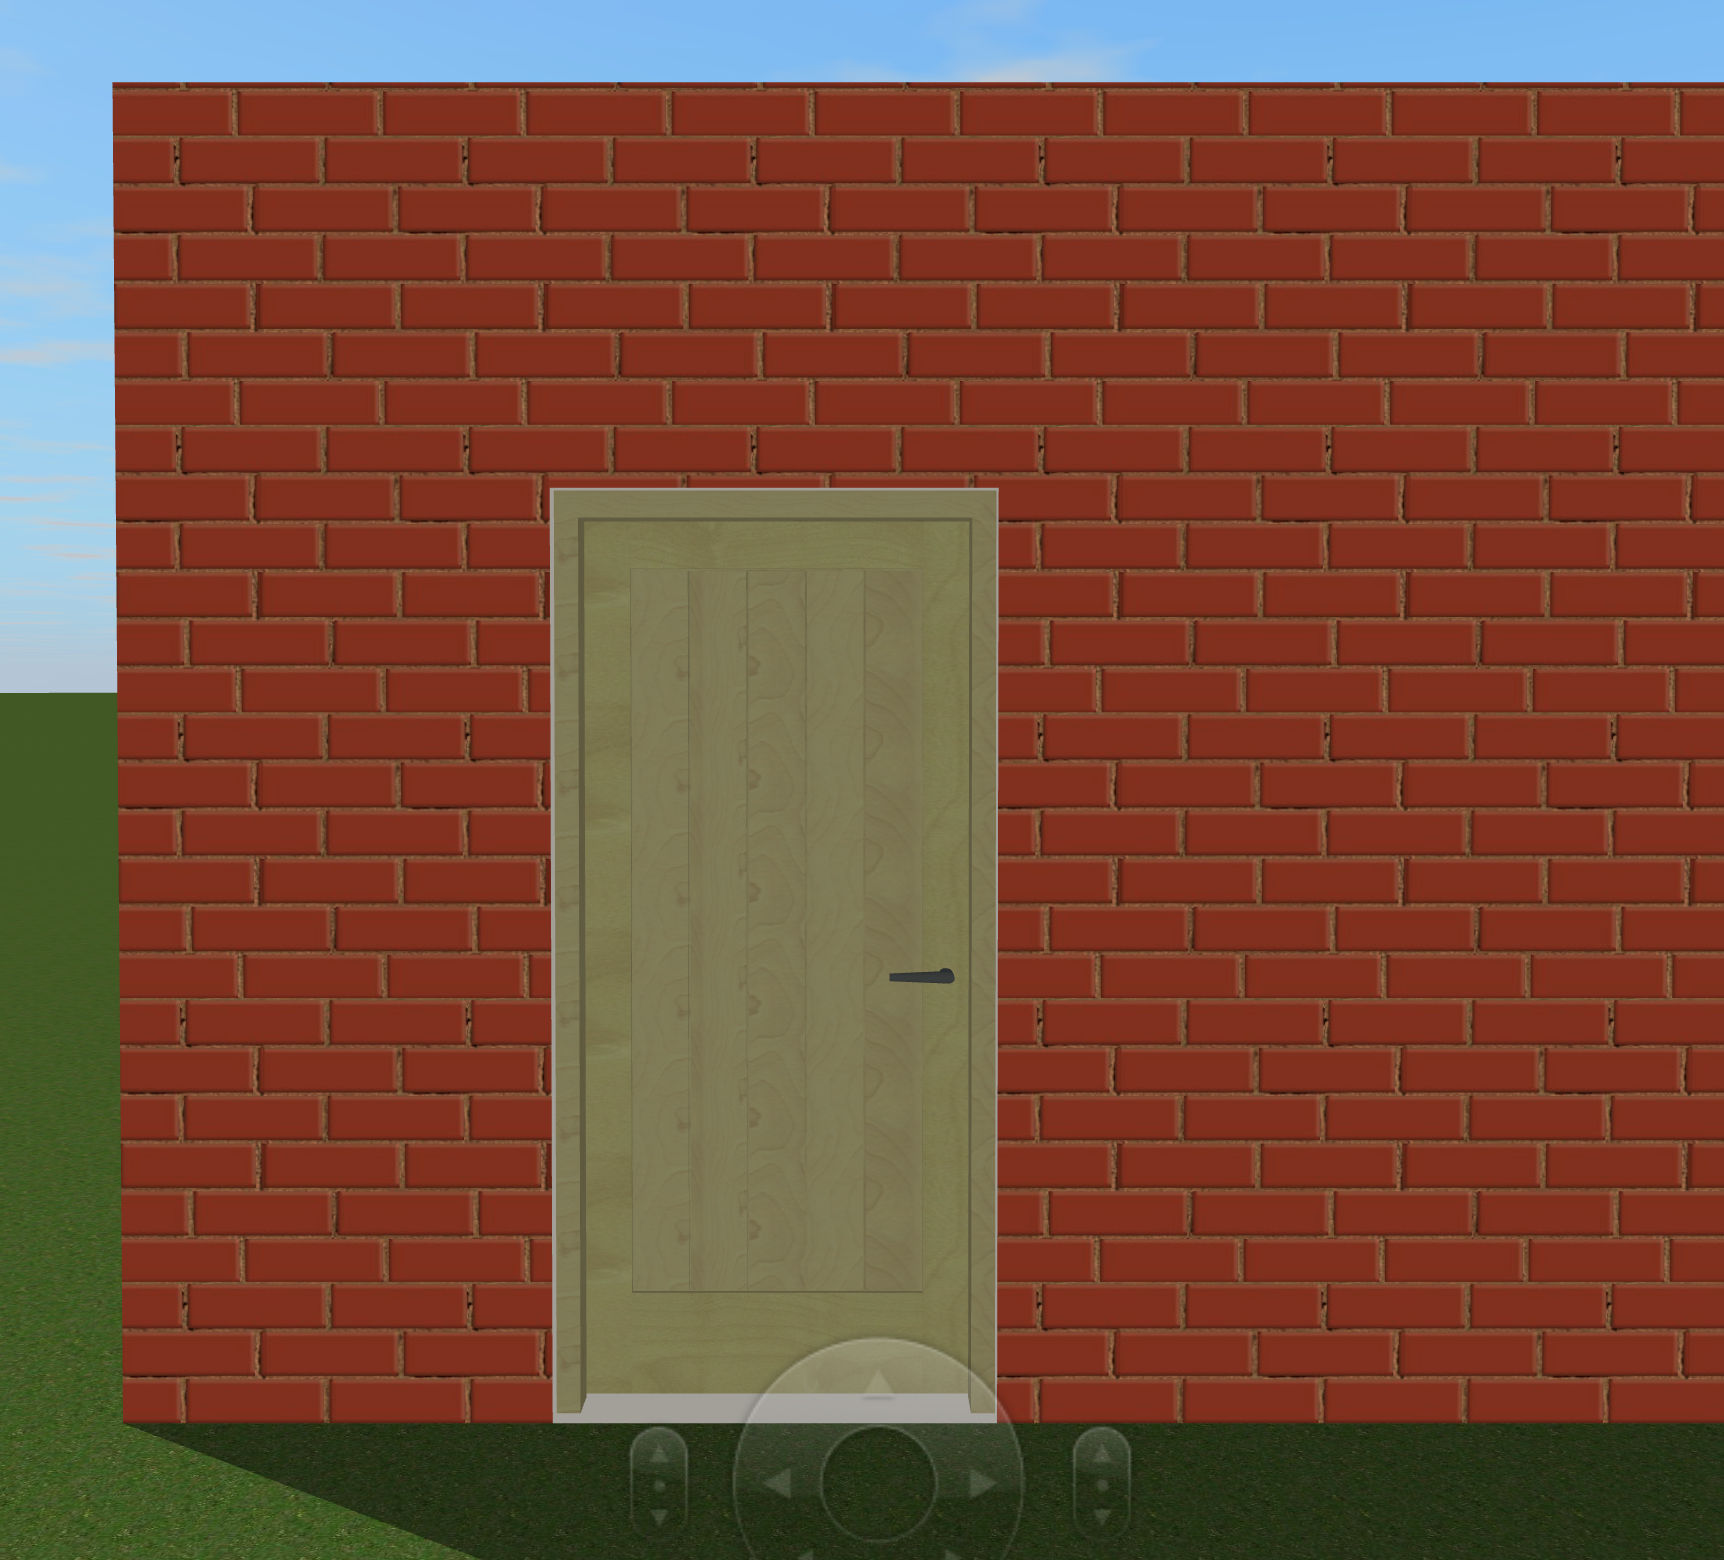
12. Move around, e.g. walk into the room, by clicking the Walk button and clicking in the direction you want to walk in


13. Look around from where you are standing by clicking the Look Around button. With your left thumb, left click and hold while dragging your right index finger around on your track pad.

14. Fly around the area by clicking the Fly Around button. With your left thumb, left click and hold while dragging your right index finger around on your track pad.


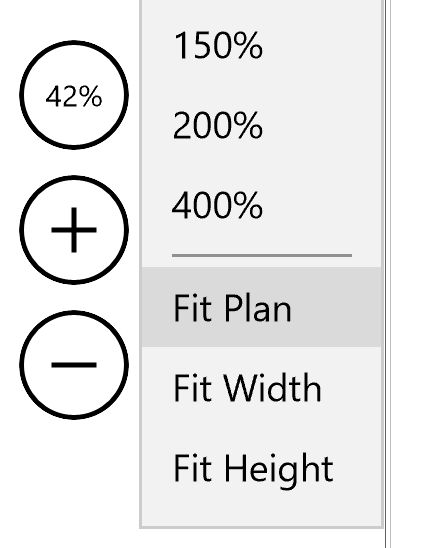
15. Click the 2D button to return to 2D mode
16. Click the hand button to drag the viewport, e.g. to center parts of your design. With your left thumb, left click and hold while dragging your right index finger around on your track pad.

or, click the zoom button and choose Fit Plan. Then, click the magnifying glass icon to select an area of the plan you want to zoom in to.
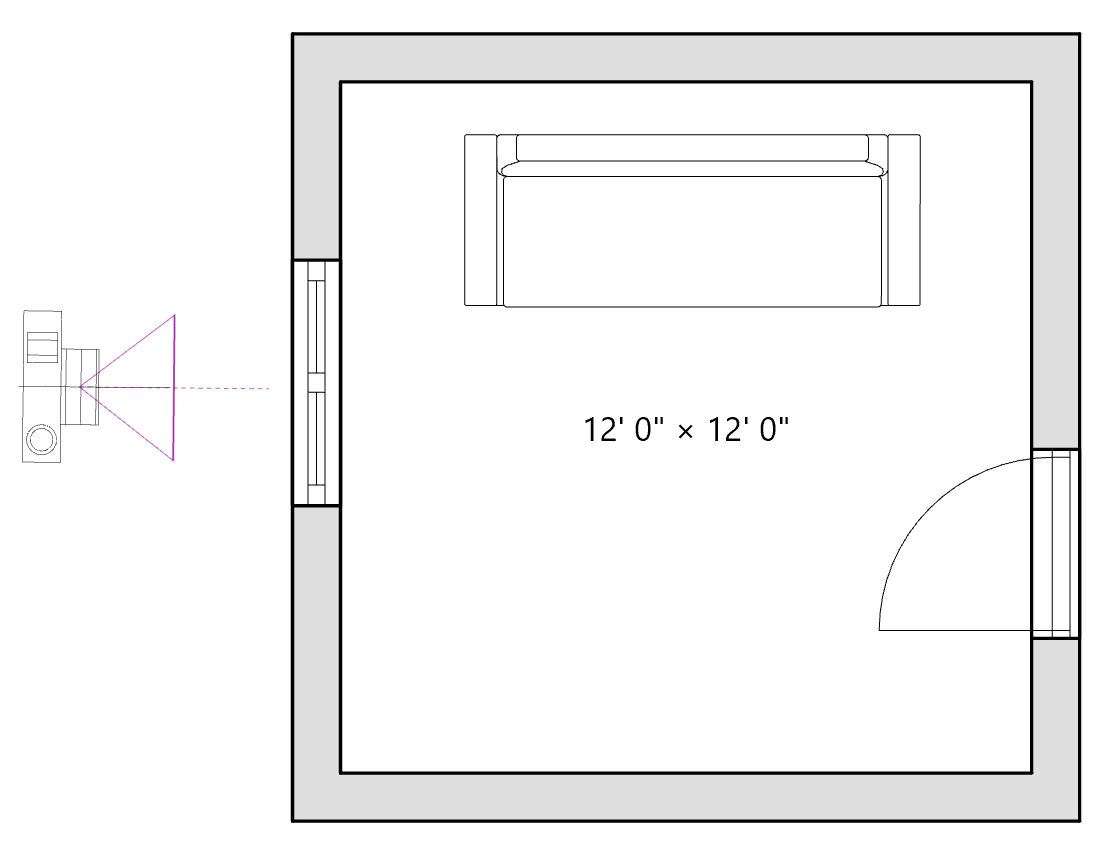
17. Click the arrow button to select the User Camera and move it somewhere else, e.g. facing the exterior window, or pick one of the predefined cameras.
- From Back
- From Front
- From Left
- From Right
- From Top

18. Repeat steps 10 – 16 to view the room in 3D from different angles
19. Repeats steps 1 – 18 to add more elements, furniture, and rooms to your design
20. Click on an element and use the inspector to change the element’s attributes, e.g. elevation, dimensions, etc.
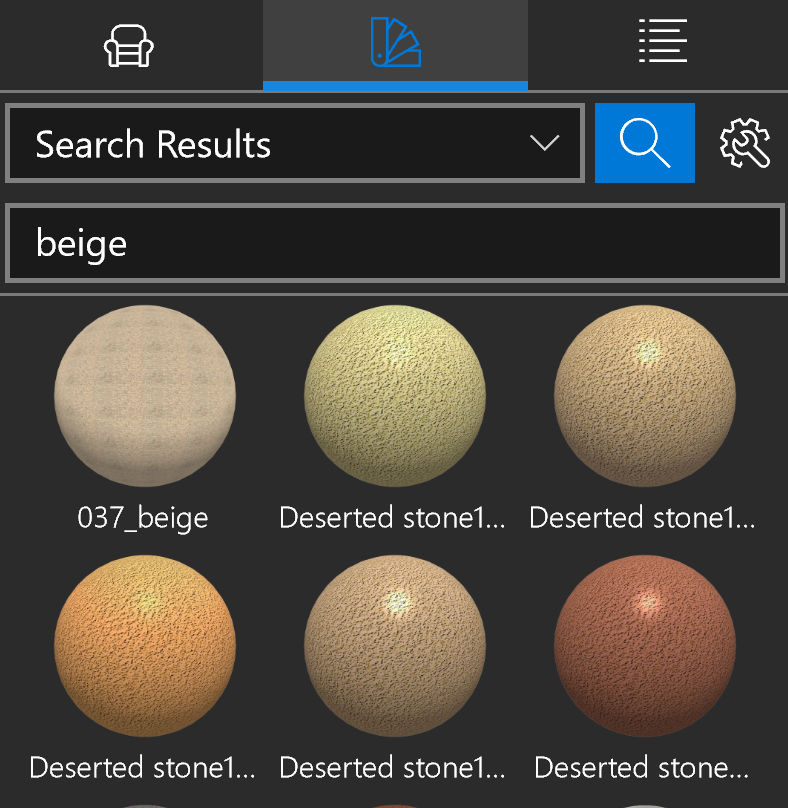
21. Click on the swatch button to pick a material, e.g. paint, then click on an element, e.g. wall, door or furniture, to change the element’s material.
22. Click on the Building Properties button and then the button to add a story to the design, e.g. to create a 2nd story

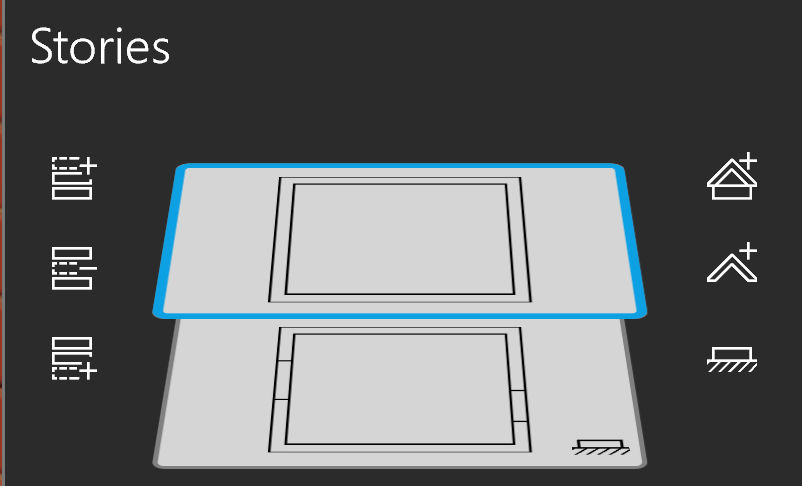
23. When almost done, click the Autoroof button to automatically add one of many styles of roofs to your house design.
The complete Live Home 3D user manual can be found online at https://www.livehome3d.com/support/lh3d-win-help/en/index_detailed.html.
Adding 3D Objects
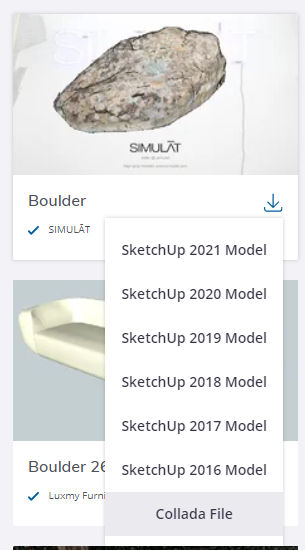
If you can’t find a particular 3D object in LiveHome 3D, you can import one. One way is to go to SketchUp’s 3D Warehouse and search for an object.

Then, download the object as a Collada file.
If you unzip the file, you’ll see multiple files.
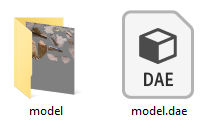
In LiveHome 3D, go to File > Import > From File and select the DAE file. You can then place that object into your drawing and apply a color or texture to it.
Importing Raster Images
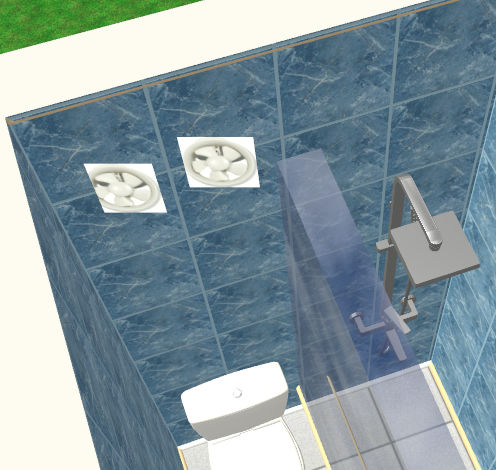
You can also import flat, raster images like JPGs. LiveHome 3D will then skew the images when viewing at different angles, e.g. if you import this JPG of a fan

then at one angle, it’ll look like this
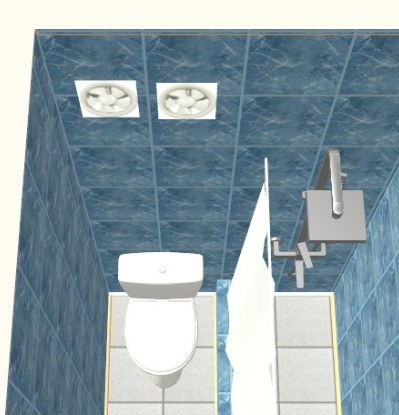
and at another angle it’ll look like this
Export a 3D Model to View in a Browser
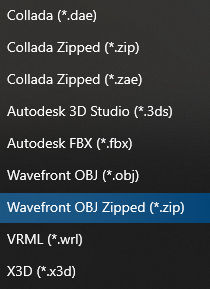
If you want to share your 3D model with others, e.g. by embedding it in a 3D model viewer in a website, one of the easiest ways is to export the model from LiveHome 3D and import it into p3d.in. In LiveHome 3d, go to File > Export > Export 3d Objects > and select Wavefront OBJ (.obj).
Then, in p3d.in, click “New Model” and select the .zip file. You will then see your 3d model.

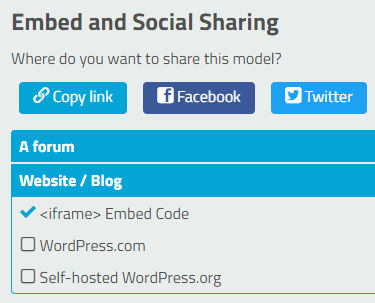
To embed the model and allow users to rotate around it, in p3d.in click the button to “Save your changes”. You will then see a Share button. Choose iframe embed code.
and embed the 3d model with viewer like below.
You can also upload files to https://3dviewer.net/.
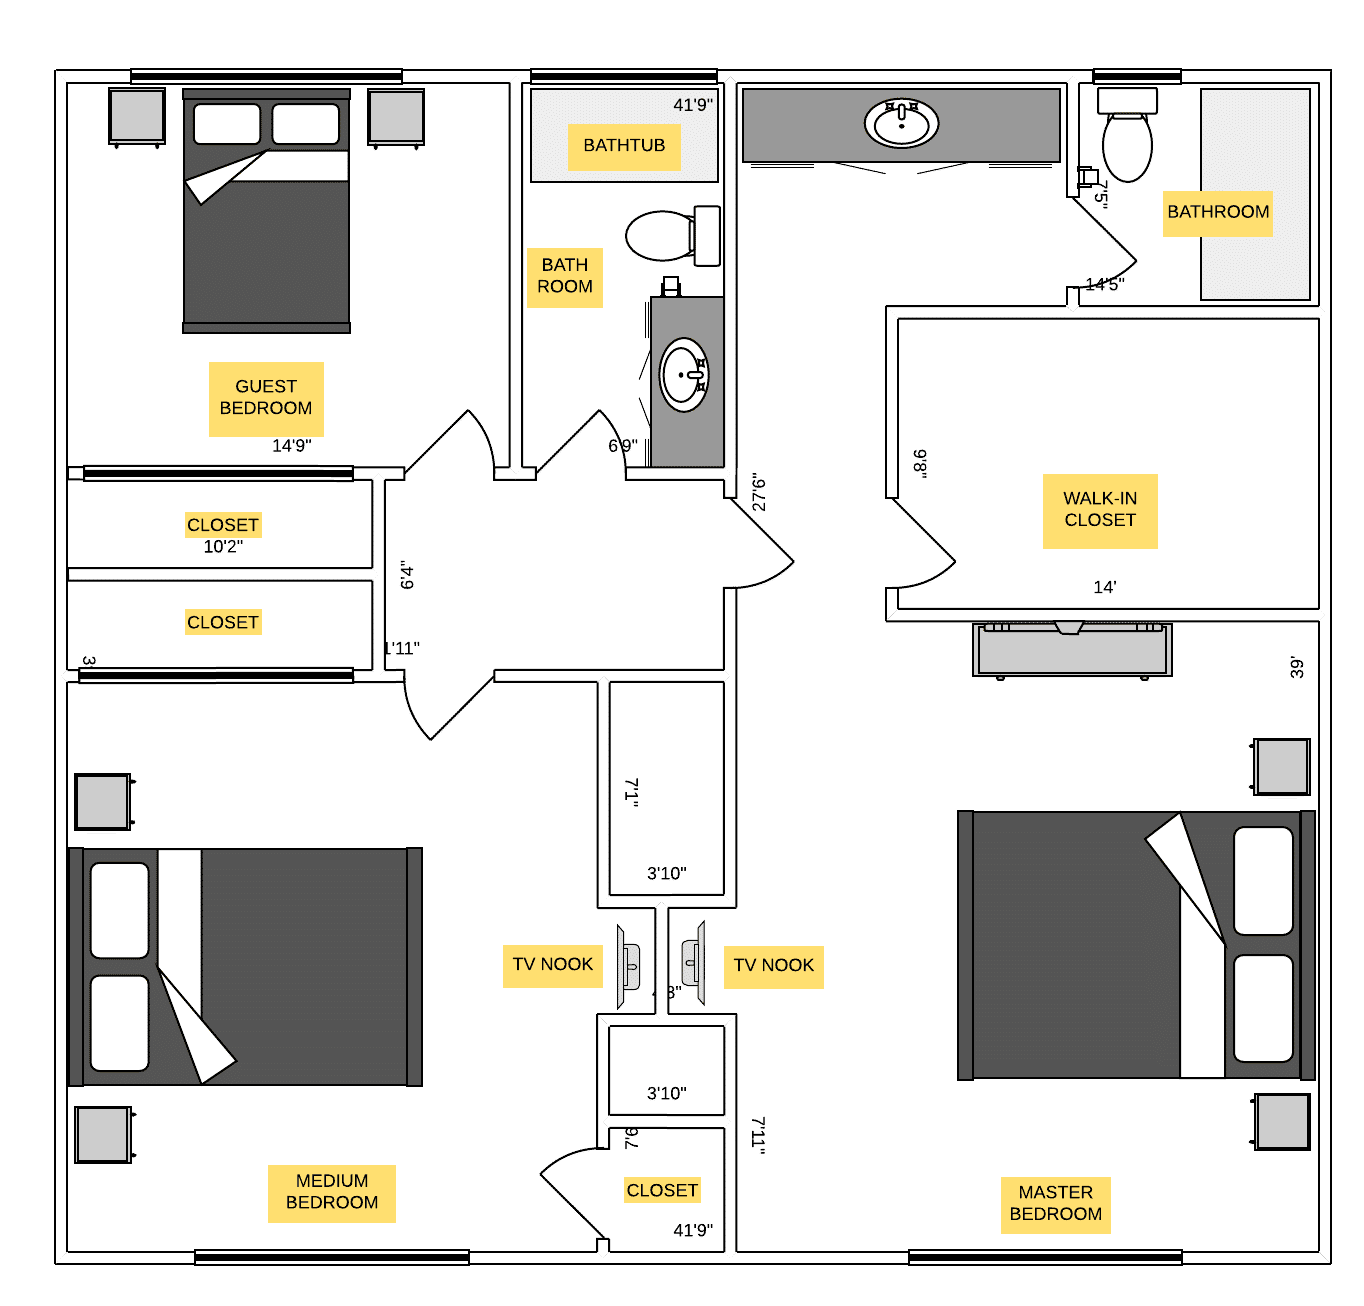
Lucid Chart
Below is a house floor plan (not to precise scale) I created using Lucidchart.
841 W Sunset – 1st Floor