I’ve been playing around with taking videos and video editing. My main issues with taking videos are
- poor quality in low light conditions (e.g. indoors or night time)
- too much shaking / lack of image stabilization
- huge video files
- missing scenes / cut off subjects
- difficult to bring or to use suddenly while traveling
Cameras
Following are some action cameras worth considering.
GoPro Hero Black 7 ($400)
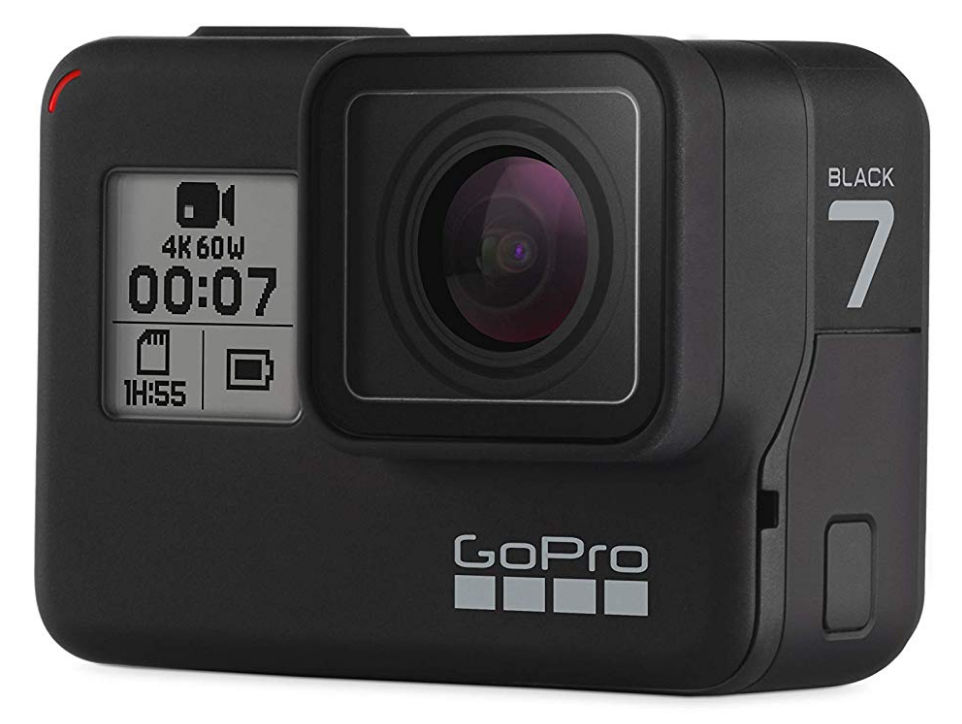
What I primarily like about this camera is the gimbal-like”Hypersmooth” video stabilization. It doesn’t use an actual gimbal but it does an impressive job performing as if using a gimbal. However, it’s not as good as using an actual gimbal. The primary downside is the huge price tag at $400.
Dragon Touch Vision 4 ($50)
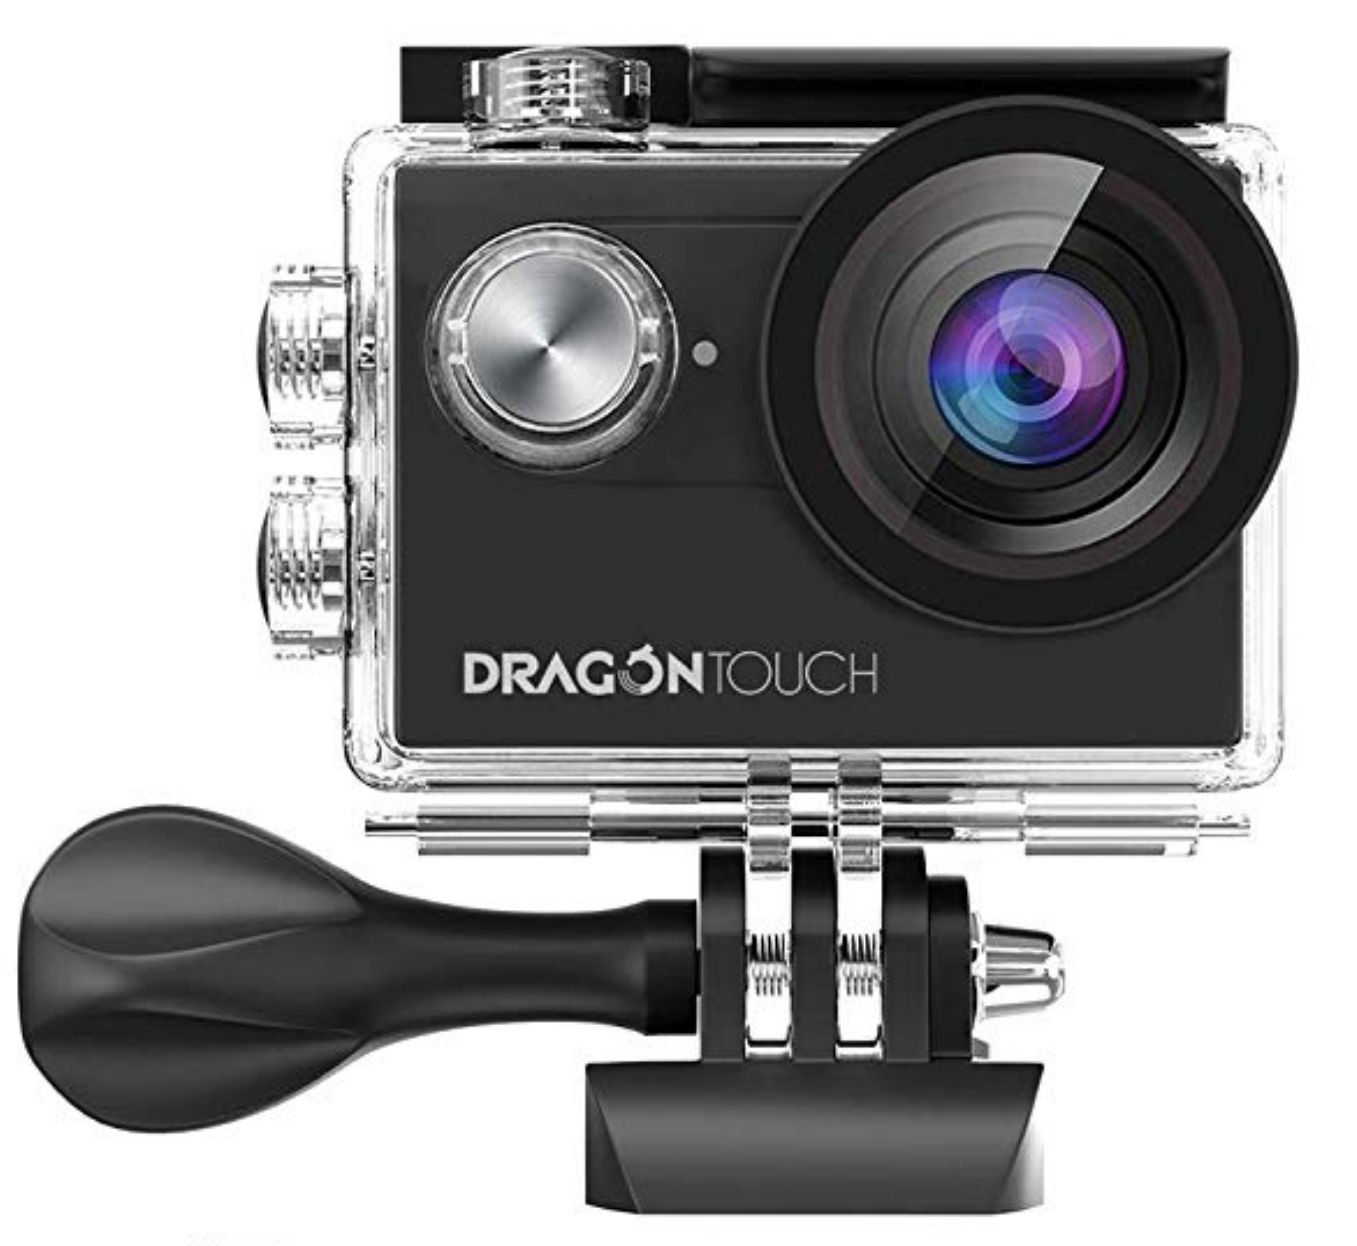
This camera costs only $50 and comes with basic EIS (electronic image stabilization). It’s still not as good as GoPro’s HyperSmooth stabilization but it’s significantly cheaper.
DJI Osmo Pocket ($350)
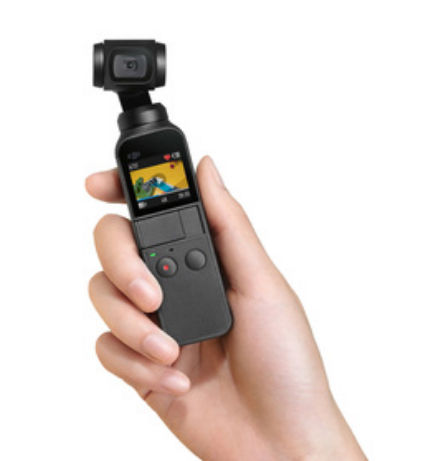
The DJI Osmo Pocket is a tiny camera with mini holder than offers true gimbal 3-axis stabilization.
Camera Holders / Selfie Sticks ($40)
GoPro Shorty
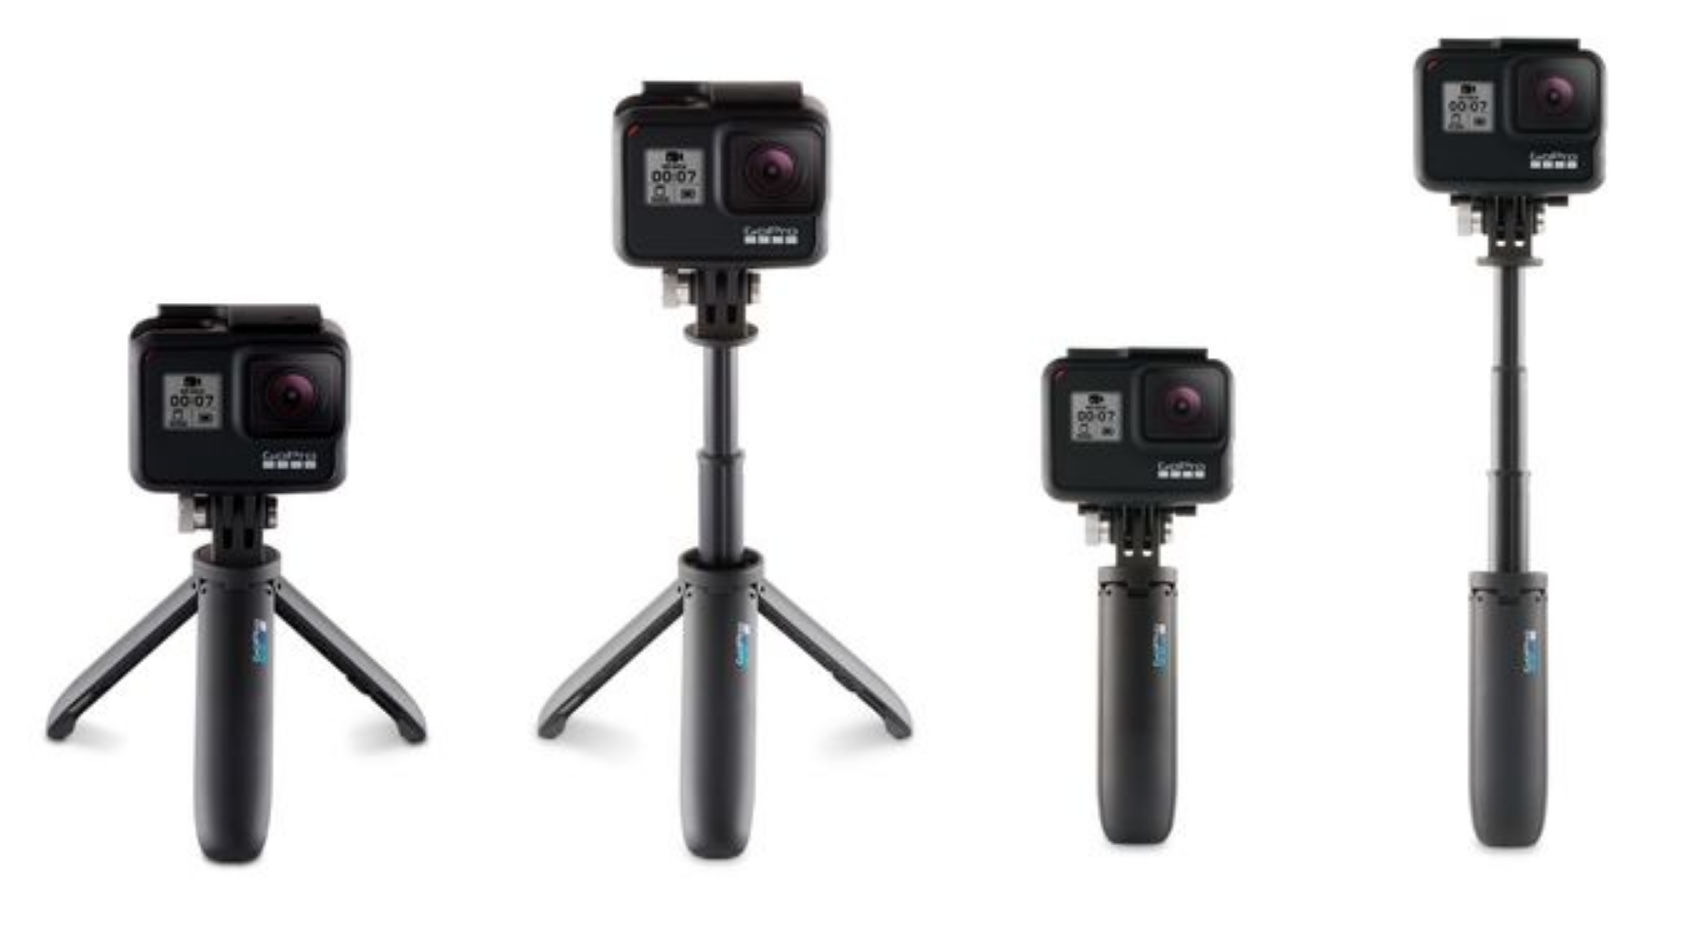
The GoPro Shorty is a stick with an integrated tripod.
DJI Osmo Mobile 2 ($139)
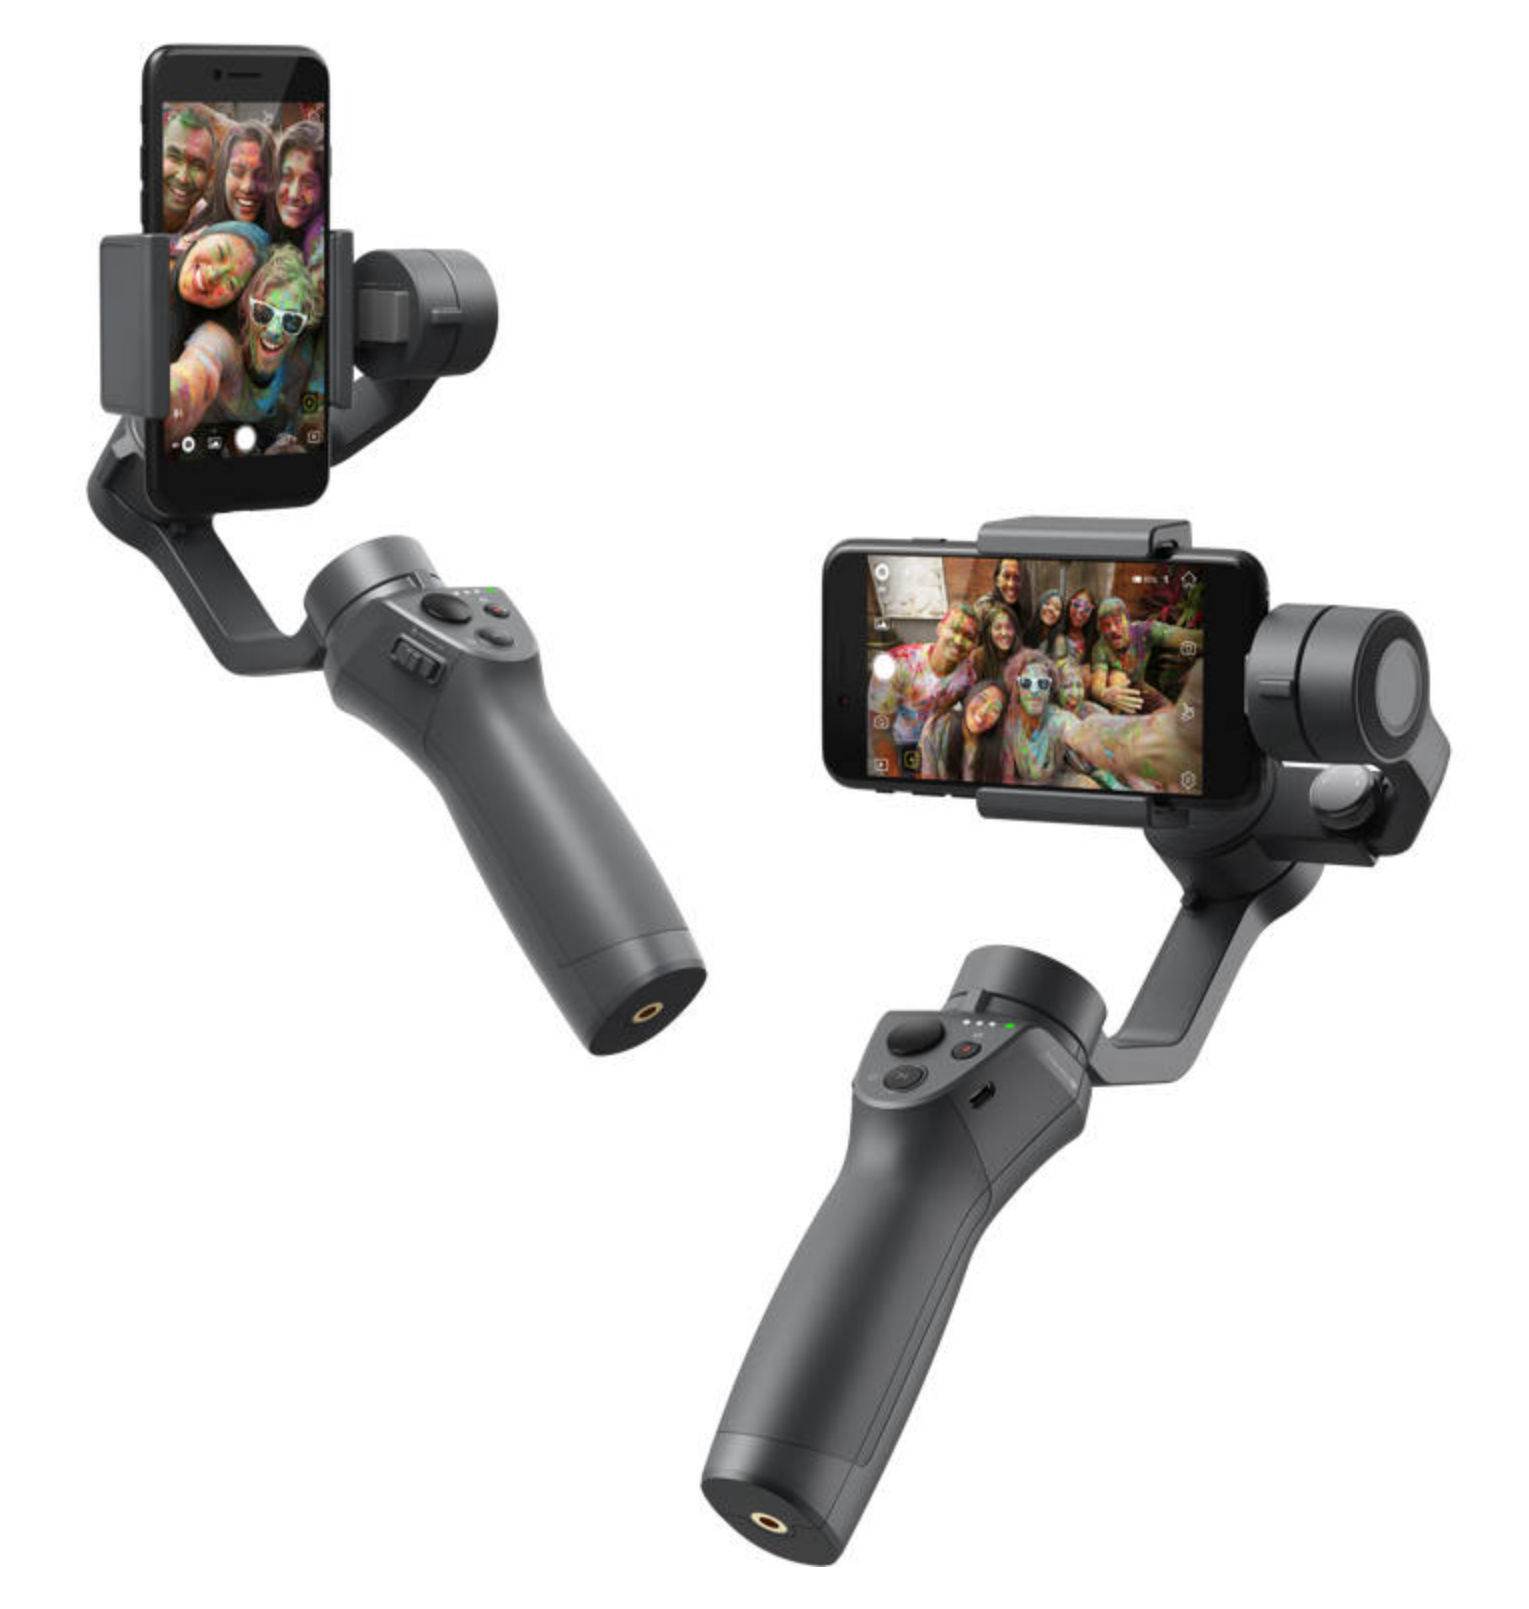
The DJI Osmo Mobile 2 is a smartphone holder with a gimble. It has many features including the ability to follow a moving subject.
Accessories
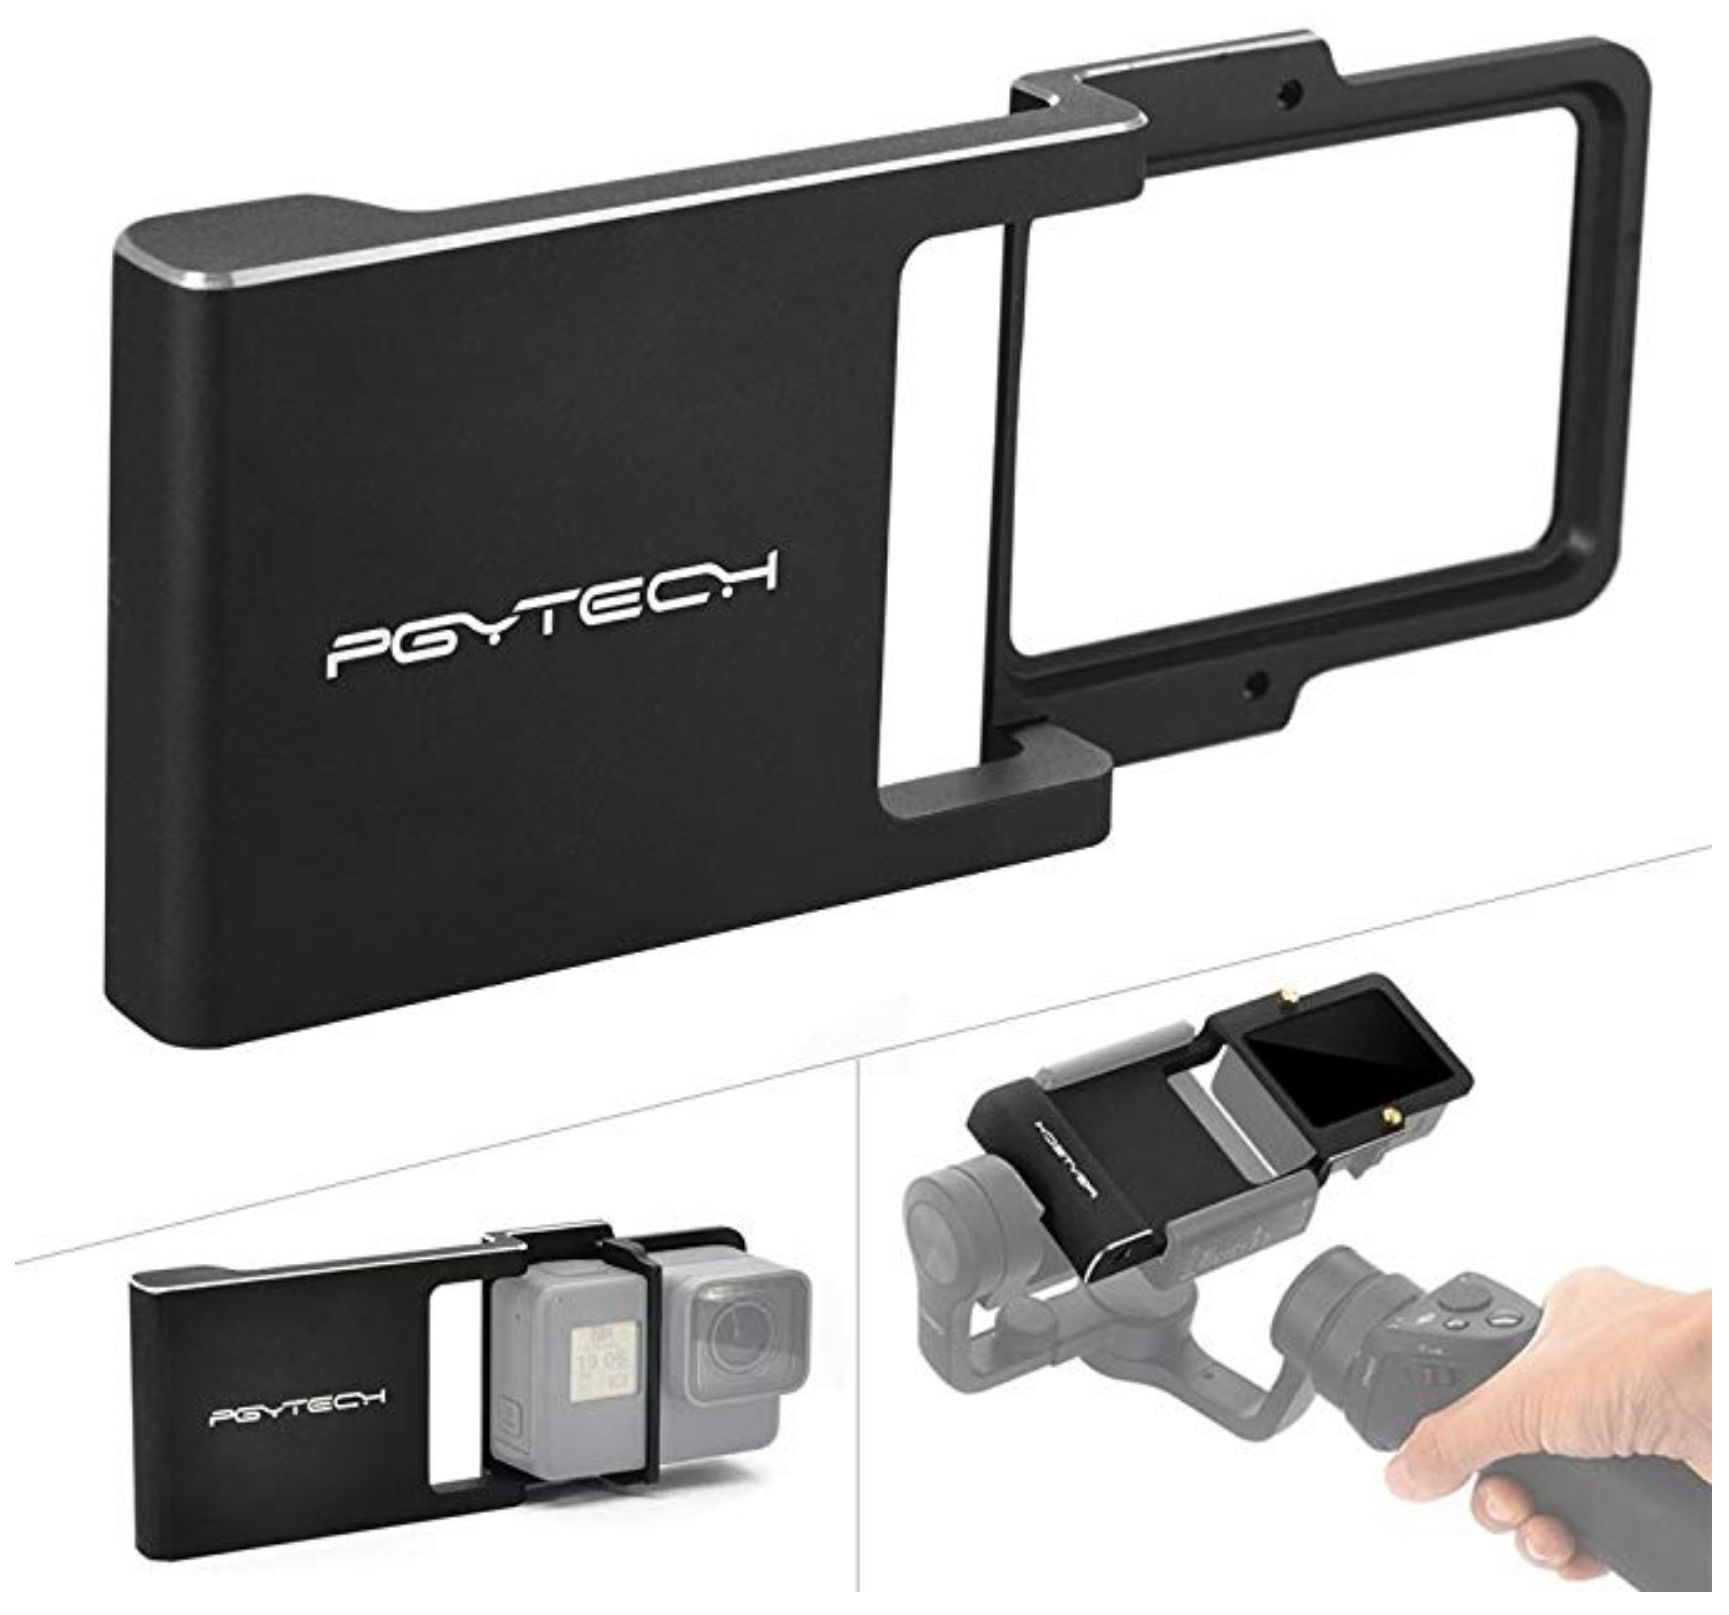
PGYTECH Action Cam Adapter for Smartphone Gimbals
DJI Osmo Pocket Backpack Strap Mount

$20 on Banggood
Comparisons
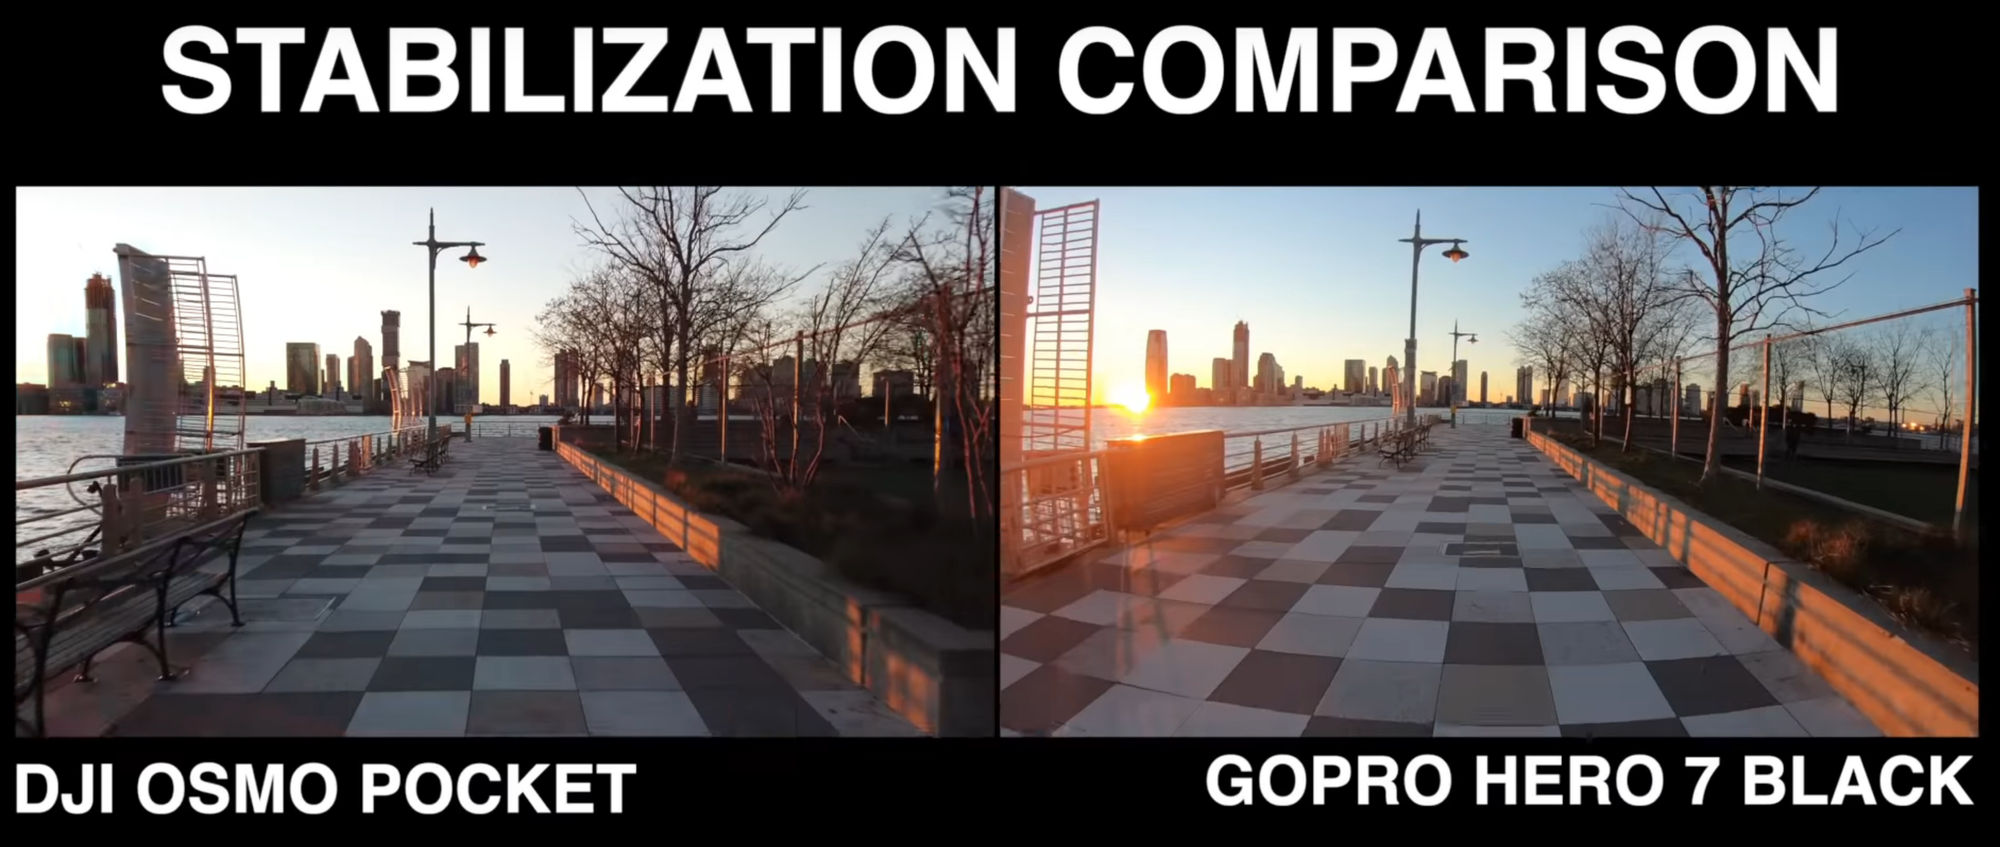
Stabilization
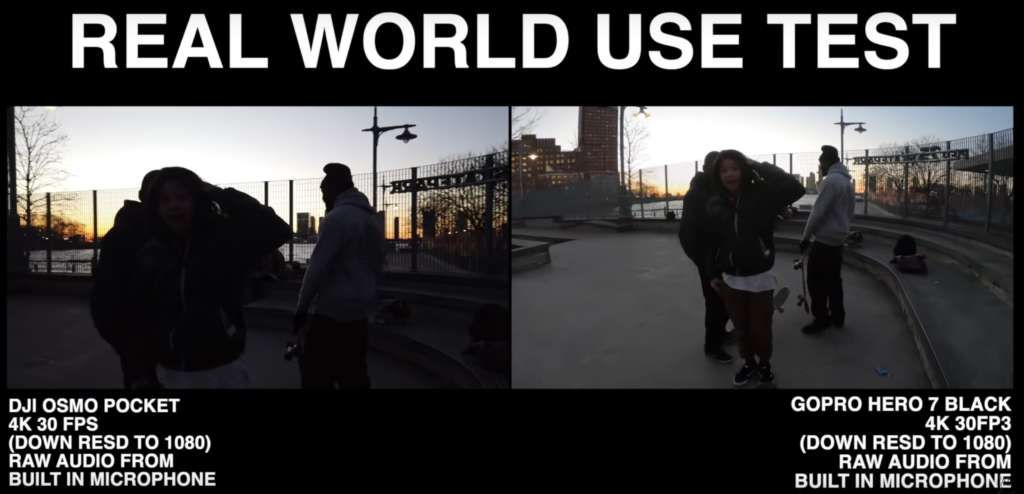
When you compare GoPro 7’s HyperSmooth image stabilization to DJI Osmo Pocket gimbal stabilization, the latter is better, as expected. If you watch this video at time 5:08, you’ll see that the horizon stays level in the Osmo Pocket video but it sways a bit in the GoPro 7 video as if you are on a boat. For the GoPro, you’d have to get a holder with a gimble to achieve the same level of stabilization.
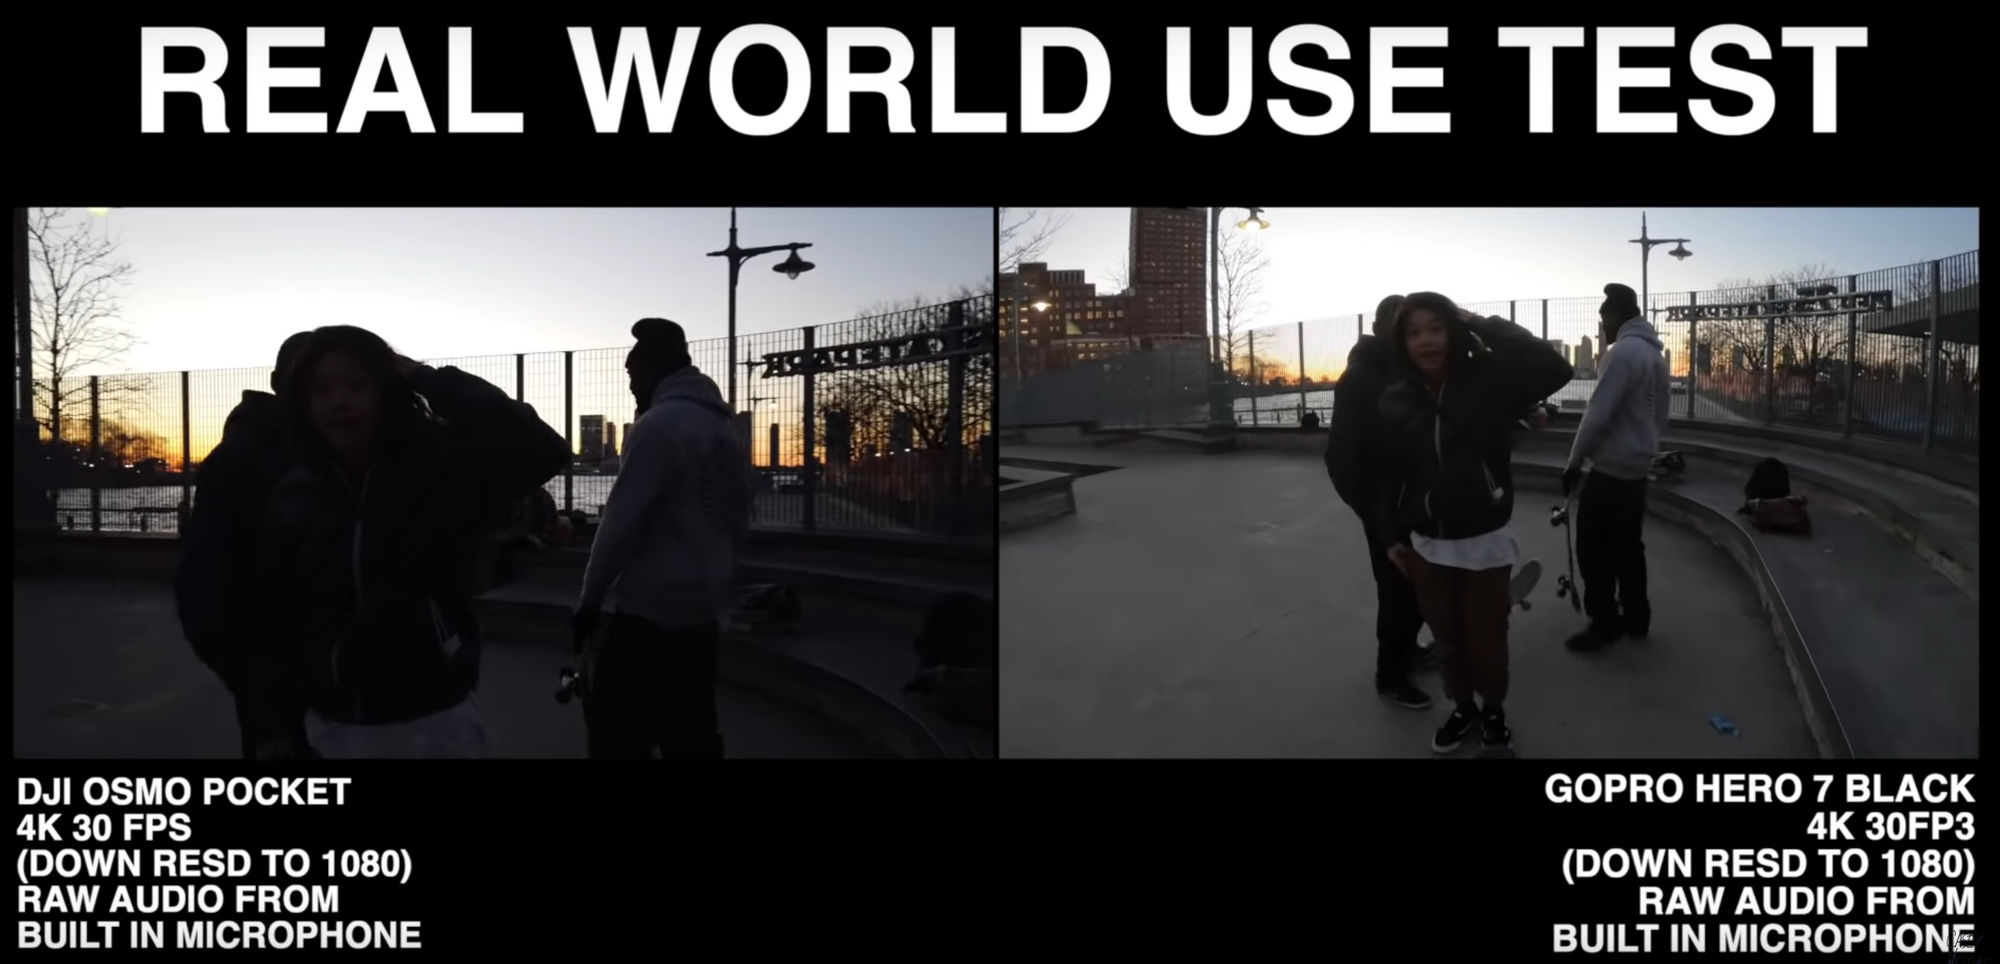
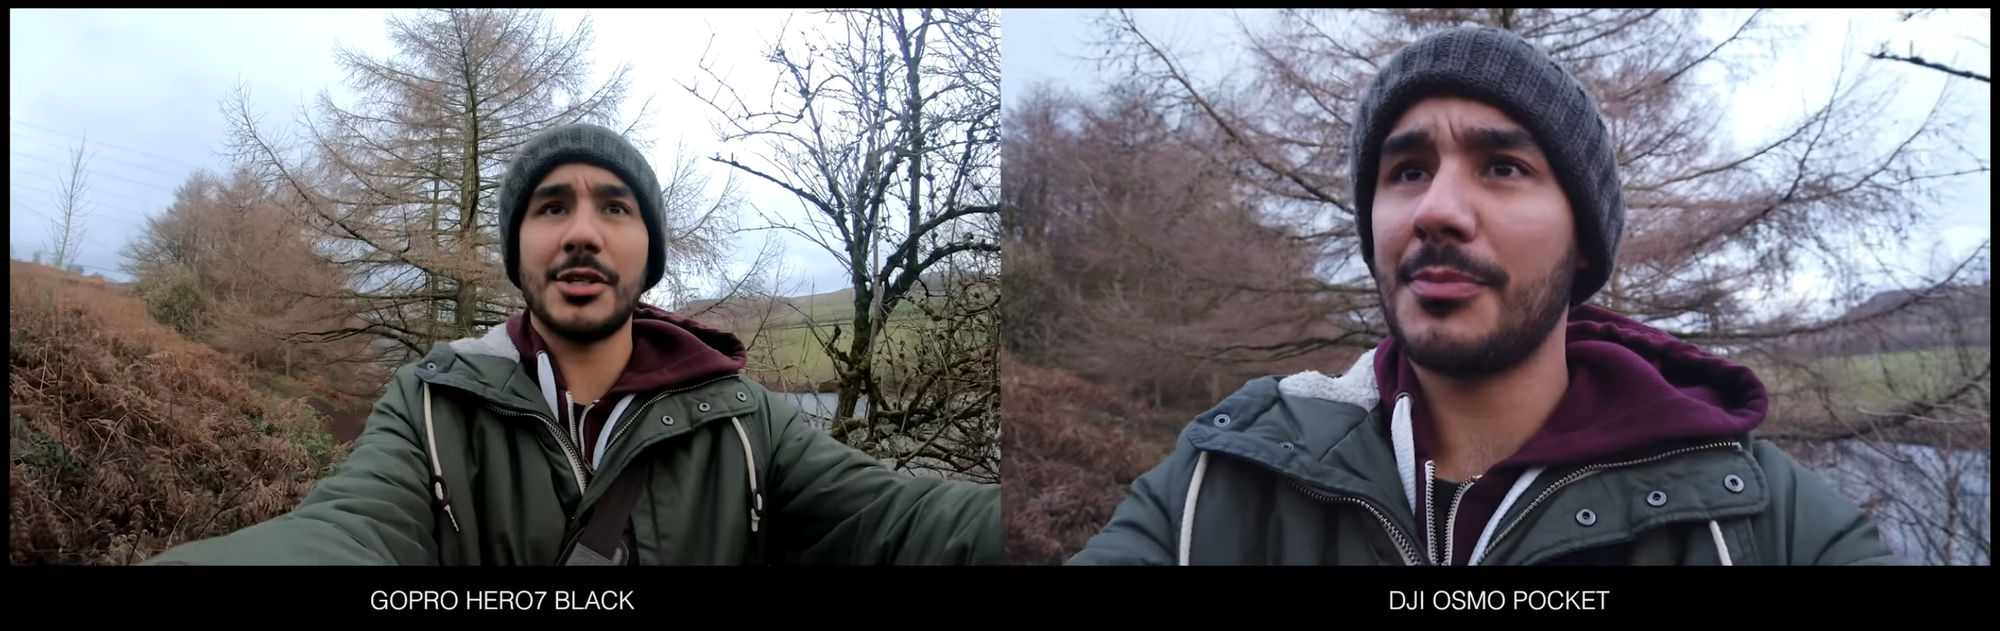
Low Light Performance
The GoPro Hero 7 seems to have better low-light quality.
Field of View (FOV)
With a wider field of view (FOV), you’ll obviously be able to see more. The GoPro Hero 7 appears to support a wider field of view compared to the Osmo Pocket.
Replaceable Batteries
With the GoPro, you can replace the batteries. With the Osmo Pocket, you have to charge the embedded battery.
Conclusion
Infrequent use
For infrequent use, I’d just get a gimbal for my smartphone that also supports the GoPro Hero in case I ever get a GoPro. After reviewing the Moza Mini-Mi, Zhiyun Smooth 4 and the Osmo Mobile 2. The Osmo Mobile 2 is the best.
Frequent Use
For frequent use, though I like how small the Osmo Pocket, I think I’d get the GoPro Hero 7 since it includes Hypersmooth stabilization, a wide field of view, and supports replacing batteries. To get gimbal-smooth videos, I’d just buy a holder with a gimbal for use with the GoPro.
Scene Capture
When filming with a regular action cam, you have to point the camera at what you want to film. If the person holding the camera doesn’t aim well or is on a moving around a lot, e.g. on a roller coaster, the subject can easily get cut off. To solve this, you could get a 360 degree action camera. They record everything around you regardless of which direction the camera is facing. In post processing, you can choose which direction you want the final video at face at any given time frame. This is called “reframing” the video to convert it to normal a flat video.
360 Action Cams
Mounts
When traveling, you don’t always know when you’ll come across a scene you’d like to film. Fortunately, many cameras are small enough to put in your pocket. However, it’s nice to be able to record hands free. There are many mounts and accessories available including
- Chest mount
- Wrist / hand mount
- Neck lanyard
- Wrist lanyard
- Invisible stick
At the very least, using a lanyard would be wise in certain situations like on a roller coaster so if you drop the camera, you won’t lose it.