


UPDATE: You can quickly set up preconfigured web stacks using Amazon Lightsail.
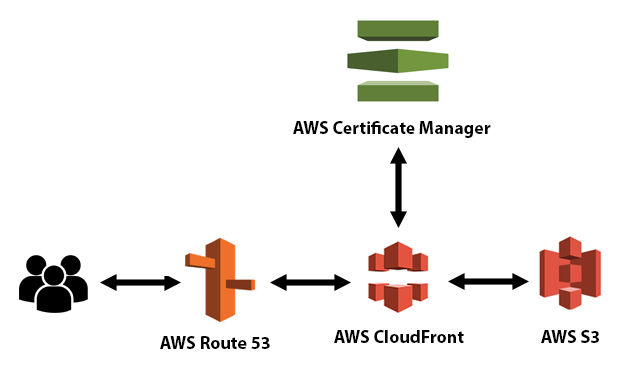
This tutorial will show you how to host a website on Amazon S3, Amazon CloudFront, and Amazon Route 53 using SSL and a custom domain.
Amazon S3
Amazon S3 is an object storage service. Files are objects.
Amazon CloudFront
Amazon CloudFront is a content delivery network (CDN) service.
Amazon Route 53
Amazon Route 53 is a Domain Name System (DNS) web service. Route 53 connects user requests to internet applications running on AWS or on-premises.
AWS Certificate Manager
AWS Certificate Manager (ACM) is used to provision, manage, and deploy public and private SSL/TLS certificates for use with AWS services and your internal connected resources. ACM removes the time-consuming manual process of purchasing, uploading, and renewing SSL/TLS certificates.
Create an S3 bucket
- Go to your AWS console and search for S3. Click it.
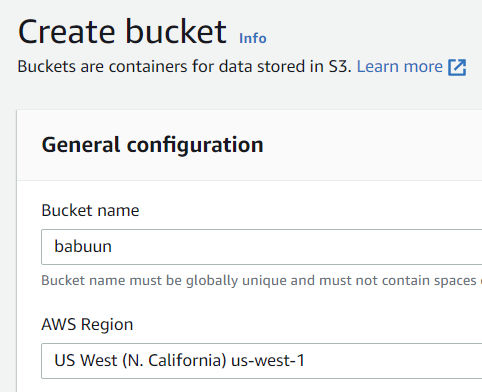
- Click ‘Create Bucket’. Choose a globally unique bucket name and AWS region.
- Untick “Block all public access” and confirm it, since we want our static website accessible from the internet.
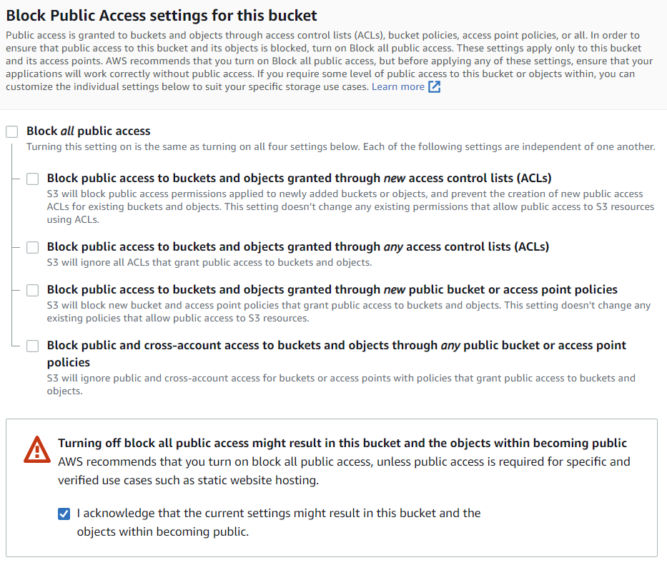
- Leave everything else as is and click ‘Create bucket’.
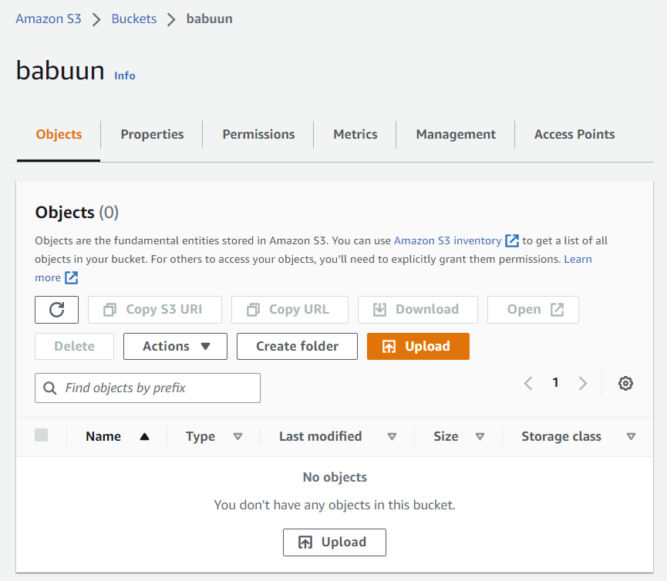
- Open the bucket you just created from the console. The bucket should be empty.
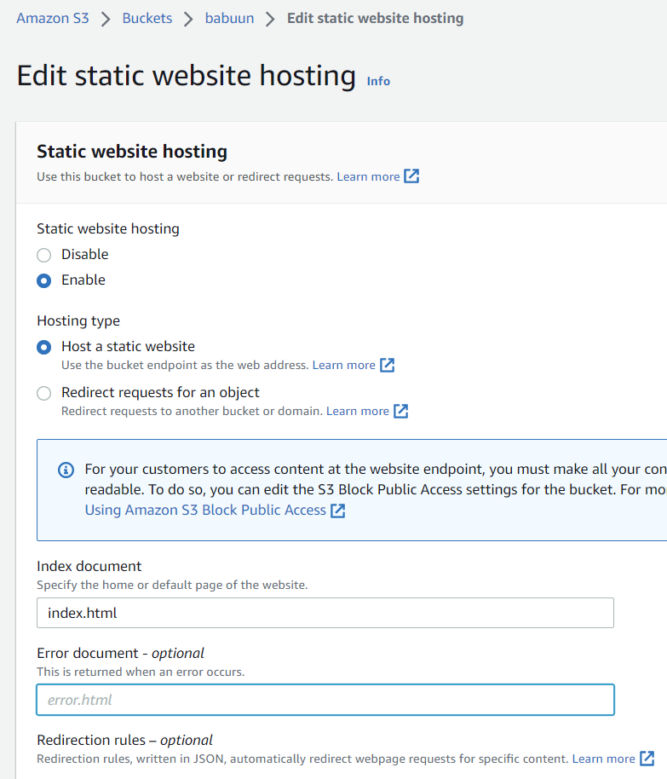
- Click the Properties tab, and then sroll down to Static website hosting and click ‘Edit’.
- Choose ‘Enable’ under “Static website hosting”
- Choose “Host a static website”.
- Choose an Index document. You can fill in “index.html”.
- Hit Save changes.
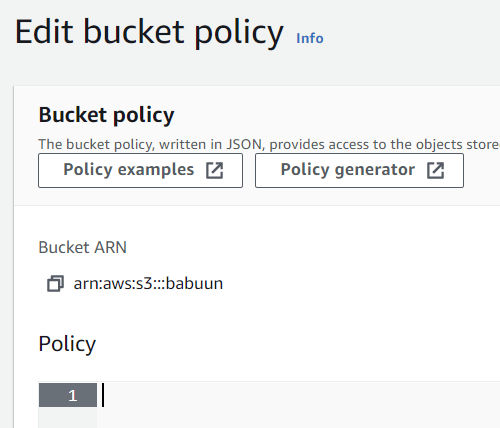
- In S3, click the Permissions tab. Then Bucket Policy.
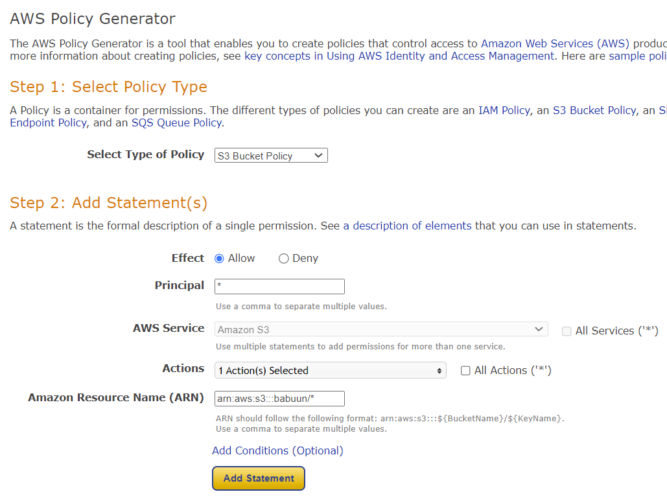
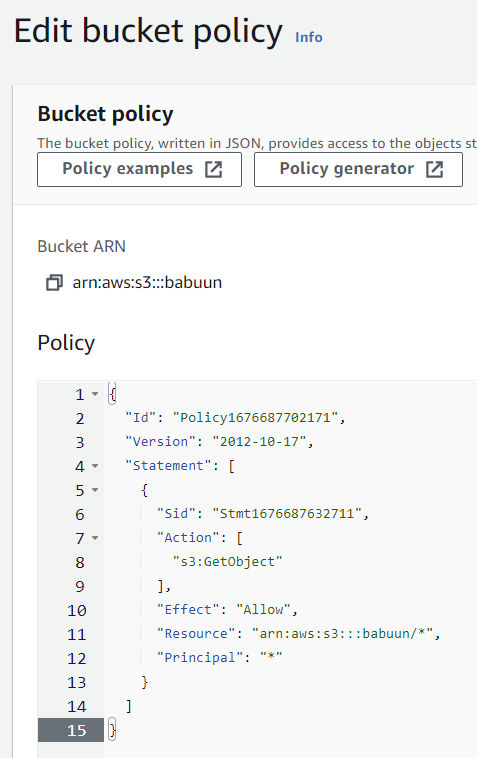
- Here you need to fill in a policy that will allow the bucket to be publicly accessed. Open the official AWS policy generator at AWS Policy Generator in a new tab and generate a policy.
- At the generator, choose S3 bucket policy as the Type of Policy. Principal will be an asterisk “*” (without quotes), and Actions will be “GetObject”.
- Fill in your ARN. It can be found in AWS Console where you were about to fill in the bucket policy. There, at the top of the page, you should be able to find the ARN in the format of arn:aws:s3:::<bucket_name>.
Important: before you paste in the ARN, append a slash and asterisk at the end, so it will look something like: arn:aws:s3:::babuun/* (my bucket name is “babuun”). This will allow access to everything inside the bucket.
- Click Add Statement and then Generate policy.
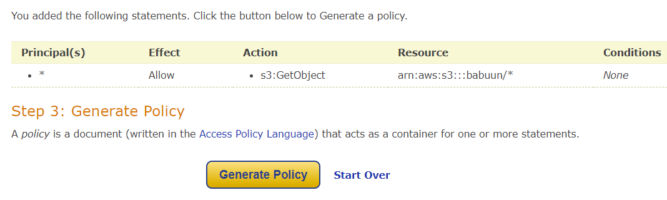
- Copy the whole policy over to the S3 AWS console in the Edit bucket policy page and click Save Changes.
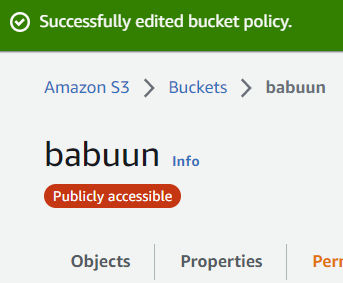
Now, when you open your bucket, you should see a red bubble with white text Publicly accessible under the name of your bucket. If you do, everything is correct and we can proceed.
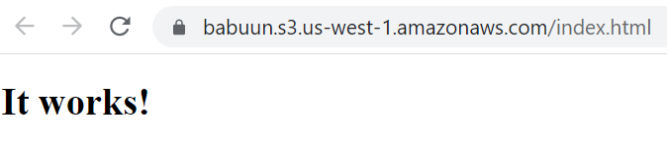
- In your AWS console inside your S3 Bucket hit Upload, then Add files and upload your website. If you don’t have one yet, just create an index.html file with the following content and upload it. You can also create a folder, e.g. for images.
<!DOCTYPE html>
<html>
    <head>
        <title>Example</title>
    </head>
    <body>
        <h1>It works!</h1>
    </body>
</html>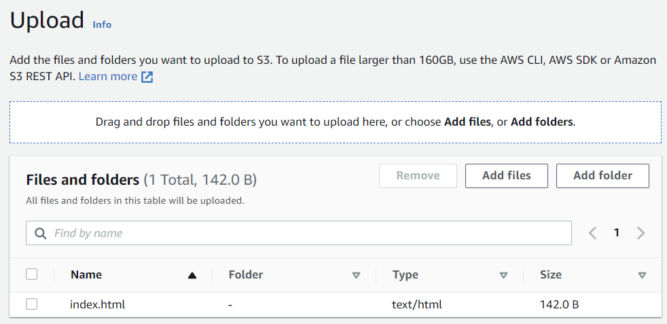
- Click on index.html to view more info.
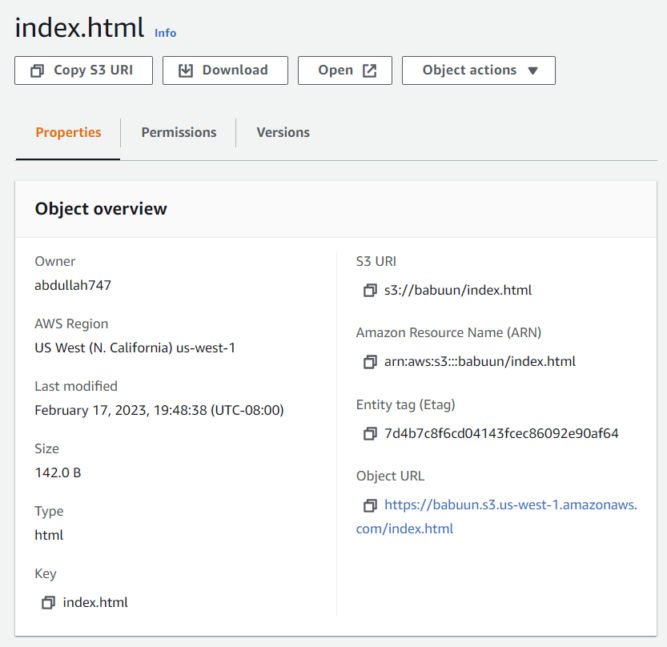
- Click the Object URL link to see your index.html.
Create a hosted zone in Route 53
- In your AWS Console search for Route 53 under Services.
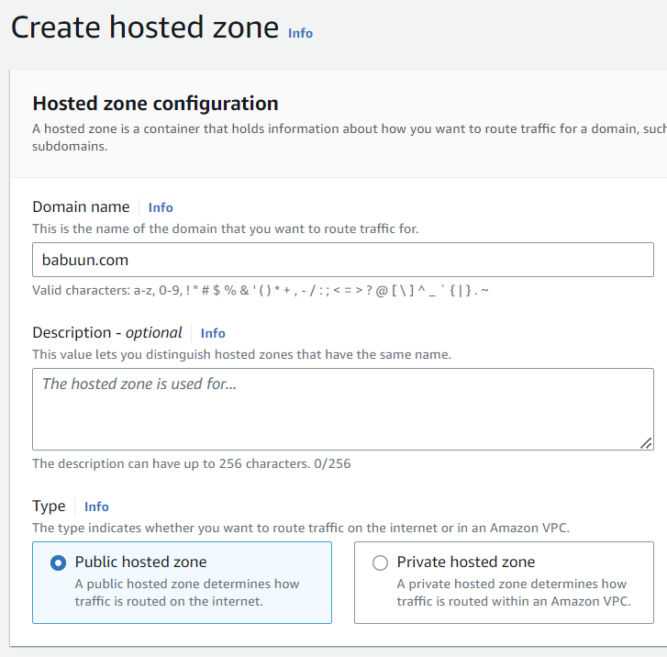
- Under ‘DNS management’, click Create hosted zone.
- Inside the ‘Domain name’ field, input your domain name. You can get one from any domain registrar like GoDaddy.
- ‘Type’ will be Public hosted zone.
- Click Create hosted zone.
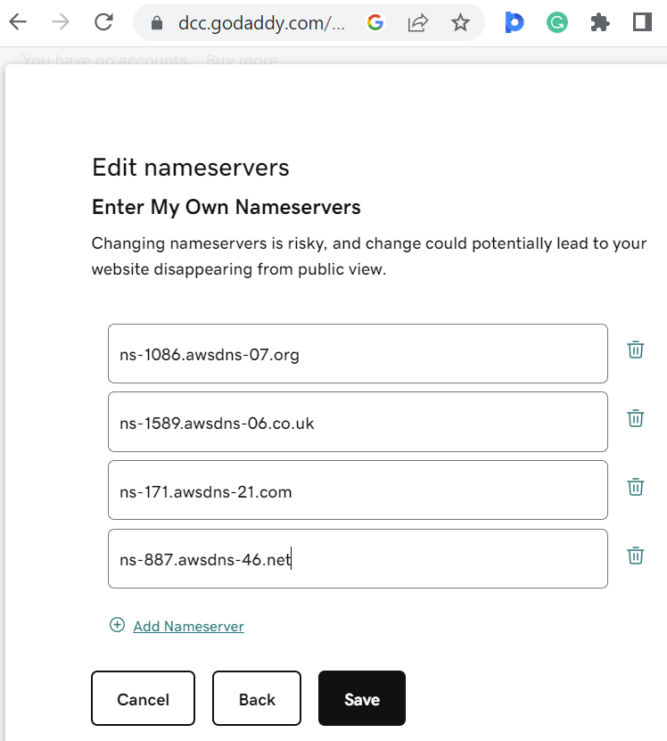
Now we need to link our domain with the records in Route 53. For the zone we just created, you’ll see 2 types of records. The first on is “NS”, which stands for “name server”. There are 4 name servers in this record.

- Open a new browser tab and go to your domain’s DNS management page. There, you’ll see a section to update nameservers. My domain is babuun.com and I registered it with GoDaddy. Copy the name server values in Route 53 to your DNS management page. Make sure to remove the dot at the end. In doing so, when someone tries to reach your domain, you redirect them to one of these name servers. Save your nameserver changes. Keep this browser tab open as you’ll need it in the next section.
Set up a certificate
- In your AWS Console, search for Certificate Manager and click the link.
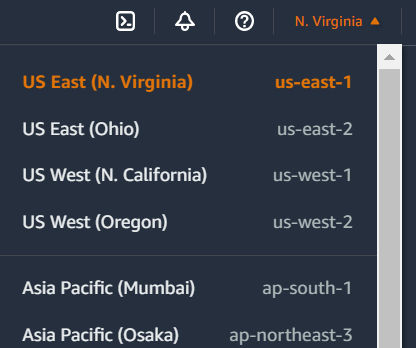
- IMPORTANT: In the region dropdown, choose “US East (N. Virginia)”.
- Click “Request Certificate” > “Request a Public Certificate”.
- Fill in the domain name. In my case, it’s “babuun.com”.
- For “Validation Method”, use the recommended value (DNS Validation).
- Leave everything else as is and click the Request button.
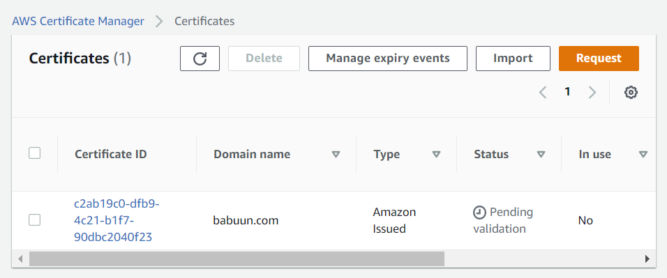
- On the next screen, you’ll see the certificate is “pending validation”. In order to validate it, we need to link it to our Route 53 records. Click on the link under “Certificate ID”.
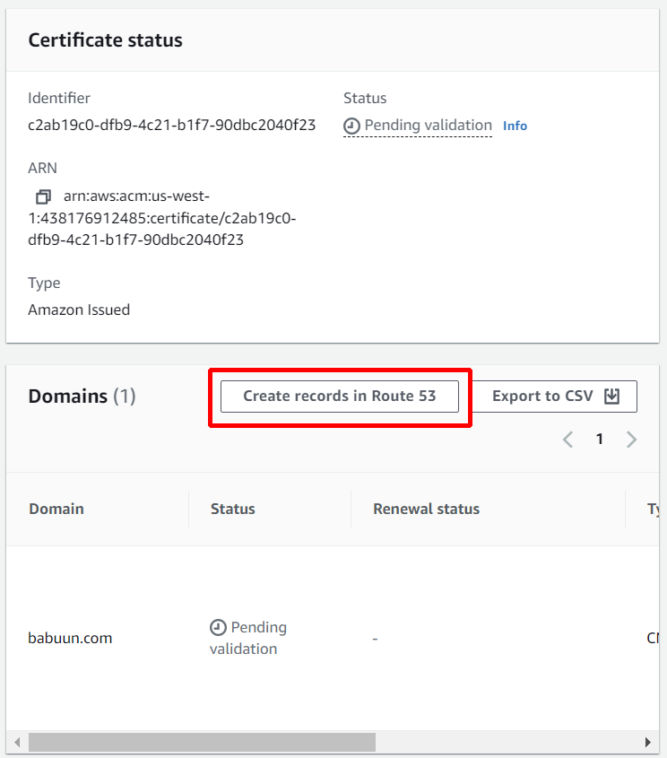
- Click on “Create records in Route 53”.
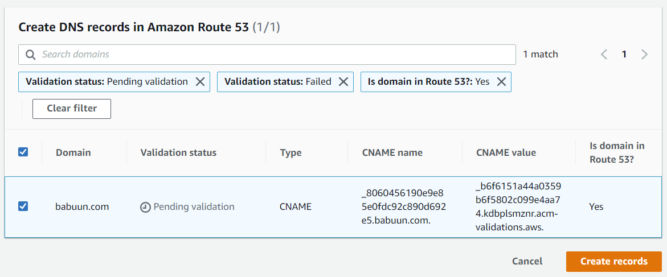
- Then, click the “Create records” button.
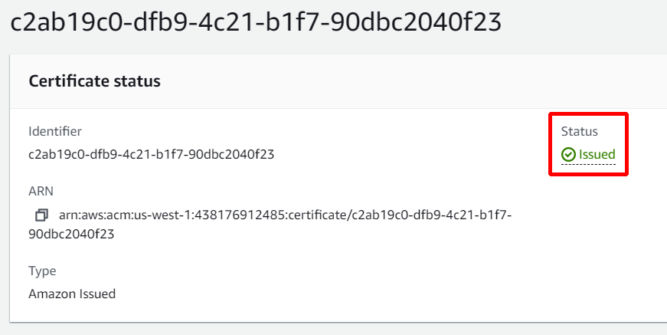
- Wait up to 30 minutes for the certificate to be issued. The status will change from “Pending validation” to “Issued”.
Set up a CloudFront distribution
We will create a CloudFront distribution that is connected to our S3 bucket. When anyone tries to access our distribution, they will actually be accessing our S3 bucket while taking advantage of the speed of CloudFront.
- In your AWS Console search for CloudFront and click the link.
- Click Create Distribution. On the next page, under “Origin domain”, select the S3 bucket we created earlier.
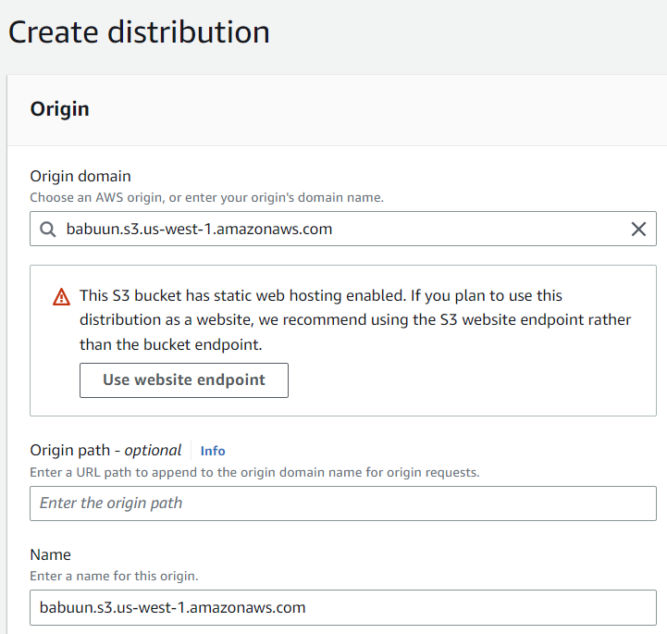
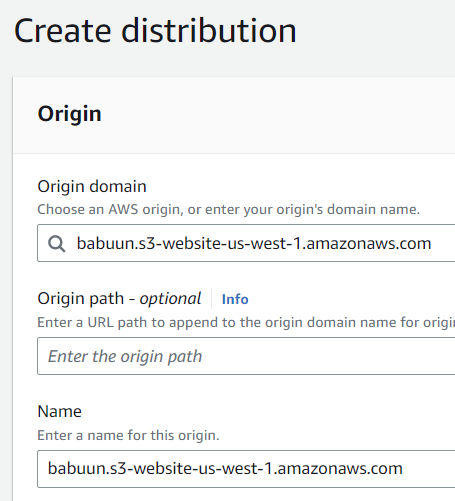
- CloudFront will notice that the bucket was set up to host a website. Click the “Use website endpoint” button. CloudFront will automatically update the values for you.
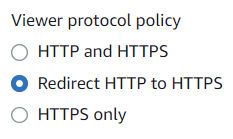
- Under Viewer Protocol Policy choose Redirect HTTP to HTTPS
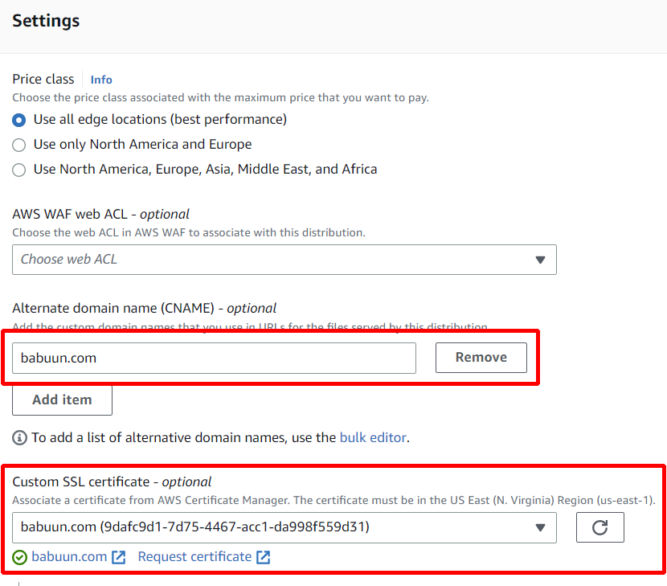
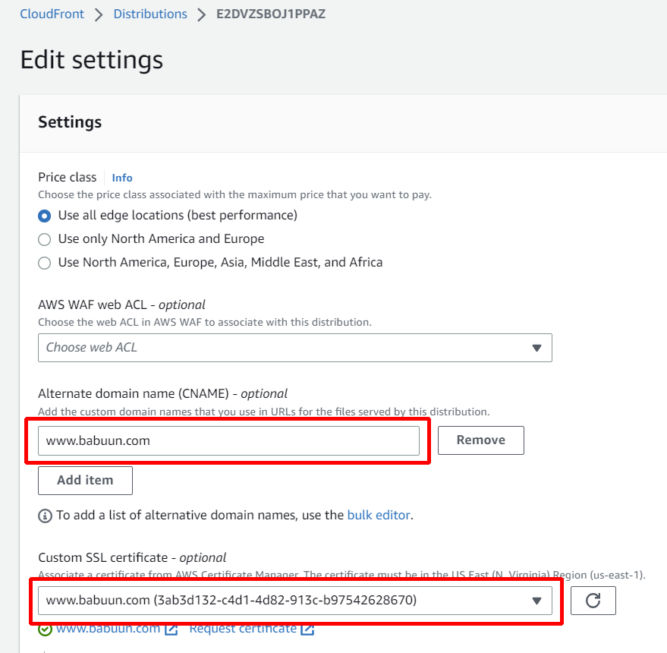
- Under “Alternate Domain Names (CNAMEs)”, enter your domain name, e.g. babuun.com.
- Under “Custom SSL certificate”, choose the certificate we created earlier. If it’s not available, the certificate may not have been issued yet. Wait 30 minutes or so and click the refresh button until you see the certificate. Select the certificate.
- Click Create Distribution at the very bottom of the page.
The distribution takes about 10-20 minutes to provision. Once it is provisioned (Status = Enabled, Last modified = a date), you can test it by pasting the URL into your browser. You should see the website you uploaded into S3.

However, your custom domain won’t load in a browser yet. To fix that, we need to create a record in Route 53.
Set up a record in Route 53
- Go back to Route 53 and click on your domain.
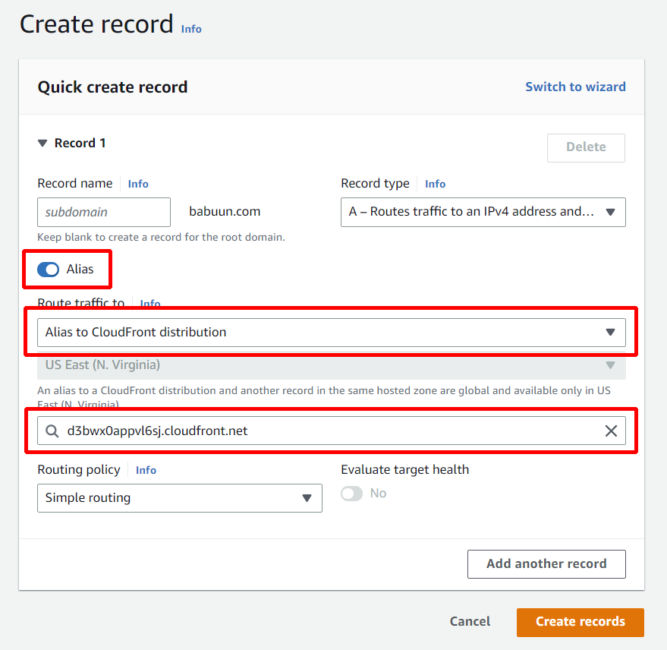
- Click Create record.
- Click Alias.
- Click the dropdown menu at Value/Route traffic to and choose Alias to CloudFront distribution.
- Choose the distribution you provisioned previously.
Notice that the only available region is US East (N. Virginia)[us-east-1]. This is due to the fact that we provisioned an SSL Certificate via AWS Certificate manager. This service is only available in US East 1.
Now, just wait a few minutes for the DNS records to update and try to load your domain name. If everything went correctly, you should see your static website distributed via CloudFront.
And there it is…
Alternate Domain (CNAME)
The instructions above involve using Route 53 as the DNS manager for the domain by updating the nameservers for the domain at the domain registrar to point to AWS’ nameservers. By having Route 53 manage the DNS records, you can have the root domain (babuun.com) point to AWS CloudFront and you can add a CNAME (alternate name) such as www.babuun.com point to AWS CloudFront as well. So, your website would be accessible at both https://babuun.com and https://www.babuun.com.
If you don’t want to use AWS Route 53 as your DNS manager, you would only be able to create a CNAME in your external DNS manager that points to your CloudFront URL as shown below.

In this example, I made www.babuun.com point to d3bwx0appvl6sj.cloudfront.net in GoDaddy.com’s DNS manager. You can’t have the root domain (babuun.com) point to CloudFront because the root domain destination can only be set in the A record, which must point to an IP address, not a domain. Since we don’t know the IP address of CloudFront, then babuun.com will not point to CloudFront. As a workaround, you could have the root domain point to an IP address of a server you have access to, and then add a redirect from there to www.babuun.com.
Since you’ll need a certificate specifically for www.babuun.com, or use a wildcard cert like *.babuun.com, you need to create a new certificate in ACM. The instructions are the same as above. After requesting a new certificate, you’ll see the status is “Pending validation”. Since you chose DNS validation, you’ll need to create a new CNAME record in your external registrar with the CNAME name and value provided.
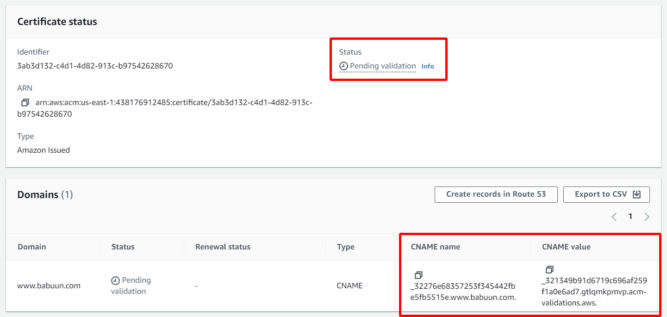
The screenshot below shows the relevant records in my DNS manager on GoDaddy.

ACM will take up to 30 minutes to verify the changes after which time the certificate’s status will change to “Issued.
Now that the certificate is issued, you can update the CloudFront distribution settings by adding the newly issued certificate.
If you are using AWS CloudFront only for static assets, e.g. PDFs and images, then it makes sense to just create a CNAME record with an alternate name like “cdn.babuun.com” or “static.babuun.com” or “assets.babuun.com”.
Bucket Versioning
Versioning is a means of keeping multiple variants of an object in the same bucket. You can use versioning to preserve, retrieve, and restore every version of every object stored in your Amazon S3 bucket. With versioning, you can easily recover from both unintended user actions and application failures.
In S3, choose your bucket, then click the Properties tab, then enable bucket versioning.
Redirects
https://docs.aws.amazon.com/AmazonS3/latest/userguide/how-to-page-redirect.html