


There are many different ways you can edit home improvement videos. Here are some:
Make a Video From Photos
This is pretty simple to do. You can just add a bunch of photos to the video track of your video editor, animate each photo (many video editors can do this automatically), add some music to the music/audio track, and render the video. The result can be pretty good but it doesn’t really give a sense of the amount of effort or process involved. Here’s an example clip.
Regular 1x Speed Video
If you have a short video, leaving the speed at normal 1x speed might be okay. But, if your video is long, people will get bored very quickly. Since most home improvement projects take longer than 30 seconds, I don’t recommend this option, unless you are maybe adding a voiceover that explains what you are doing in the video.
Fast Speed (Timelapse) Video
Another option is to just timelapse the entire video. Some home improvement projects can take all day. Many people, including myself, will just leave a camera somewhere that will take many still photos at a set interval to create a timelapse video. You can also record an entire day’s worth of video, which I’ve also done using a WyzeCam mounted on a wall. Timelapsing an entire video is as easy as speeding up the video clip. The downside is the audio is also sped up and often doesn’t sound good so you usually mute the audio and optionally add some background music. Here’s an example.
Mixed-Speed Video
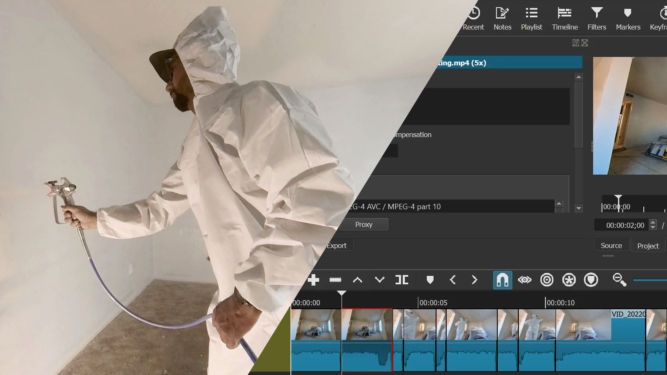
Another option is to timelapse (speed up) certain parts of the video and leave the other parts at regular 1x speed. This is definitely more work but I personally find this better than just speeding up the entire video. However, I find the best effect is when the regular speed segments are ones that have a high volume, e.g. when you’re using a tool that makes a lot of noise (drilling, jackhammering, cutting, etc). Here’s an example.
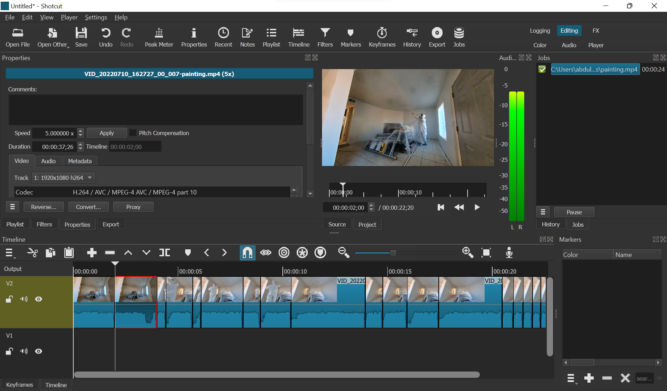
I normally use Corel VideoStudio to edit videos but for this purpose, I find Shotcut to be easier to use. Shotcut, which is free, shows the waveform very clearly, runs faster and hasn’t crashed on me yet. The UI takes some getting used to but once you get the hang of it, it’s pretty simple to us. Here are the steps I follow in Shotcut to create this type of video:
- Open the original video in Shotcut
- Drag it from the player to the timeline
- Zoom in, if necessary, so that you can see the audio waveform
- Choose some or all segments where the waveform is high (high volume)
- Scrub the playhead until you find a segment where the waveform is high (high volume) and the segment is interesting to show at 1x speed
- Split the video at that playhead position.
- Move the playhead by where you want to end the segment. For 1x speed segments, I choose a duration of 1 second. You can advance the playhead by 1 second by going to “Player” > “Forward One Second”.
- Delete any segments you don’t want to keep (choose Ripple Delete to remove empty space as well)
- Click on a segment you want to speed up, click Properties, and change the speed. I choose 5x.
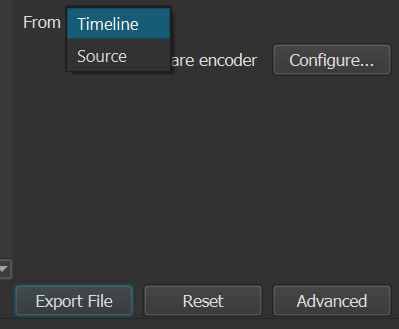
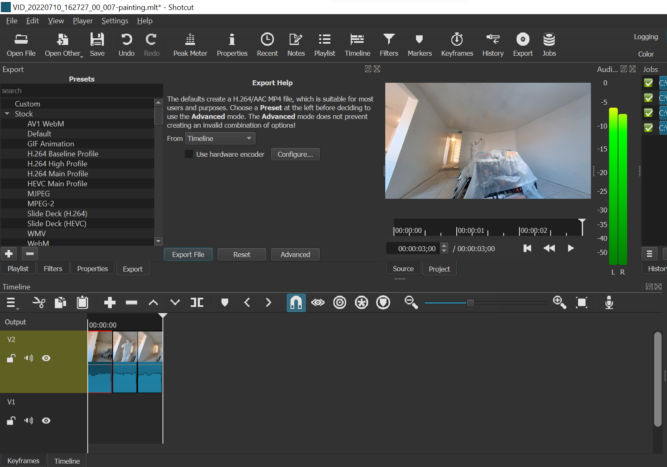
- Click the Export button, select “Timeline” in the From field, and click “Export File”.

Video Showing Only Selection of 1-second Segments
Another option is to create a video from a selection of 1-second segments. Some segments will probably have high volume, e.g. drilling, jackhammering, cutting, etc. , Others may not, e.g. lifting, cleaning, drawing lines, etc. Again, I find this much easier to do in Shotcut than in Corel VideoStudio. Here’s an example.
Here’s how I do it in Shotcut:
- Open the original video in Shotcut
- Drag it from the player to the timeline
- Zoom in, if necessary, so that you can see the audio waveform
- Scrub the playhead until you find an interesting segment
- Split the video at that position
- Move the playhead forward or backward by 1 second (“Player” > “Forward One Second” or “Backward One Second”.)
- Split the video again to create a one-second clip
- Repeat steps 4-7
- Delete all other segments (choose Ripple Delete to remove empty space as well)
- Click the Export button, select “Timeline” in the From field, and click “Export File”
Merging Clips
If you end up with a bunch of video clips that you want to merge and you don’t need to apply any transitions or effects, you can merge them almost instantly with LosslessCut.