


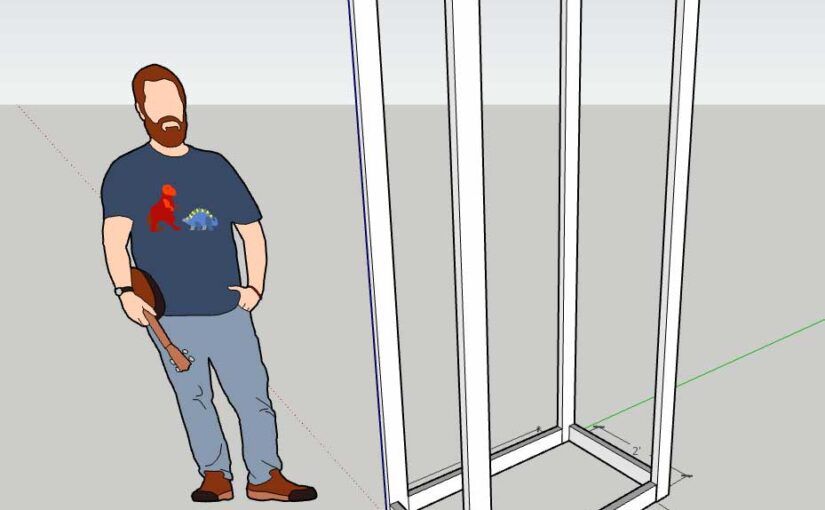
Let’s say you want to make a closet in your garage and you want to create the frame using 2×4 lumber. It’s helpful to draw this in 3D to visualize the design. This post will show you how to do it using the free web version of SketchUp.
Set length units and precision
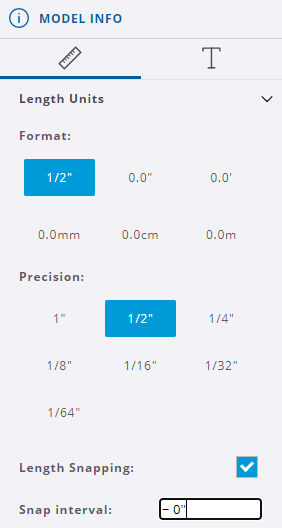
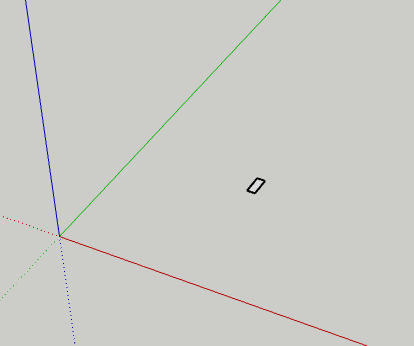
First, under Model Info, we set the length format and precision. Since a 2×4 piece of wood is actually 1.5″ x 3.5″, let’s set the length and precision to 1/2″.
Create 2×4 objects that represent stock lumber
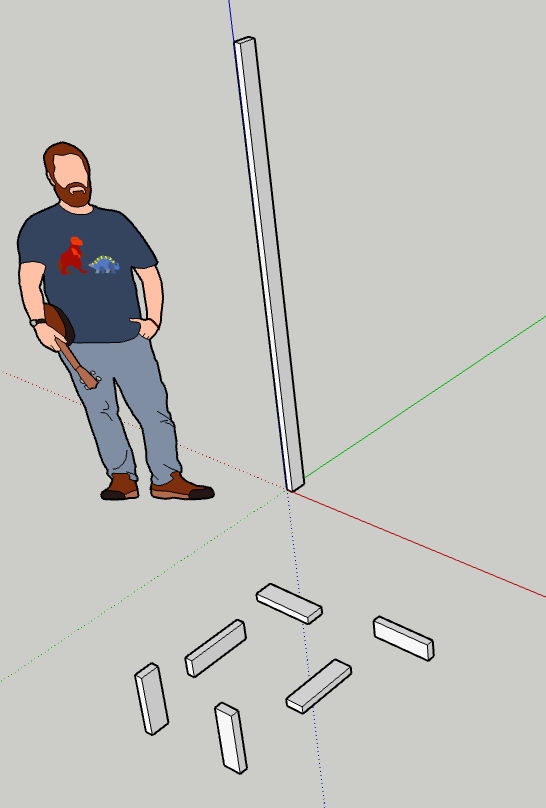
To simplify creating the closet frame out of 2x4s in 3D, we’ll first create 2×4 objects that are any length, e.g. 12 inches long, along each axis (x, y, and z). To do this, we’ll first create a 2×4 rectangle as follows:
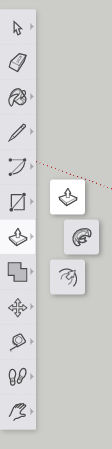
Choose the rectangle tool.
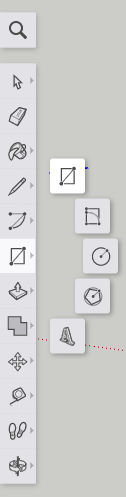
Click and drag anywhere until you see a rectangle.
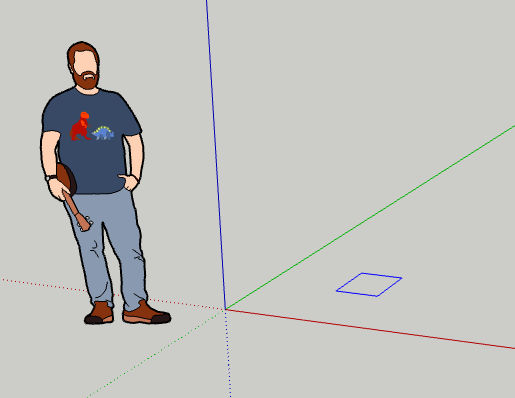
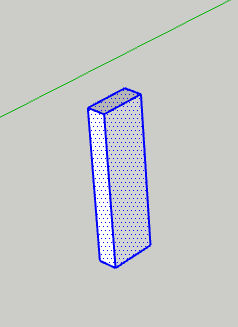
Before clicking a second time, type “1.5,3.5” (without quotes) to manually specify the dimensions and then hit Enter. What you type will show up in the Dimensions field in the bottom right corner.

You will see the rectangle as shown below.
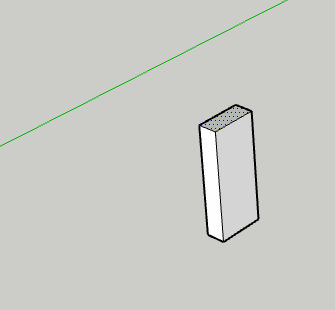
Now, we want to pull the rectangle to create a 12-inch long object representing a piece of wood. Click the Push / Pull tool.
Zoom in, if necessary. Then, click on the face of the rectangle and drag up. Do not click as doing so will set the length. Instead, type “12” (without quotes) to specify the length in inches to pull the rectangle to create a 12″ long 2×4. Then, hit Enter.
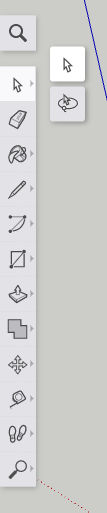
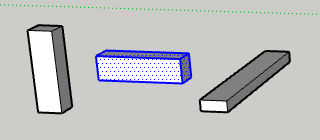
Now that we have one piece of 2×4 in one direction. Let’s copy and paste it twice to create two more pieces in the other two directions. Click the “Select” tool.
Drag a rectangle around the entire object you just created to select all of it. The object will turn blue as shown below.
Click Copy / Ctrl+C and then Paste / Ctrl+V to paste a clone of that object. Do this twice.
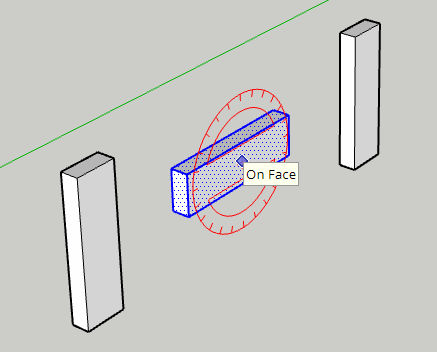
Now, select the 2nd object and then click the Rotate tool.
Click somewhere on the object and then click again to start rotating the object. Don’t click a third time since doing so would set the rotation angle. Instead, type “90” (without quotes) to rotate the object by 90 degrees.
Do the same with the 3rd copy of the object but rotate it in a different direction.
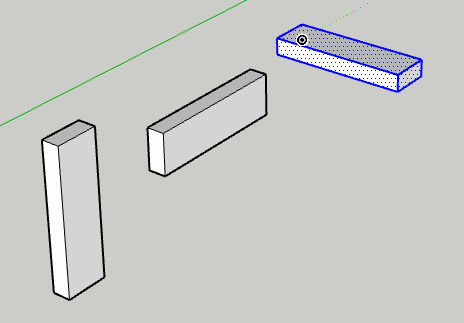
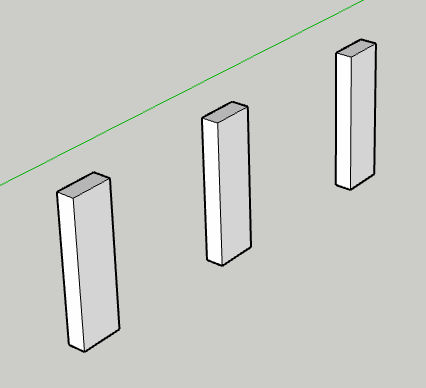
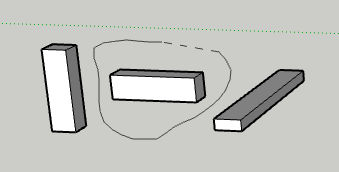
Come to think of it, we should make 3 more copies of the object and rotate them so we can have 2x4s in all 6 perpendicular directions. If you’re having a hard time selecting one entire object using the “Select” tool because it’s too close to another object, try using the “Lasso” selection tool.
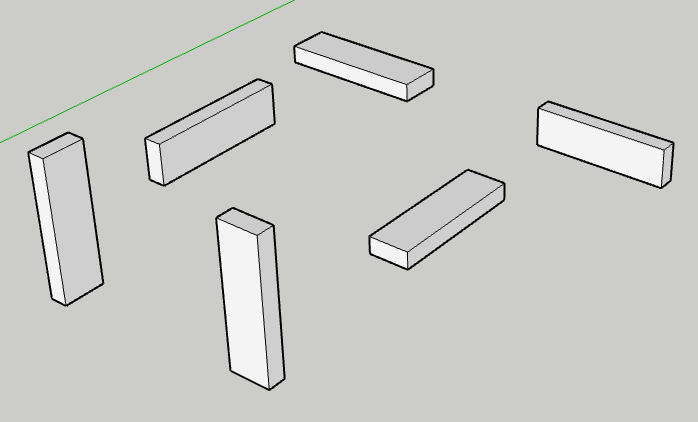
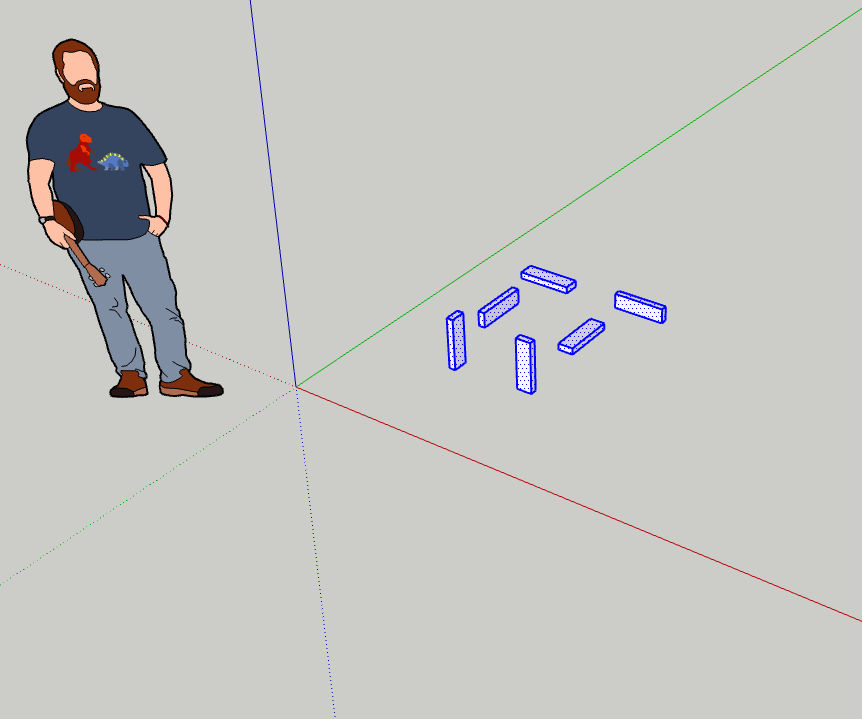
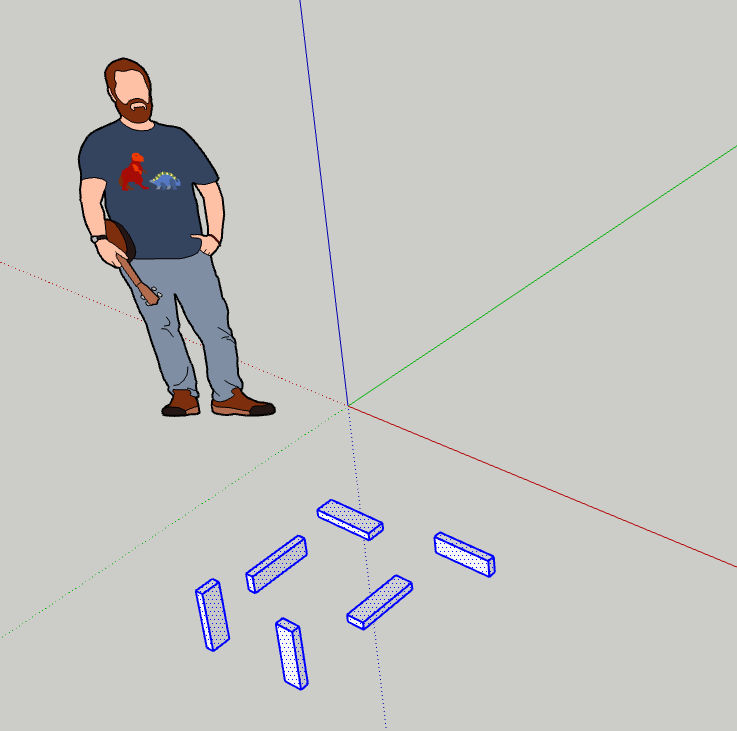
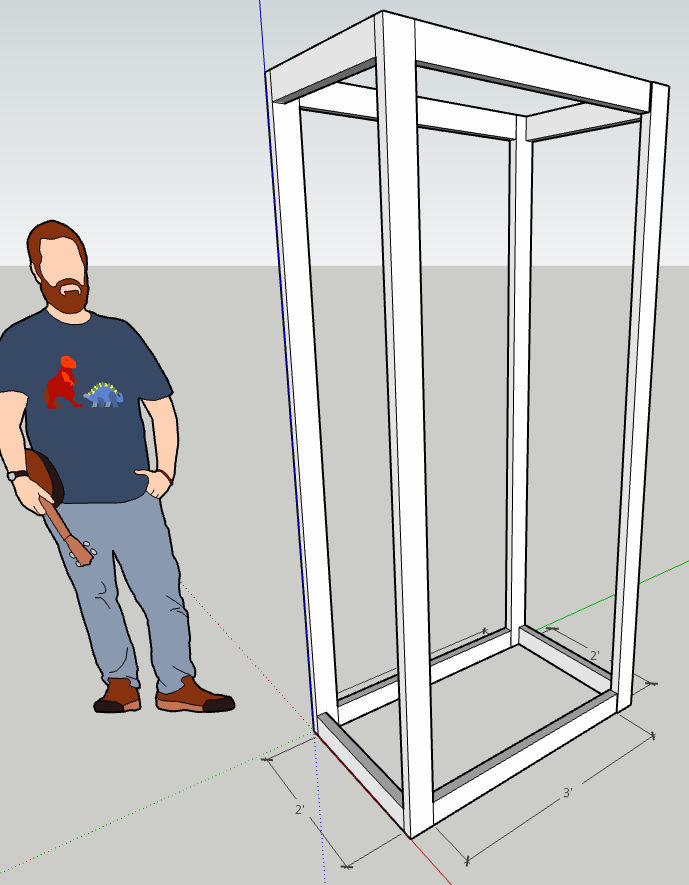
Now we’ve got our 2×4 building blocks which we can move to the side and clone to create the closet frame. I’ll select all 6 objects and move them as shown below.
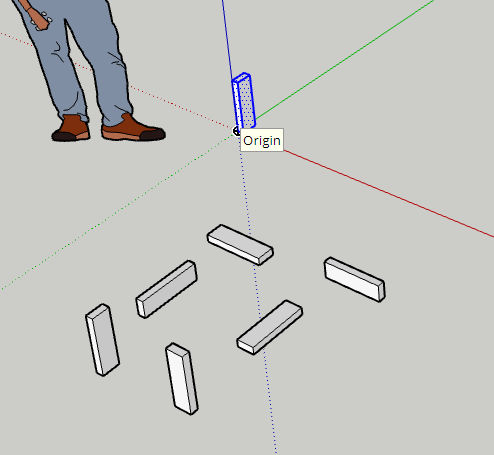
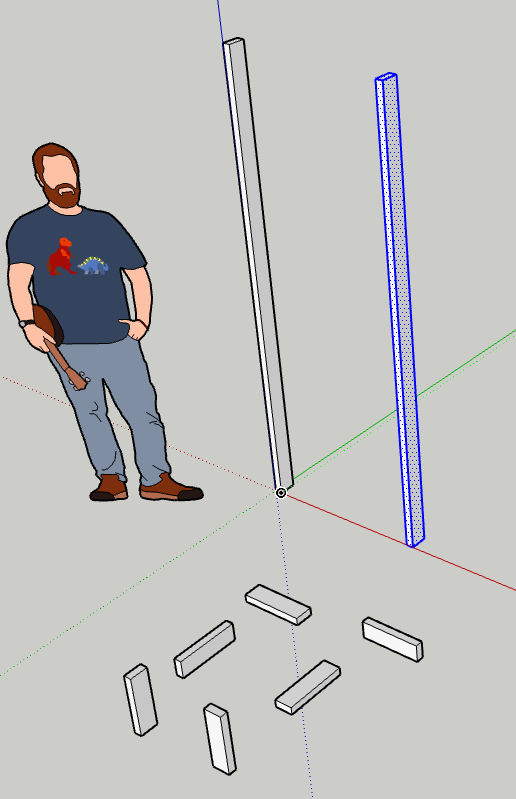
Now, we’ll create a closet frame by first cloning one of the building blocks, moving the clone, and pulling it to change its length. I’ll start with the back left corner of the closet frame. When I copied and pasted one of the 2×4 objects, I clicked on the origin to position the object there.
Let’s say we want our closet frame to be 80 inches tall. I’ll switch to the Push / Pull tool, click on the face of the object that I want to pull, drag up, and then type 80 to set the length to 80 inches.
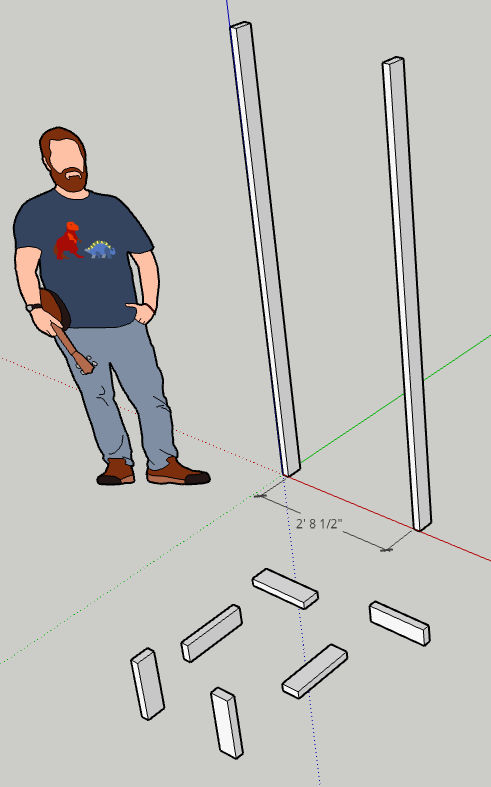
Since we want all corners to be 80 inches tall, we can clone the first 80-inch tall object three more times and position them as far as we want from each other. When you paste a copy of an object, you will see tooltips that help you align the object relative to the axes and to other objects.
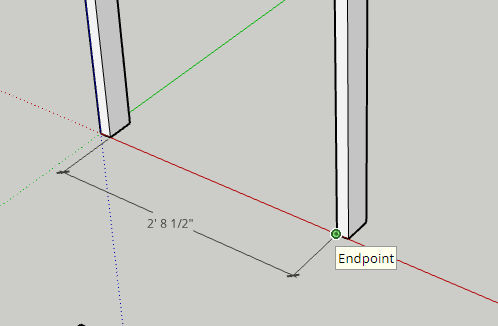
Above, we see a copy of the 80-inch tall 2×4 but we don’t know how far it is from the first 80-inch 2×4. Click the Dimensions tool.
Then, click on each of the two endpoints of the distance you want to measure. In this example, the distance is 2′ 8.5″.
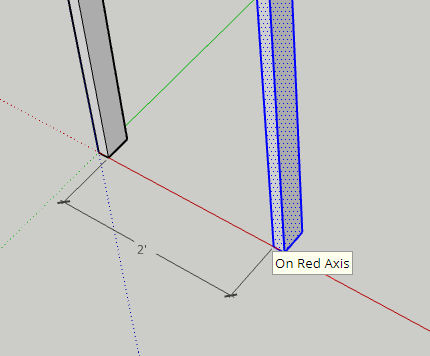
Let’s select the 2nd object and then click the Move tool so we can move the object to be 2 feet away from the other object.
Click on one corner / endpoint and then drag such that the distance becomes 2 feet.
When dragging, you’ll see tips such as “On Red Axis” which will help you stay on the same plane and only move in one direction. Below, we now see the distance between both objects is 2 feet.
Repeat the above steps for the remaining parts.
To learn more, including how to move and align objects relatively and absolutely, read my other SketchUp article.