


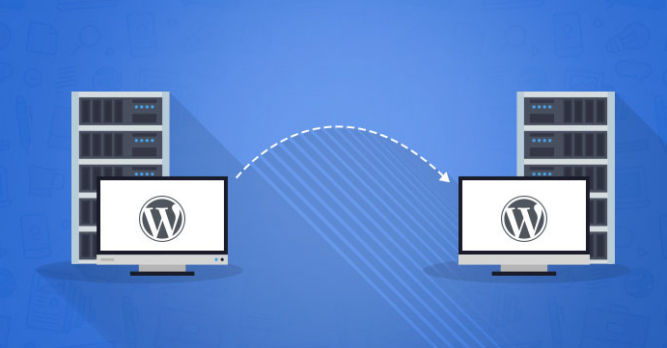
The instructions below are for migrating a WordPress site on GoDaddy’s Managed WordPress service to a GoDaddy Linux Shared Web Hosting server that uses cPanel. Nevertheless, the instructions still work elsewhere.
Step 1: Back Up (Download) Your Site’s Files
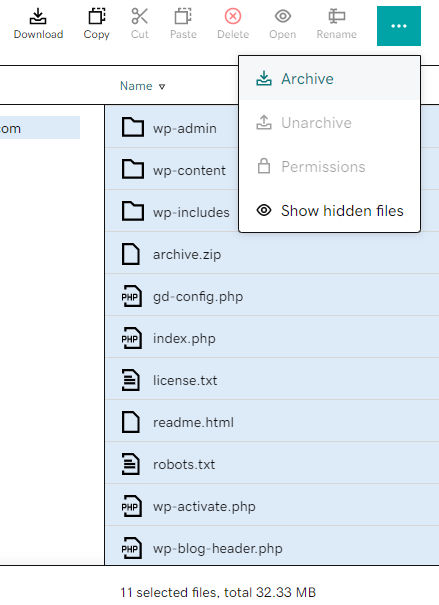
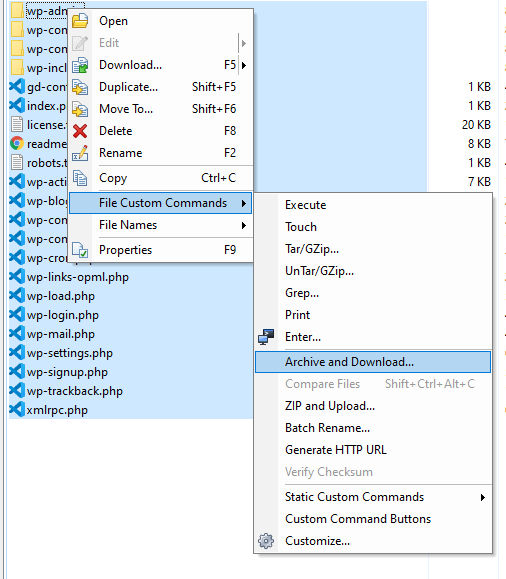
To easiest way to download all your site’s files is to archive (zip / tar) all files into one large file and then download it. You can use a free FTP / SFTP tool like WinSCP to do this or Godaddy’s File Manager or cPanel’s File Manager. Just connect to the server, select all files, right click and choose “Archive and Download”. A file named archive.tar.gz will be downloaded.
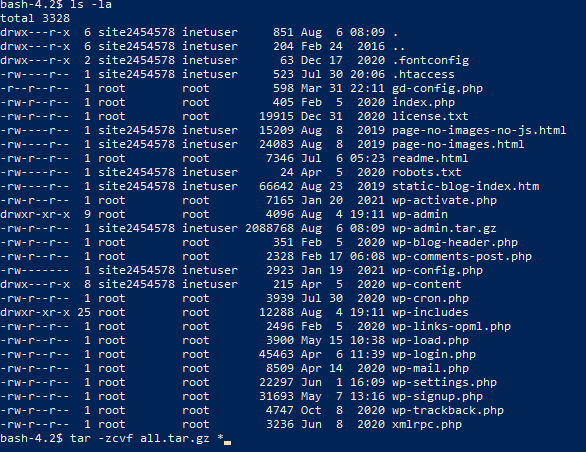
If you are unable to archive all files due to the connection timing out, you can SSH into the server and archive the files from the command line. On Windows 10, you can open Windows Powershell, SSH into the server, and run the command tar -zcvf all.tar.gz *.
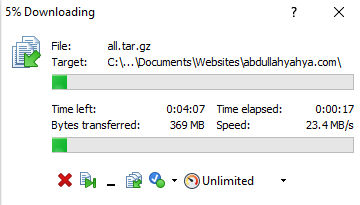
When downloading the archive, you may want to connect over ethernet instead of wifi to increase speeds. When I did this, I was downloading at around 23 MB/s.
You can also download files from the command line using the following SCP command if you are on Linux or MacOS.
scp [email protected]:foobar.txt /local/dirStep 2: Back Up (Export) Your Site’s Database
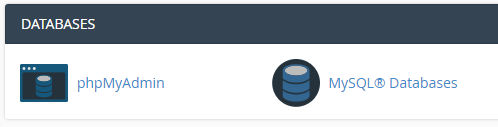
The easiest way to do this is by connecting to your MySQL database using PHPMyAdmin. Then, click the Export tab, ensure SQL is selected, check the “Save as file” checkbox, and then click the Go button. The database will then be downloaded.

Step 3: Upload Your Site’s Files
On this step, you can use the same tool as in step 1, e.g. WinSCP. If you are going to host the migrated site on GoDaddy’s Shared Linux server, you can just create a new folder on the destination server, e.g. at /home/javanigus/public_html/mysite.com/ where mysite.com is the name of your site.
Make sure to upload the archive (one large file) archive.tar.gz. Don’t unarchive it locally and then upload a million separate files. After you upload the file, you can unarchive it. If you’re using GoDaddy, you can use cPanel’s File Manager to select the archive.tar.gz and extract it.
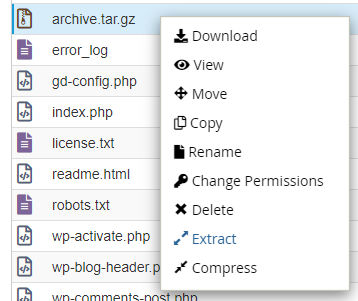
When you’re done extracting the archive, you can delete the archive.tar.gz file.
Step 4: Import (Upload) Your Site’s Database
For this step, you’ll need to create a new database and a database user who has full permissions. If you use cPanel, you can easily to this step from the control panel.
- 1. Create a database (e.g. mysite_db)
- 2. Create a database user (mysite_db_user)
- 3. Add user to the database
- 4. Assign permissions to the user
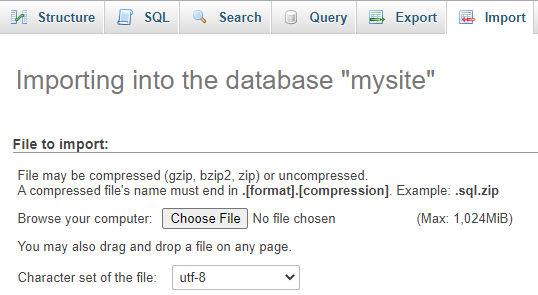
Now that you have a database, you can connect to it using PHPMyAdmin, select the database, click the Import tab, choose your database SQL file from step 2, leave all other defaults, and click the Go button. Your database tables and records will all be created.
Step 5: Edit Your Site’s wp-config.php File
In the step, you can use an FTP client to download, edit, and upload your site’s wp-config.php file. If you can cPanel, you can also use its File Manager to edit the file in the browser. You’ll need to edit the values for 4 variables:
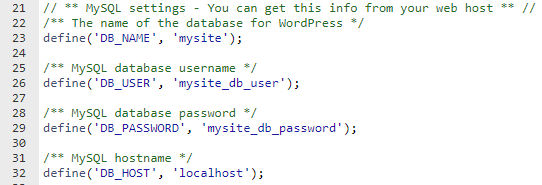
In many cases, like for GoDaddy’s Linux Shared Hosting service, the value for DB_HOST is “localhost”.
Step 6: Add Domain and/or Change Your DNS
You can update the DNS records for the domain to use values pointing to the new host. After DNS has propagated, you should see the same site but being served from the new host instead of the old one. At this point, you can delete the old site.
If your new host is GoDaddy’s Shared Linux hosting using cPanel, you can use cPanel to create a new domain with a root folder path that matches where you uploaded the site’s files in step 3 above. When you do that, if your domain is also hosted with GoDaddy, then GoDaddy will auto-update the DNS for that domain automatically. You could then delete your old site.