


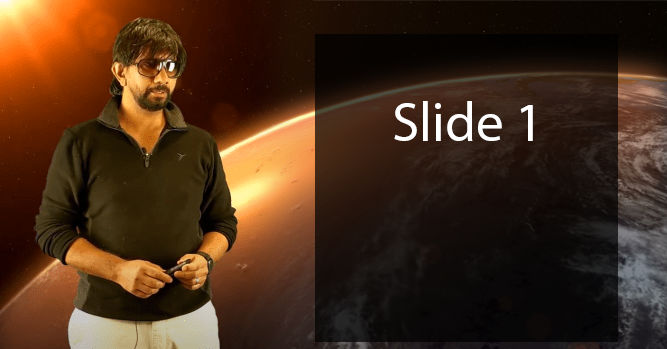
In this article I explain how to create a video presentation like what you see below. Features of this video include:
- custom background (still image or video)
- the presenter on one side
- presentation slides on one side
- clear audio
Equipment
Following is the equipment I used to make this type of video.
Video Editing Software
Corel VideoStudio Ultimate – $80

Presentation software
Google Slides (online) – Free
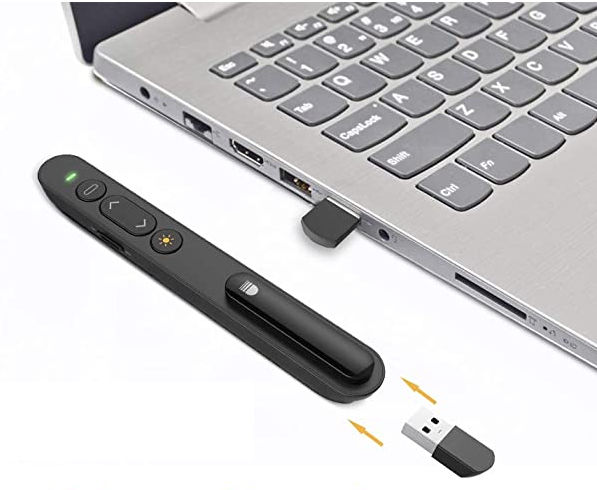
Wireless Presenter Pen
This is used to change slides wirelessly.
Generic Pen – $11
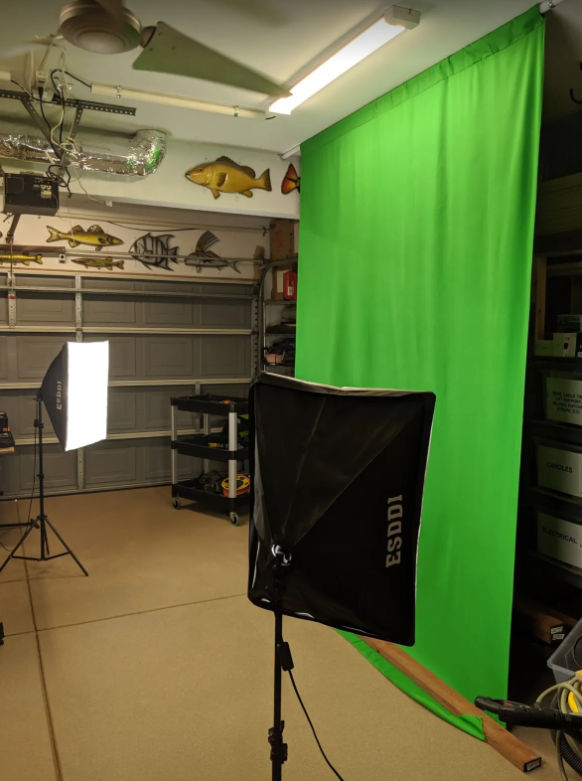
Green Screen
I bought a 7’x10′ green screen. I got just the fabric because I semi-permanently attached it to my garage ceiling since I don’t plan on using anywhere else.
Generic green screen – $21
Learn how I set up my green screen
If you want a green screen that comes with a stand, there are many options online (Amazon, etc) but they are more expensive.
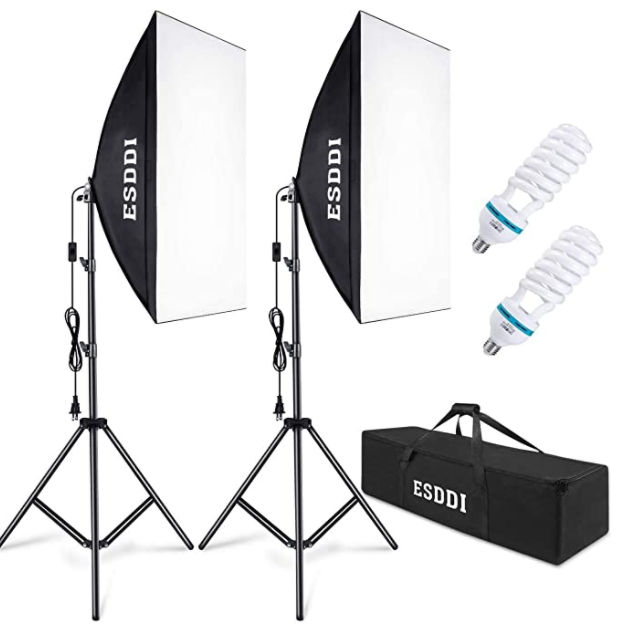
Lighting
Lighting is key to getting good chroma key results and a good video overall. In particular, you want to eliminate shadows as much as possible.
Generic Softbox Photography Lighting Kit – $67
Background Image or Video
You can replace the green background with a still image or a video. One stock photo and video site is ShutterStock.

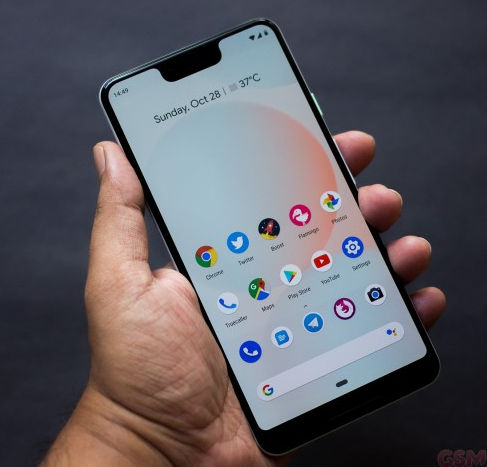
Video Camera
I just use my smartphone (Google Pixel 3 XL) to take videos.
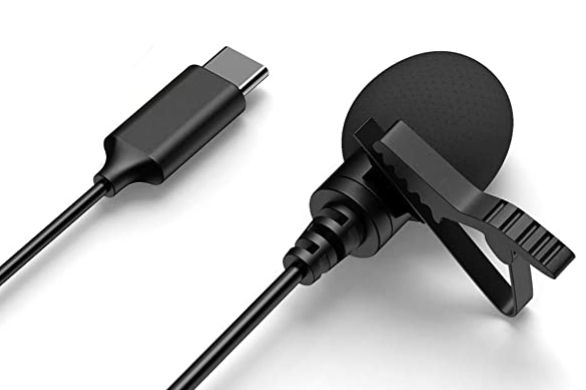
Microphone
In order to get clear audio, you need a microphone. You can get one with a 3.5 mm jack or a USB C jack, depending on your recording device.
USB C Lavalier Mic 10 feet long – $15
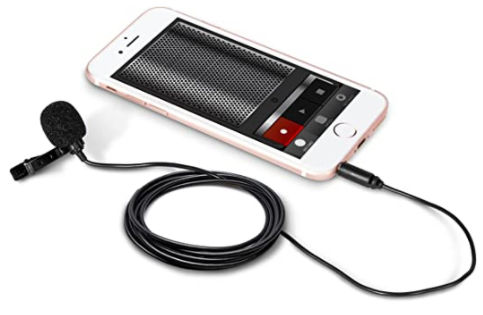
iBower Lavalier Microphone (IBO-MIC100) – $26
If your phone has a USB-C jack instead of a 3.5mm jack, you’ll need an adapter and an extension cable. I’m using the Apple – USB-C to 3.5mm Headphone Jack Adapter – White ($9) and a 16′ long TRRS 4 pole 3.5 mm male to female audio extension cable ($9)
Important: the audio cables MUST be 4 poled TRRS cables / adapters, not 3 pole TRS cables / adapters. The extra pole is for the microphone.
Video Recording App
I use Cinema FV-5 to record video from my phone because it supports an external mic on my Pixel 3 XL.
Cinema FV-5 ($2.50)
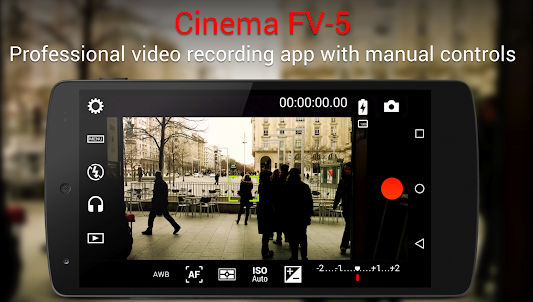
An alternative to this app is Open Camera (free).
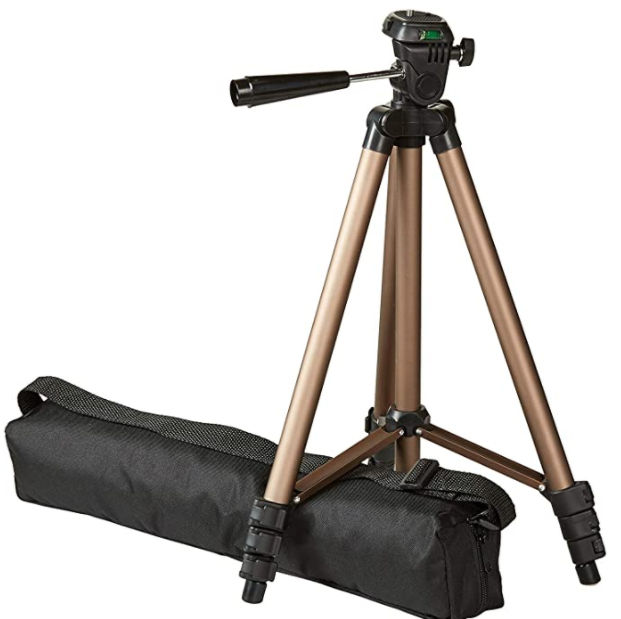
Tripod
A tripod is necessary to hold your smartphone at the correct height to take videos.
AmazonBasics Tripod – $18
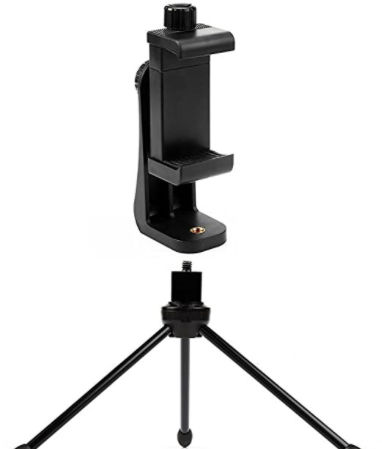
Tripod Mount Adapter for Smart Phones
This mount will allow you to hold your smartphone to the tripod.
Generic Tripod Mount Adapter for Smartphones – $10
Laptop
I use a Lenovo with 16 GB of RAM and an SSD both specs of which are necessary for video editing performance. I got mine on sale from Costco.

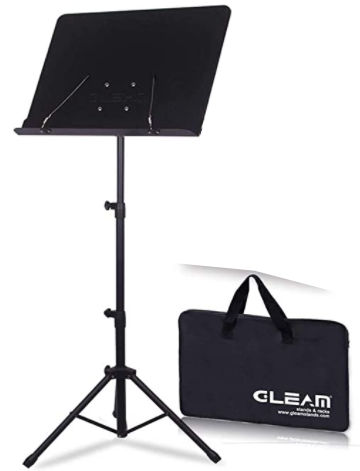
Laptop Stand
I’m using a sheet music stand as a laptop stand.
GLEAM Sheet Music Stand Metal with Carrying Bag – $28
Workflow
The overall workflow is as follows:
- Create presentations slides and export them as images
- Record video
- Stand in front of the green screen with softbox lights on
- Clip lavalier mic to shirt and connect it to smartphone on tripod (if necessary, using USB extension cables and an adapter).
- Place laptop on laptop stand outside the camera field of view
- In video recording app, ensure audio source is set to “external mic”.
- Press record and speak while reading and changing slides remotely using the wireless presenter pen
- Create final presentation video
Google Slides Tips
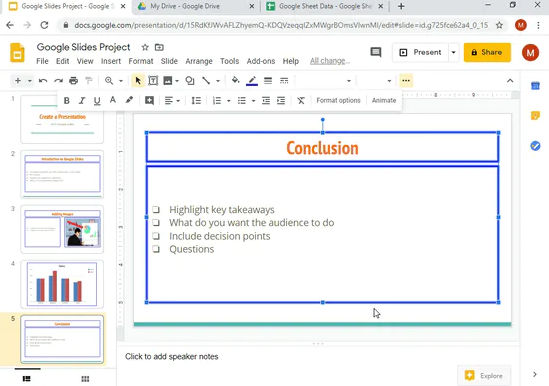
Export all slides as images
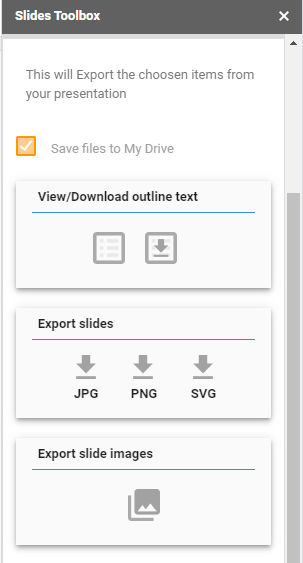
Creating slides in Google Slides is very similar to how you create them in other presentation apps like MS Powerpoint. In Google Slides, however, if you want to export all slides as images, you need an add-on. I use Slides Toolbox by Digital Thoughts. Once you’ve added that add-on, you can open it
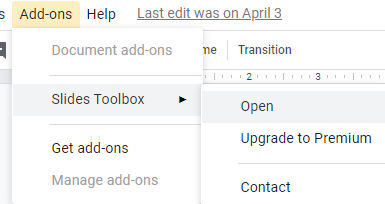
and choose to export all slides as JPG or PNG images.
Set a background with transparency
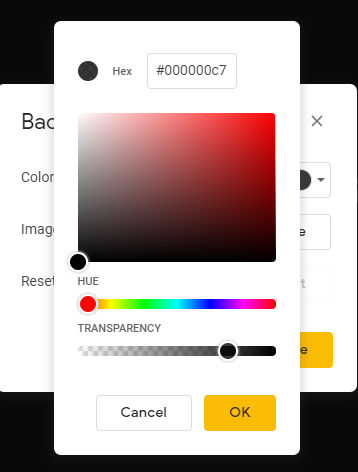
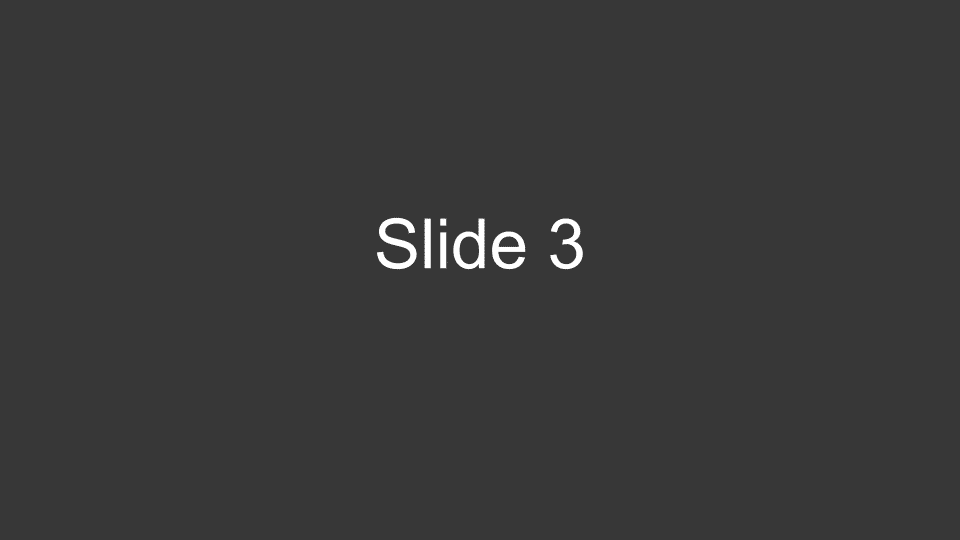
Notice how in my final rendered video, the background video shows through the slides.

That was accomplished by setting the transparency of the background in Google Slides to around 70% opaque (30% transparent). If you want a semi-transparent background, then you must export the slides as PNG images rather than JPG images.
Test Slides
Download a sample presentation with semi-transparent background in ODP (OpenDocument Presentation) format which you can import into Google Slides.

You can also download the test slides in PNG format for importing into VideoStudio.
Video Recording Tips
- Position the lavalier mic such that you don’t hear the sound of you breathing.
- Stand far from the camera to record more of yourself. You can always crop the video later.
- If you have a fast computer with plenty of SSD space, record your video in 4K for ultra hi definition (UHD) resolution. Otherwise, record at 1080p hi definition (HD).
- Using the softbox lights, and other lights, if necessary, eliminate as many shadows as possible. For example, the picture below shows dark shadows which will be difficult to remove when you’re editing the video.
- In the Cinema FV-5 video recording app, set audio source to “external mic”. When you push the cable into your phone, the wired microphone icon near the top-right corner appears in the app. This tells me the audio source will come from the external mic.

Video Editing Tips
NewBlueFX Chroma Key Filter
Use the NewBlueFX Chroma Key filter in VideoStudio to key out the green background. Read my blog post titled NewBlueFX Chroma Key to Easily Remove Green Screen in Video for step-by-step instructions.
Organize assets
Put all assets in a single folder. Below is a screenshot of my video assets which includes
- 1 background video of the earth rotating
- 5 semi-transparent presentation slides
- 1 video of my giving a presentation in front of a green screen

For the background video, I picked a video that could be looped seamlessly.
Smart Proxy
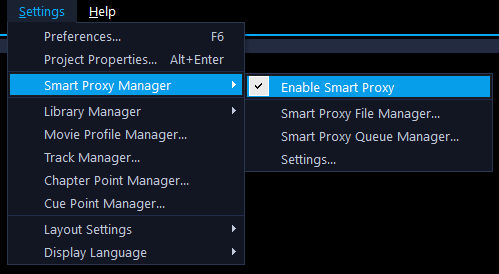
Make sure to enable Smart Proxy in VideoStudio to improve video editing performance. For more information, read my blog post titled Improve Performance When Working with Large Videos in Corel VideoStudio.
Export
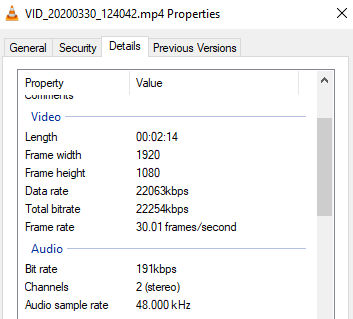
When you export the video, you will have many settings and export presets to choose from. For each preset, you can see the estimated output file size. There’s no point in choosing a high quality output if the source video is low quality. In Windows Explorer, right click on the foreground video and click Properties > Details to see the video specs. The screenshot below shows that my foreground video taken on my phone was 1920×1080 with a bit rate of 22254 kbps (~22 Mbps) and a frame rate of 30 frames per second (fps).
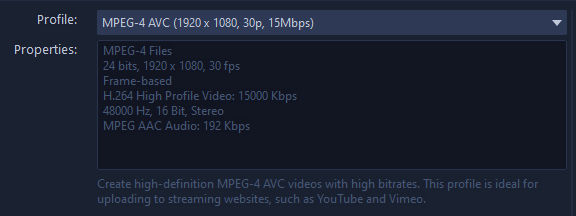
For this, I chose the following spec which gave an estimated output file size of 252 MB for a 13 minute video.
Workflow
In VideoStudio, my workflow is
- Create a new project
- Add all assets (videos, slides, etc) to the project
- Verify SmartProxy is enabled
- Add an overlay track so that I have 2 overlay tracks
- Drag the background video to the Video track
- Drag the slides to the Overlay 1 track in order
- Drag the foreground video with the green screen to the Overlay 2 track
- Crop the foreground video as necessary
- Using NewBlue FX Chroma Key filter, remove the green background so that it’s transparent
- Copy and paste the background video multiple times to span the duration of the foreground video
- In the Preview panel, drag the foreground video to the left
- In the Preview panel, drag the slides to the right and line them up using the grid that appears
- Preview the composite video and make changes, as necessary
- Export the video
