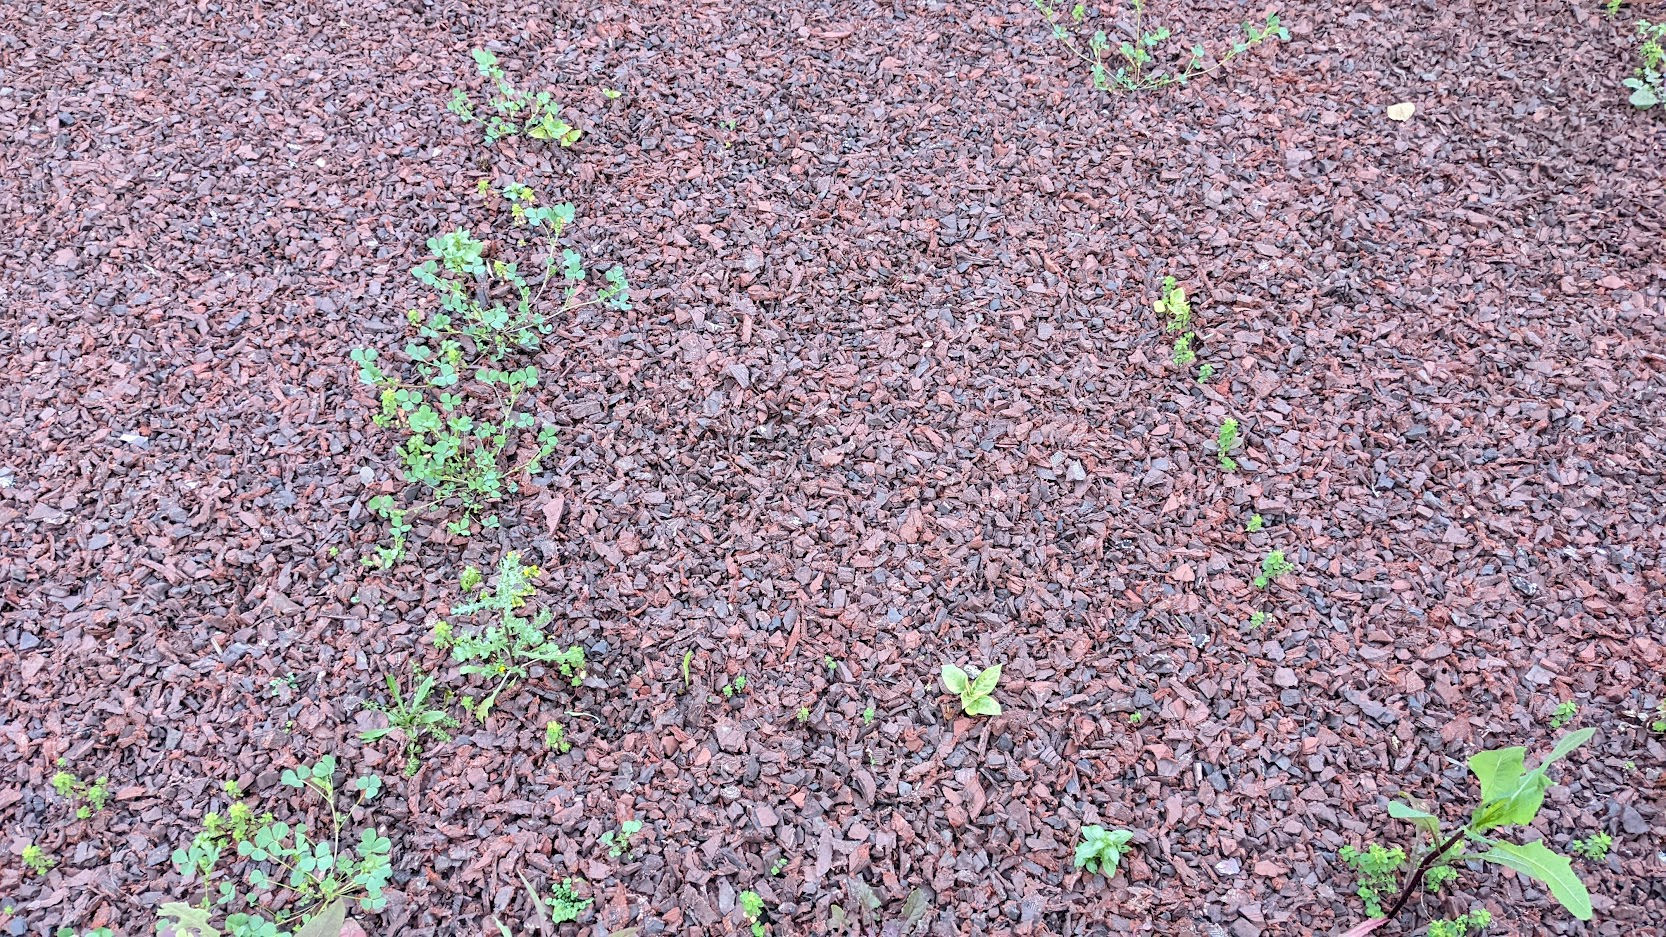
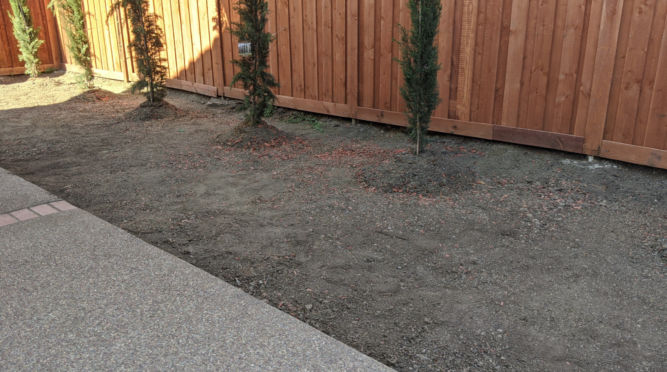
Weeds are a nuisance. The grow quickly, often can penetrate thin layers of weed fabric, and definitely can pop up along perimeters where weed fabric meets a cement patio, for example. After losing a battle with weeds, I decided to take somewhat extreme but necessary measure to never have to deal with weeds again.
1. Remove dirt
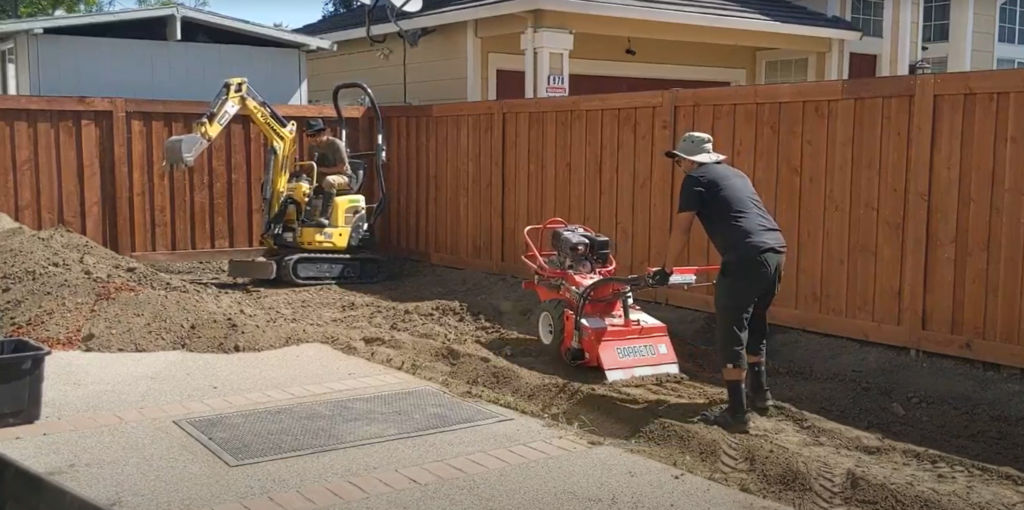
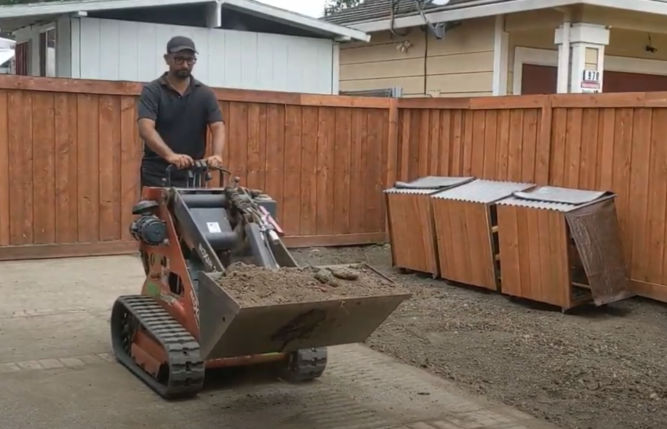
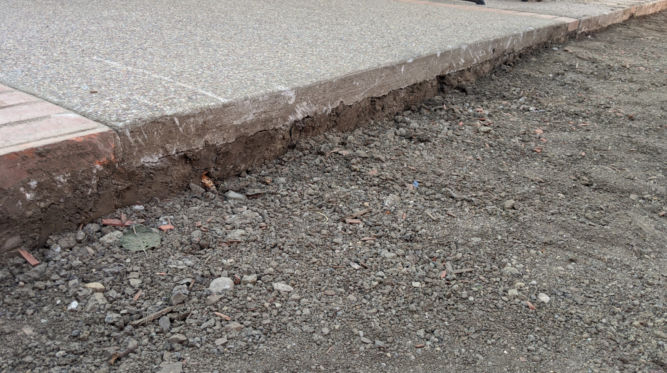
If you don’t remove enough dirt, then your mulch will not be deep and if the top of the mulch is level with the surrounding area – in my case, cement patio – then the mulch will easily spill over and make a mess. I decided to remove 5 inches of dirt. This was a lot of work so I rented a heavy duty hydraulic tiller, a mini excavator and a mini skid steer.
2. Secure weed fabric to perimeter
Weeds will most definitely grow along the perimeter of your mulch area. For my mulch area, there’s a fence on three sides and a cement patio on one side.
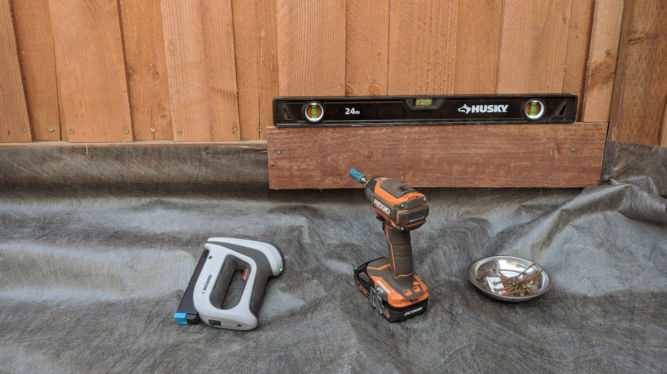
For the fence sides, the weed fabric will be stapled to bottom 2×4 horizontal fence rail. Then, a fence board will be screwed horizontally over the 2×4 rail thereby sandwiching the weed fabric.
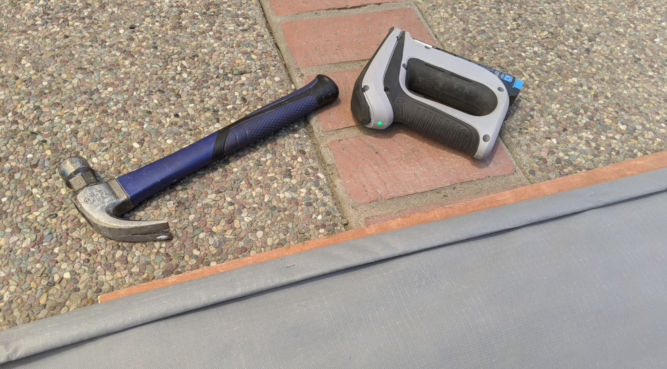
For the cement patio side, I wrapped weed fabric 3 times over a long piece of PVC moulding and screwed it into the cement using concrete anchor screws.
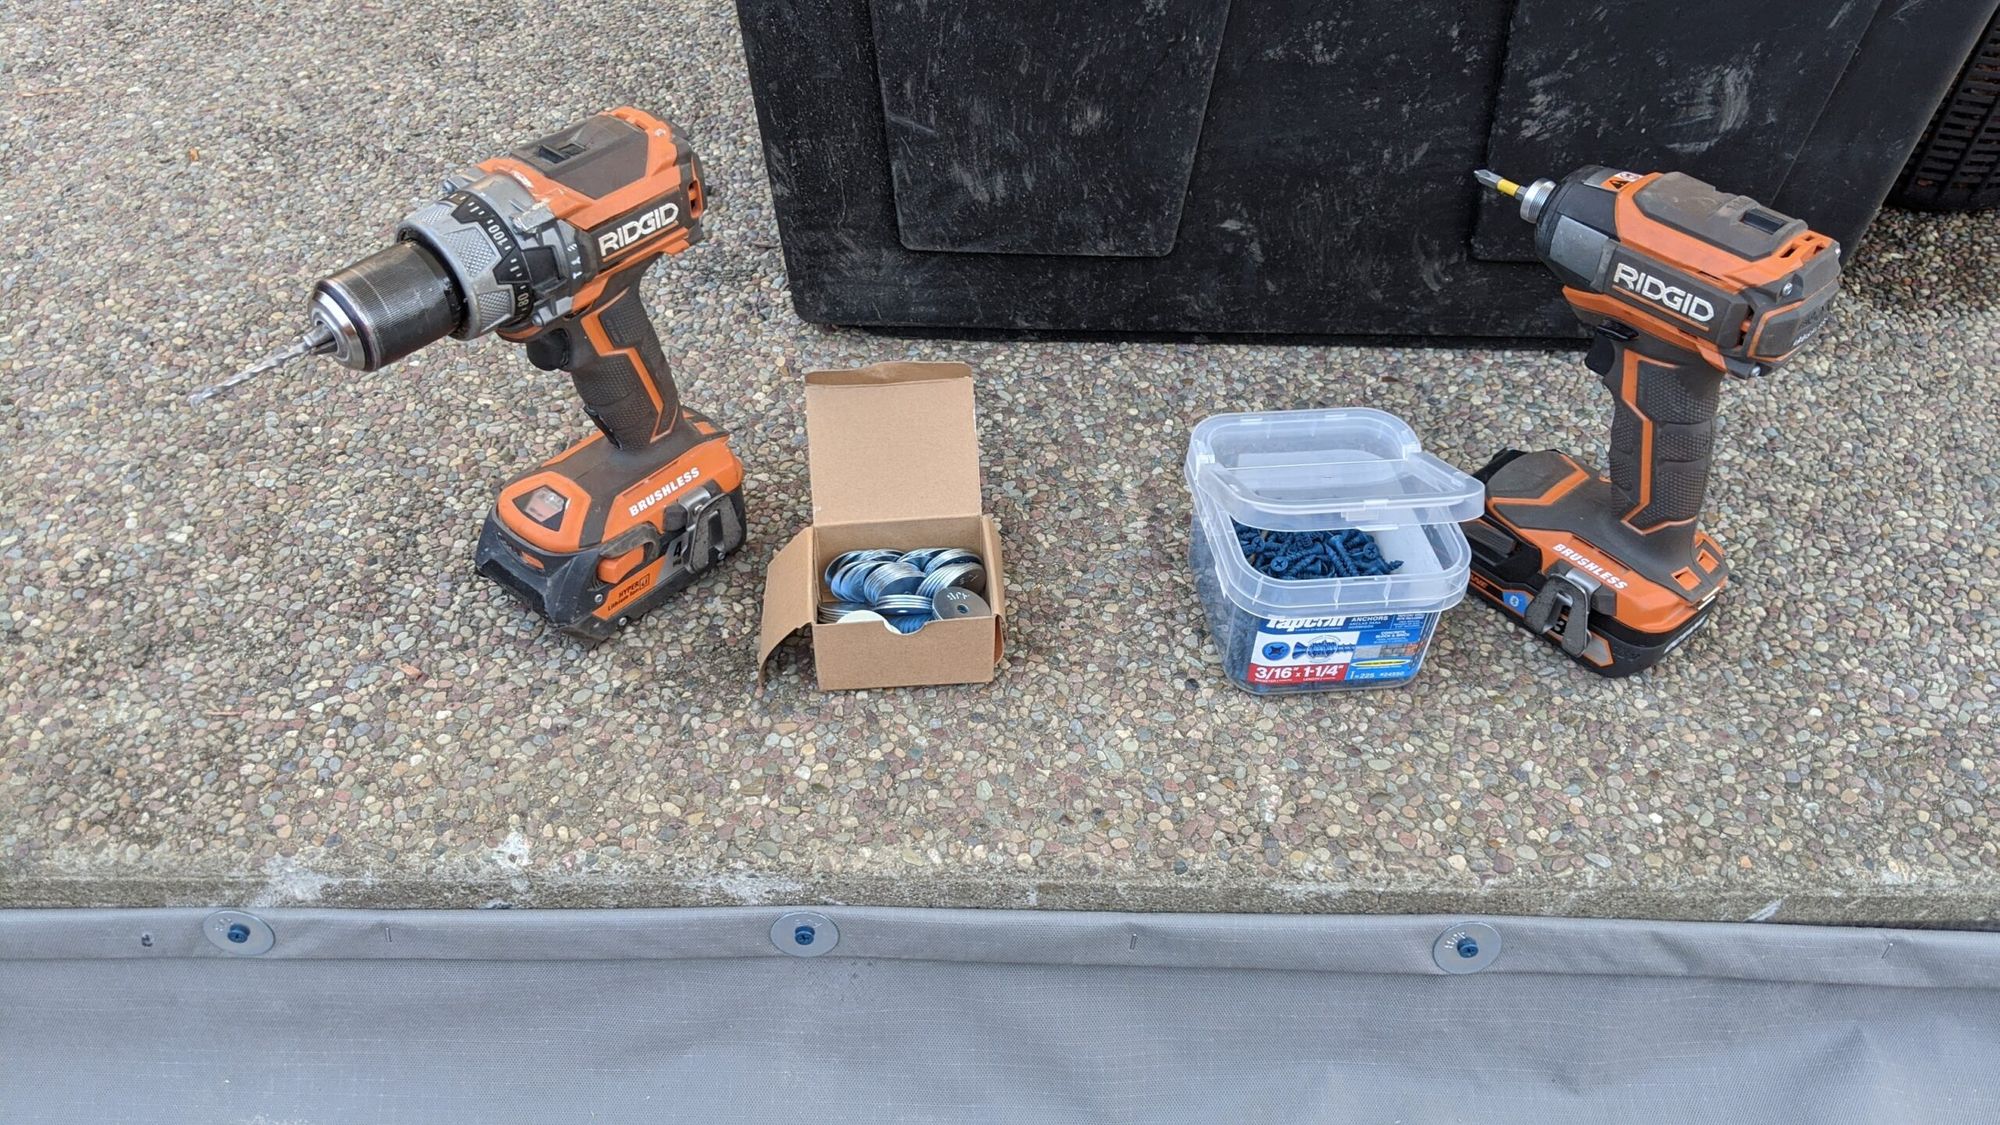
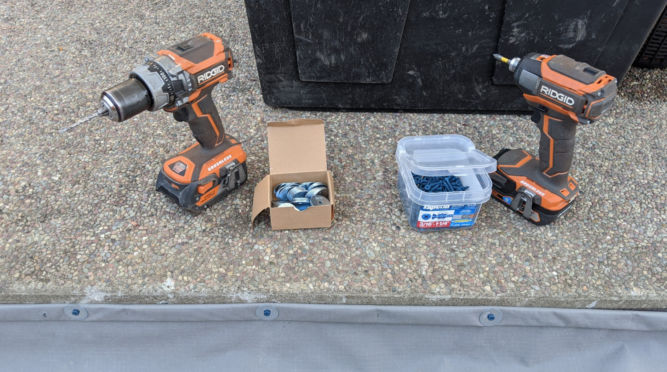
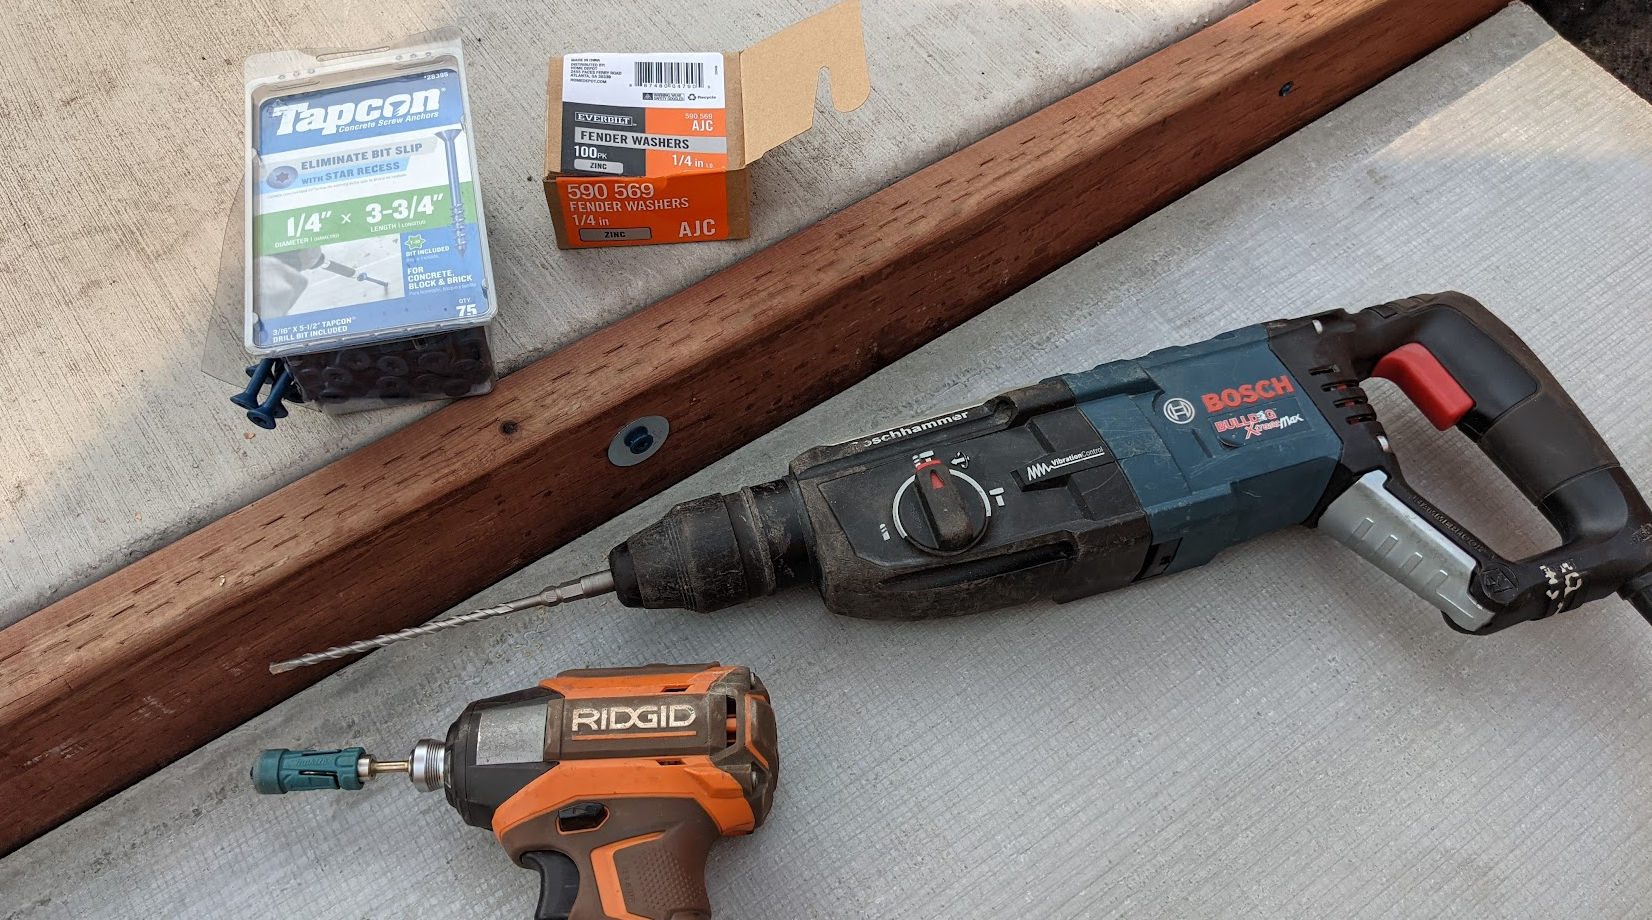
The concrete screws / anchors I used was Tapcon 3/16 in. x 1-1/4 in. Phillips-Flat-Head Concrete Anchors (225-Pack).

The PVC moulding I used was PVC moulding (5534 5/32 in. x 1-1/8 in. x 8 ft. PVC White Lattice Moulding). Unlike wood, PVC is inorganic so it won’t break down over time.

I first folded the edge of the weed fabric over the PVC moulding and stapled the two together over a piece of scrap wood (soft corkboard is better since it’s easier to remove staples from it). Then I flipped the moulding over and hammered the staple ends down to secure the staple in place.
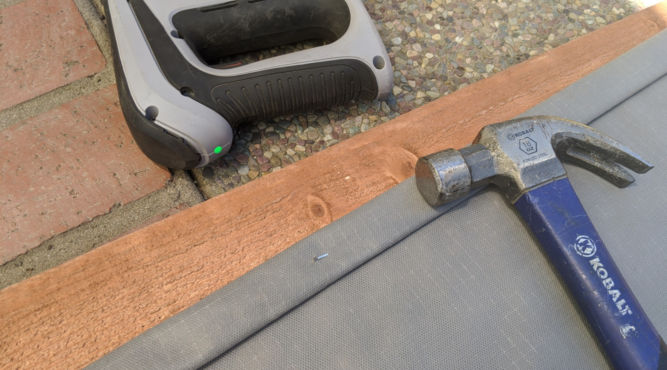
After doing that along the 8′ length of the PVC moulding, I wrapped the weed fabric twice over the moulding and stapled it again to further secure it to the moulding.
Then I predrilled holes in the moulding every 1 foot.
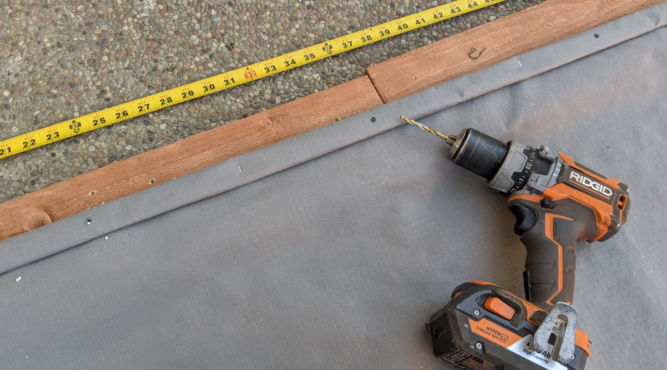
Then, using the special drill bits that came with the screws, I drilled holes in the cement through the predrilled holes in the moulding. When doing this, I used the hammer drill setting with high torque. Then I screwed the anchors through stainless steel washers.
The weed fabric is now secure and flush against the concrete.
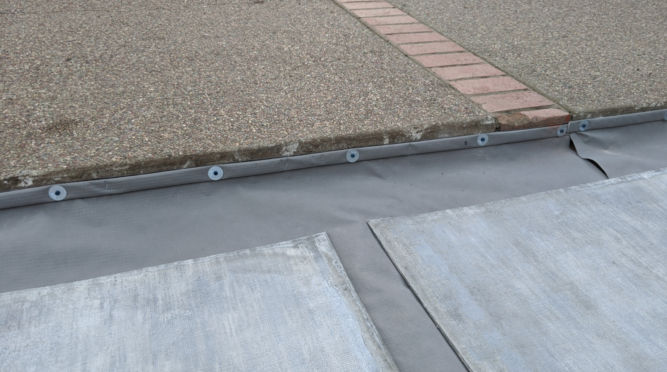
Now, there’s no way any weeds could sneak their way up along this edge.
Note about drill/drive options
The drill I use is the Ridgid 18-Volt Lithium-Ion Cordless Brushless 1/2 in. Compact Hammer Drill. As you can see in the picture below, the
- Drilling in hard materials such as brick, concrete, etc.
use carbide-tipped bits and select hammer mode and use LO (1) speed - Drilling in materials with hard, brittle surfaces such as tile, etc.
use carbide-tipped bits and select drilling mode - Drilling in soft materials such as wood, etc.
use twist drills bits, hole saws, etc. and select drilling mode - Driving screws
choose speed (LO – 1 or HI – 2), adjust torque ring, select driving mode

Torque Ring
When driving screws, increase or decrease the torque to help prevent the possibility of damaging screw heads, threads, workpiece, etc. In general, torque intensity should correspond to the screw diameter. If the torque is too high or the screws too small, the screws may be damaged or broken.
The torque is greater when the torque adjustment ring is set on a higher setting. The torque is less when the torque adjustment ring is set on a lower setting.
NOTE: The torque adjustment ring only functions in drive mode.

When drilling or driving into a hard material, attach the auxiliary handle for more leverage.

Update:
Instead of using a regular drill with the hammer drill mode, use a heavy duty hammer drill like the Bosch Bulldog Xtreme. It’s takes an SDS plus drill bit which are available in 5/32 shaft diameters for 3/16″ screws.

This makes drill holes in concrete super easy. But, don’t drill in brick. Brick is too soft and screws will be loose.

Tapcon 5/32 in. x 7 in. Steel SDS Carbide Masonry Drill Bit
Update Aug 17, 2021
The PVC moulding is good in that it is waterproof but it is flexible which means weeds could slip their way behind it unless you use many, many screws fasten it to concrete. Therefore, I decided to use pressure-treated 2×4 wood which is rigid and only requires 3 or 5 screws per 8 foot length. If you use 2×4 wood, then I found the best screw to use is Tapcon 1/4″ thick x 3-3/4″ long screws with 1/4″ washers. Driving these screws in with washers really pull and secure the wood against the concrete edge. Another option is to use Steelworks 1-1/2-in x 4-ft Interior/Exterior Mill Finished Aluminum Solid bar but they are $7 per 4 ft length.

3. Overlap weed fabric by 50%
Lay down weed fabric overlapping each strip by 50%. Use landscape staples to secure fabric to ground.
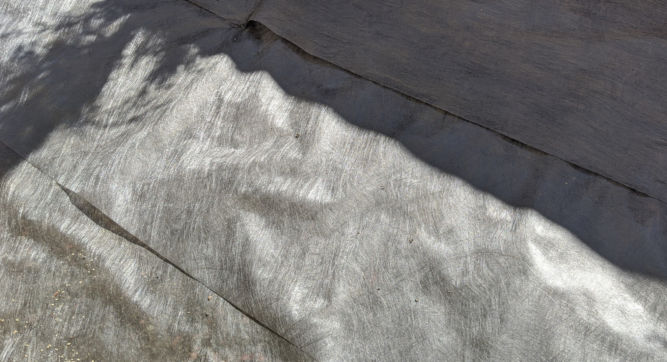
When picking weed fabric, I find this matrix grid style to be good. Unlike the one pictured above, which I got at Costco, the one pictured below doesn’t have fine hairs that stick to things like mulch.
Vigoro 4 ft. x 50 ft. Matrix Grid Landscape Fabric

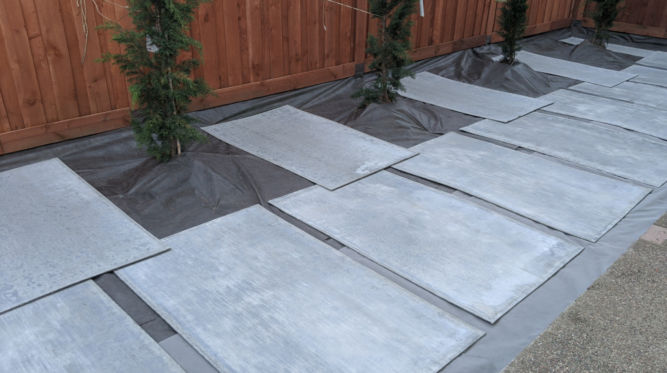
4. Place cement boards on top of weed fabric
Cement boards are non-organic so they will not break down. I know this is extreme but it’s better than having to pull weeds every month or two. I used the thinnest and lightest cement board. To allow for water drainage, I placed each cement board a few inches apart. Since the cement board is heavy, there’s no need to secure it to the ground.
5. Add rubber mulch
I don’t want to have to keep adding mulch every year or two and I don’t want the color of the mulch to fade away so I chose to use rubber mulch.

Update Jan 25, 2022
So, the cement board worked to prevent weed growth but the weed fabric was mostly useless. Just use weed fabric along edges and everywhere else, overlap cement board.