This post is based on my personal experience. I don’t think I ever want to install pavers again.
Step 1: Remove sod
If you have grass, rent a sod cutter from Home Depot.

Cut the grass horizontally and then vertically resulting in a grid. This grid method makes removing the sod easier because you end up with squares of sod that are not too heavy to lift and are just easier to work with.

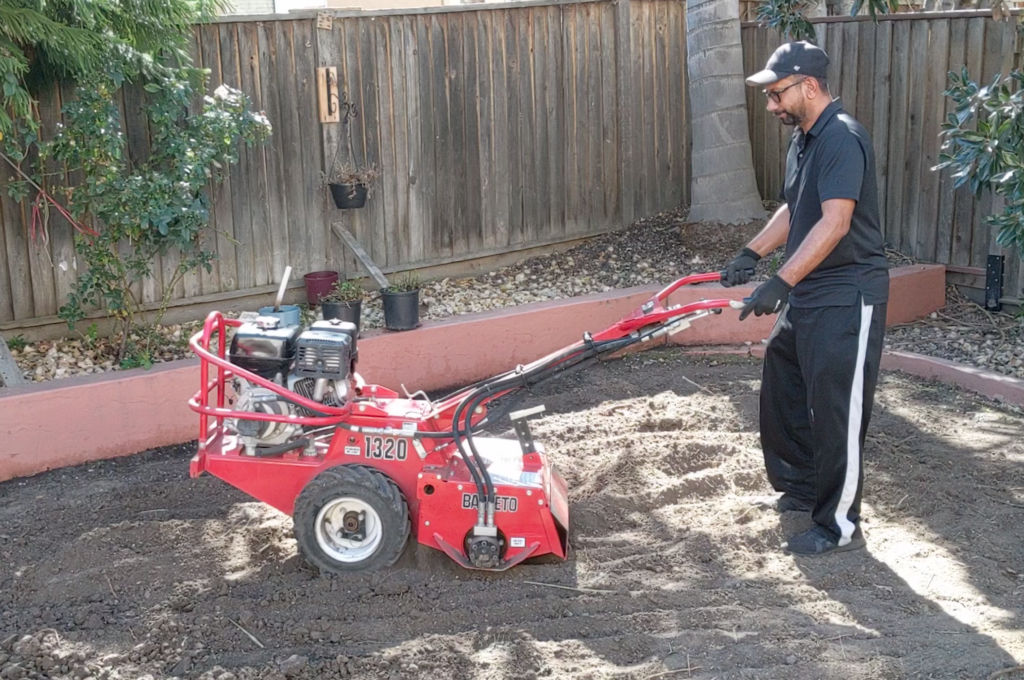
Step 2: Rent a tiller to break up dirt
You may need to remove some dirt so the top of the pavers will be where you want them. In order to remove dirt, you need to break it up (till it) first. The easiest and most powerful tiller I’ve used is a hydraulic tiller which you can rent at the Home Depot. I recommend this tiller over all the others.

Step 3: Remove broken-up dirt
Once the dirt is broken up, you can remove it using a shovel and a wheel barrow. This is the most tiring part of this project. For the wheel barrow, I recommend a 4 wheel instead of a single wheel one so you’re not having to lift it as you move it. You can easily dump the contents by lifting the yellow latch to unlock it.

If you need to remove a lot of dirt, then rent a mini excavator and tow it to your work site. This thing is less than 3 feet wide. You can also use it to push dirt to help spread it out.

Step 4: Get rid of dirt
To get rid of the dirt, you could take it do your local garbage dump. Note that if they charge based on weight, it can be expensive. I paid $360 to dump one pick-up truck full of dirt. There’s a dedicated dirt dump area near me which accepts only dirt. They charge $50 to dump dirt but require the dirt be plant-free and you have to have the dirt test and certified which costs $300.
Loading the dirt
To move the dirt, you could rent a pick-up truck from U-haul. I laid down a large tarp before loading dirt to make it easier to remove that last bit of dirt and to make cleanup easier. To transport the dirt from the backyard to the truck, I filled 3 buckets with dirt which fit perfectly in my Gorilla cart.

Since the truck bed sides are high, I first put the buckets on a work stand to raise them up. Then I’d stand on a stool next to it and lift and dump the buckets over the side of the truck bed and into the truck.

If you have a lot of dirt to move, you can also rent a mini skid steer.

Unloading the dirt
To unload the dirt, you could install a cargo bed unloader (available at Harbor Freight) onto the truck bed gate to make it easier to unload the dirt.
Note: if you line the cargo bed with tarp, make sure the black cargo bed unloader sheet is on top of the tarp, not under it. Otherwise, when cranking the level to remove the dirt, the unloader sheet will just slide under the tarp leaving the tarp and the dirt above it in place.

Step 5: Rake to level dirt
Use a metal rake to level the dirt as much as you can.
Step 6: Compact the dirt
Rent a plate compactor to compact the dirt.

Step 7: Lay weed fabric
This is necessary to help block weeds from coming up. It also makes the next steps easier since it keeps dirt from getting everywhere, in your shoes, etc.

Step 8: Mark perimeter and add sand
Using wood stakes and string, mark the perimeter of where your pavers will be. You can use a staple gun to easily secure the string to the wood stakes.

Step 9: Level sand, add paver base and pavers
The leveling sand should be 1/2″ thick. Use parallel 1/2″ diameter rebar and a 2×4 to screed the sand to achieve this.

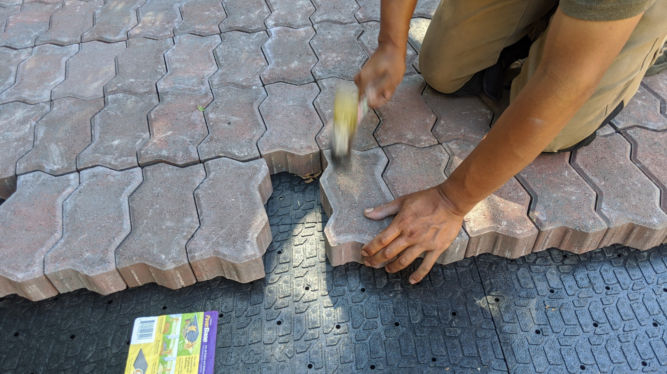
Then, add paver base panels and cut them to length. Cut some panels in half and stagger the placement of the panels for better connections and less movement.

Work in two rows at a time. Before laying each panel, roughly level the sand by hand and then screed the sand using a 2″x3″ or a square dowel. For each panel, use a level to check for level. Place pavers and use a level to check for level again.

Where two panels meet, there is a greater chance the pavers will not be level. Use a mallet to hit and push down bumps. Check the pavers are level at the panel joints before putting pavers in the middle of the panels.

Wear knee protectors and pants instead of shorts so sand doesn’t get under the knee protector.
Idea: To simplify and save time leveling sand, try this:
- Take one paver base panel
- Attach on top of it a flat piece of plywood about the size of the panel
- Attach on top of the plywood 4 cheap levels (2 vertically and 2 horizontally) about 20% from the edge
- Lay the panel down and check for level
- Where not level, tap down using a mallet to push sand out from under panel until all levels show level
Step 10: Install paver edging
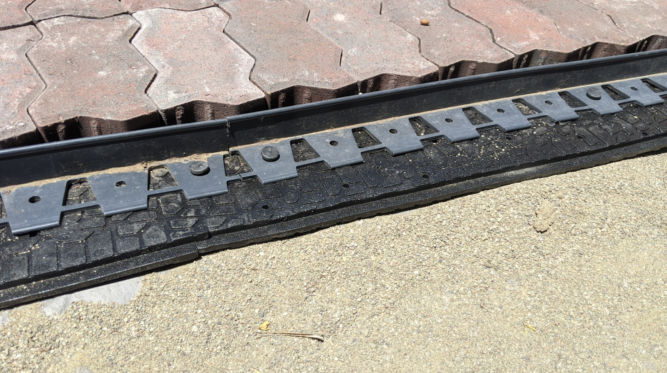
Drive stakes into paver edging such that the edging is flush against the edge of the pavers. Adjust the amount of sand below the edging so that top of edging is about 1/2″ below the top of the pavers.

Note: when laying down the paver base panels, it’s better to place them such that they bleed the outer perimeter of the final area of the pavers. In other words, they should extend about 3 inches beyond the perimeter so that when you install the paver edging, the edging will sit flush against the pavers.

Step 11: Add joint sand
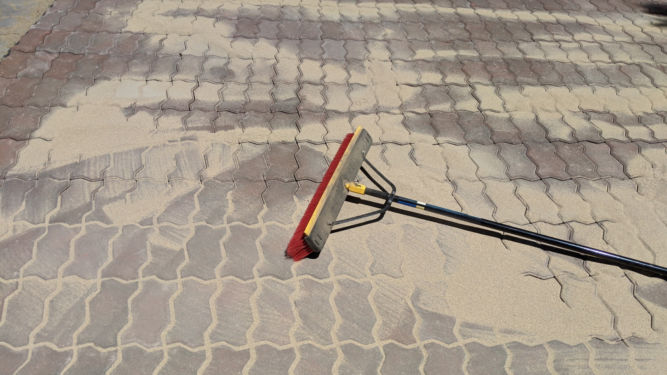
Pour paver joint sand and sweep it into the paver joints. The sand contains glue and will stick together after a while.


