


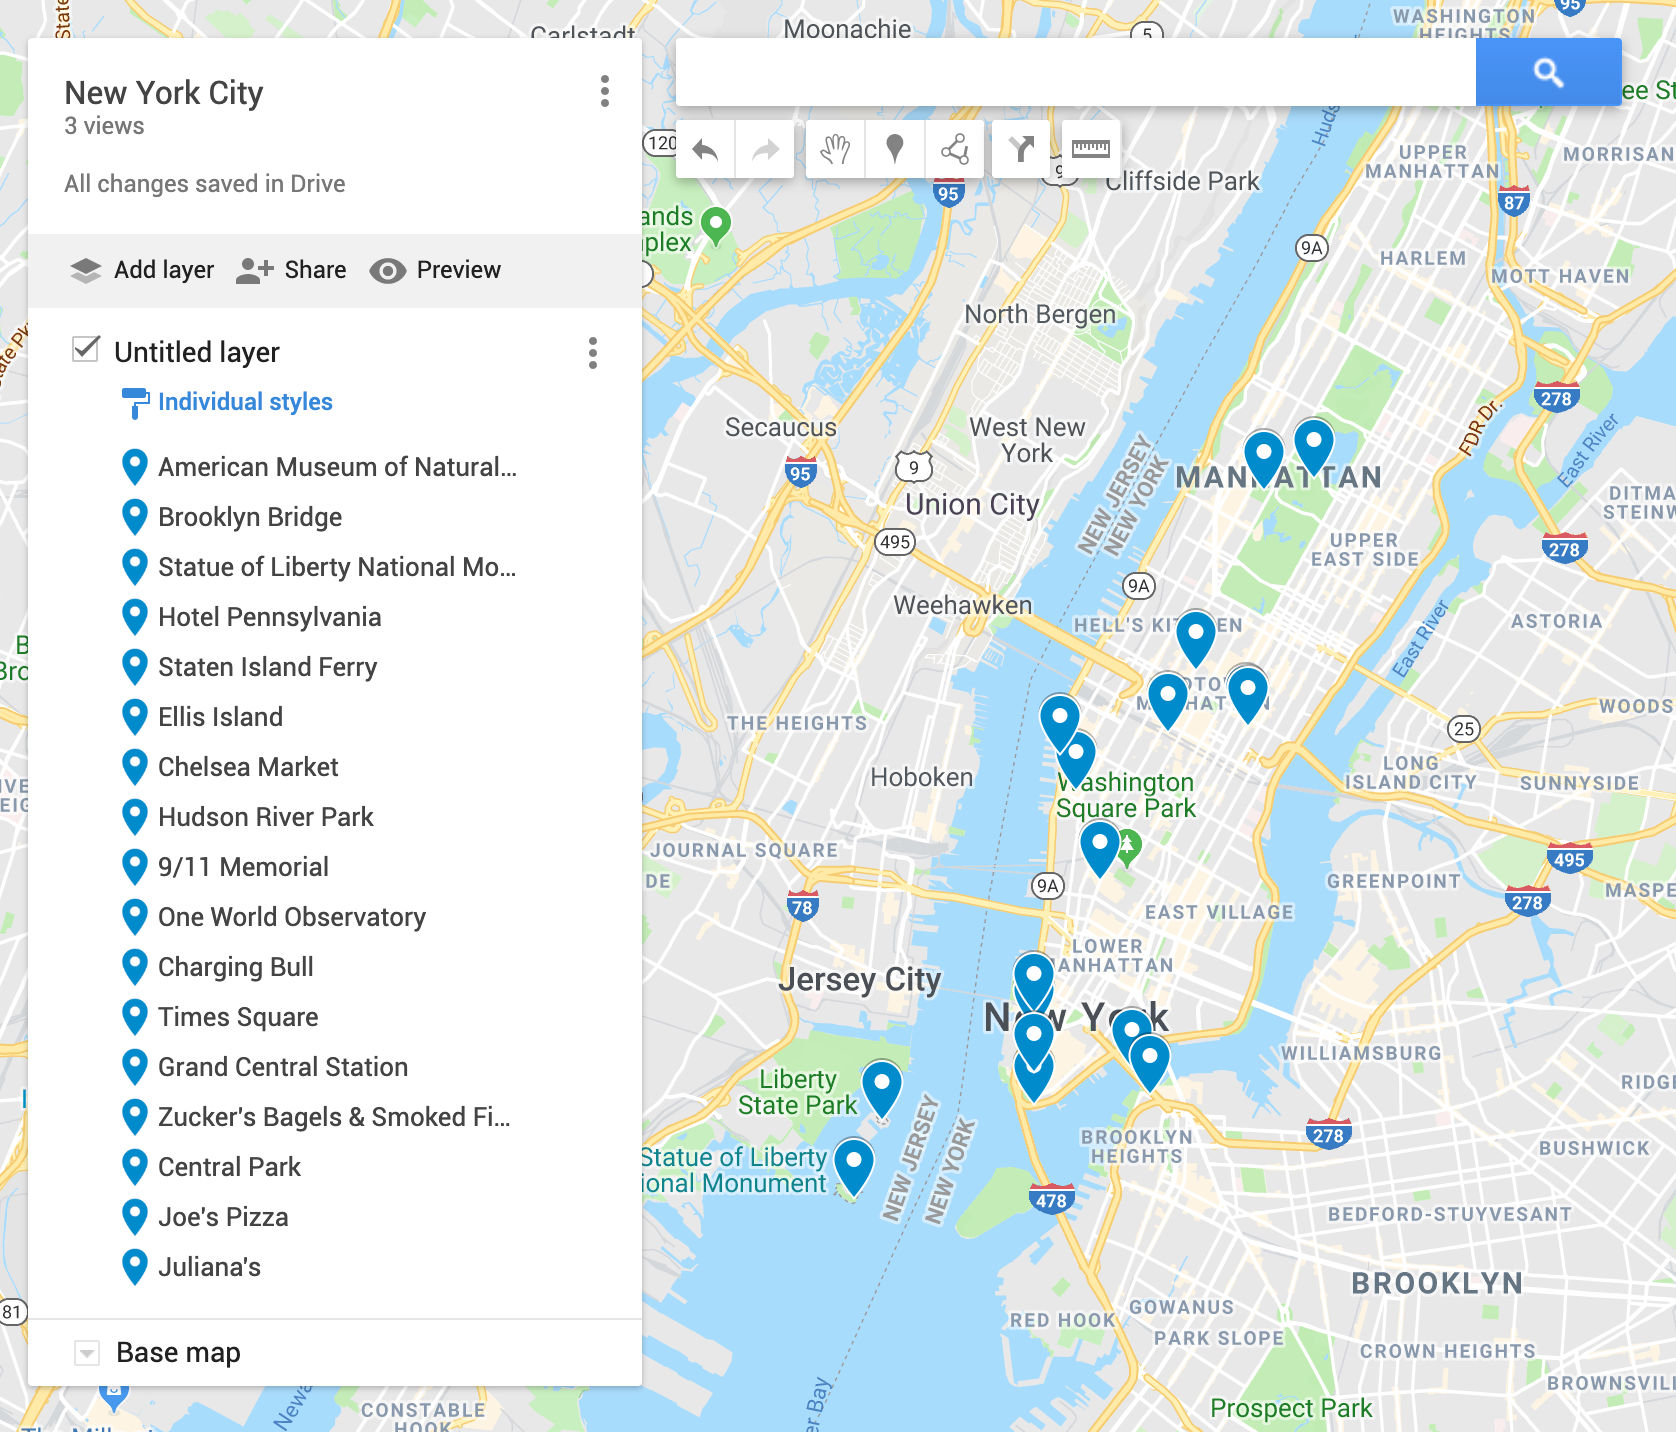
When traveling, it’s super handy to be able to see a map of just the places you want to visit. This can easily be done with Google Maps. In addition, with Google Maps you can zoom in and out and get directions to each place of interest. Here’s how to create a custom Google Map with your choice of places.
1. Go to maps.google.com and log in
2. Click the hamburger menu icon and then “Your Places”
3. Click the “Maps” tab
3. At the bottom, click “Create Map”
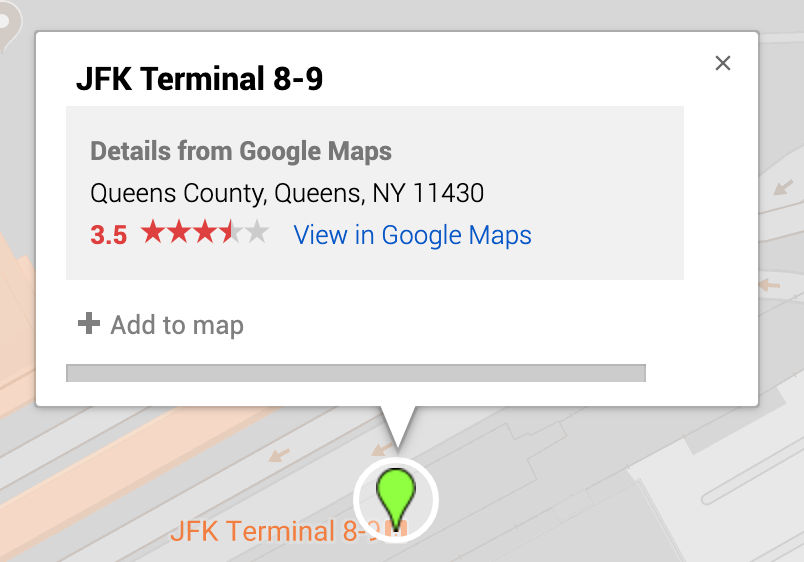
4. In the search bar, enter the name or address of a place then click the search button.
5. Google Maps will place a balloon on the map where the place it along with a description box.
6. In the description box, click “Add to map”
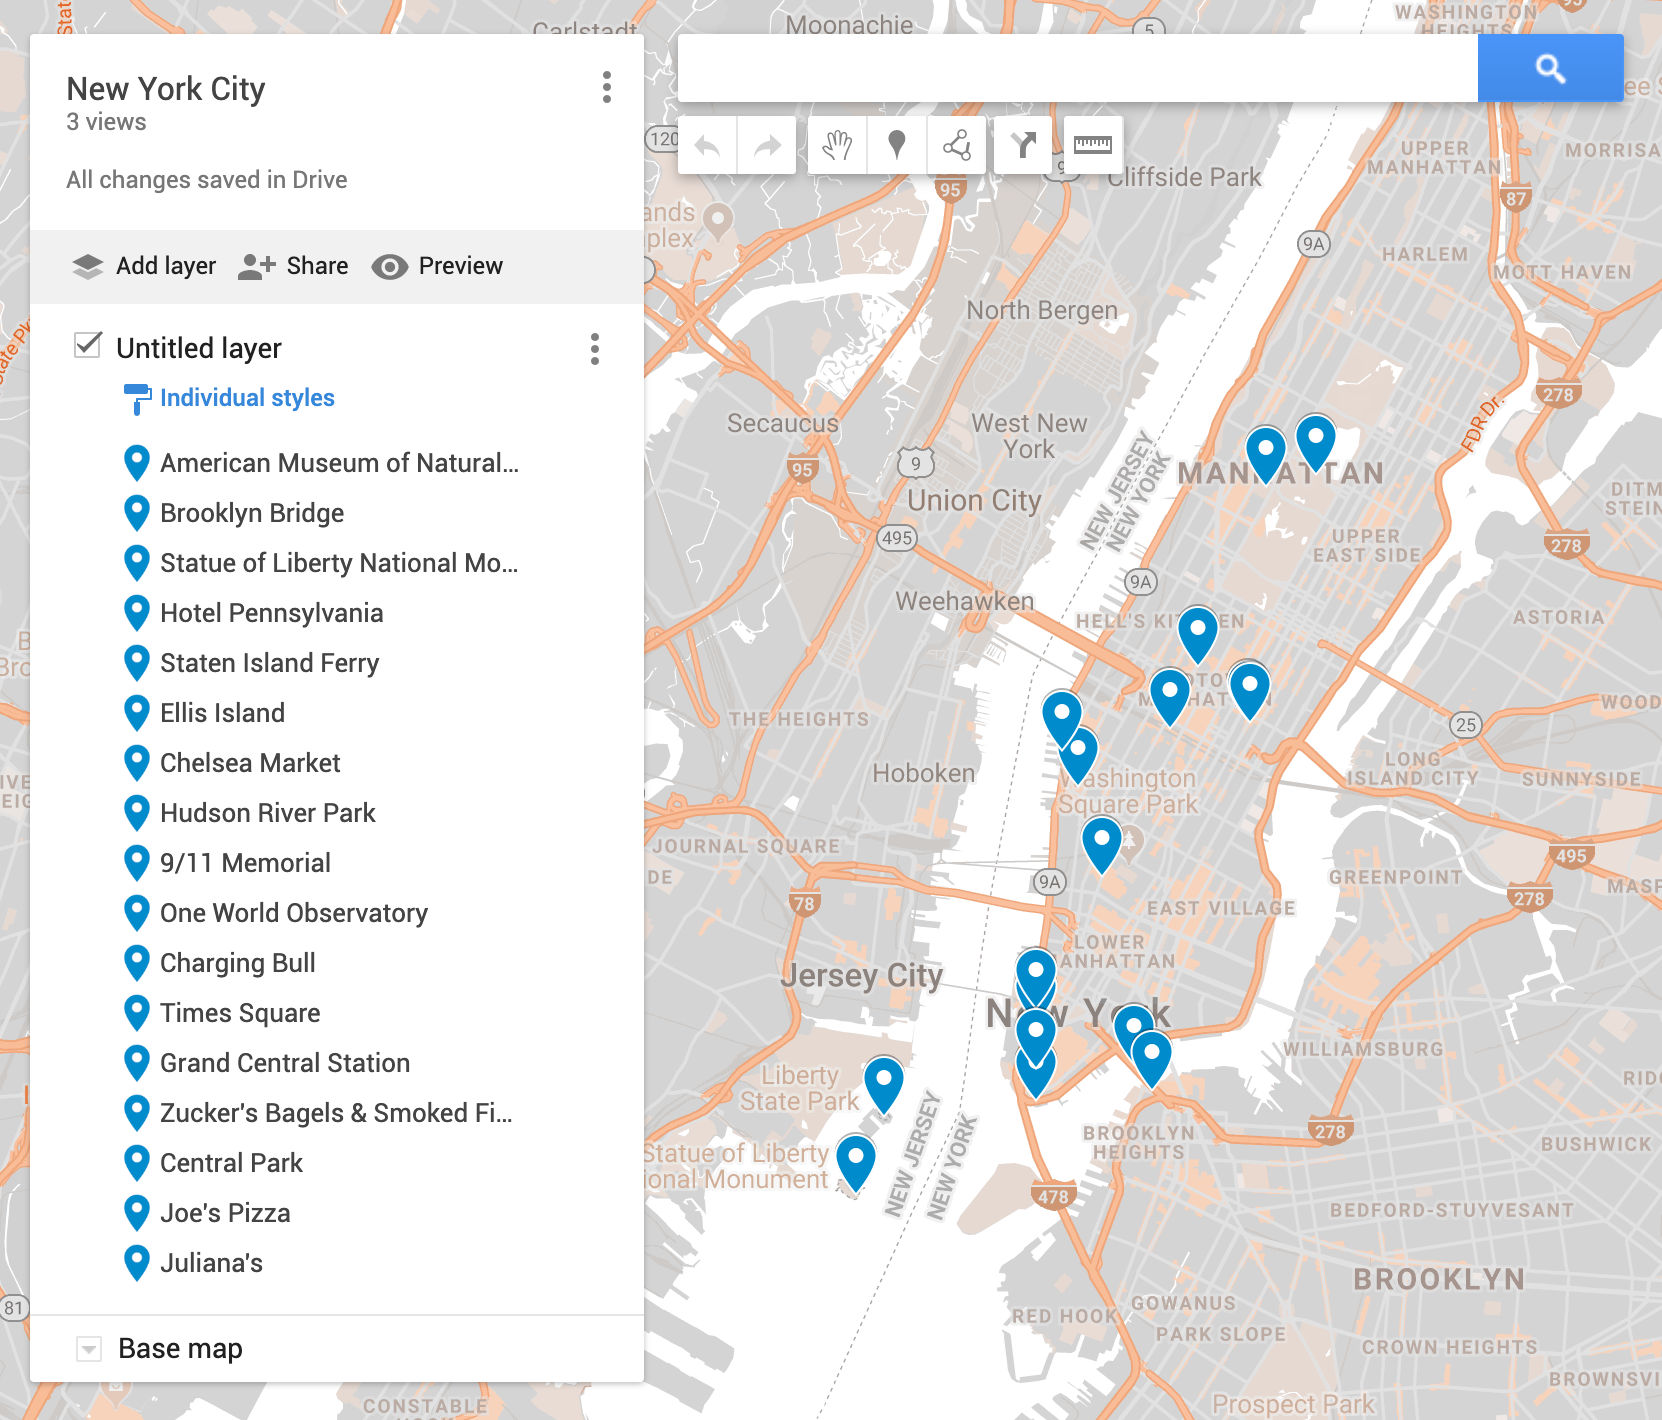
7. Repeat steps 4-6 adding as many locations as you’d like
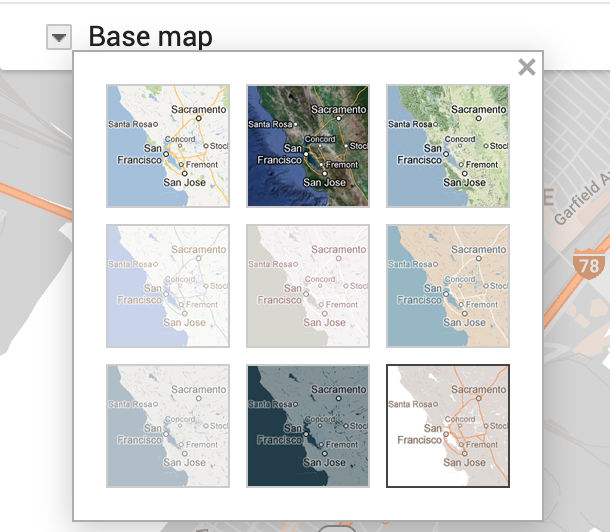
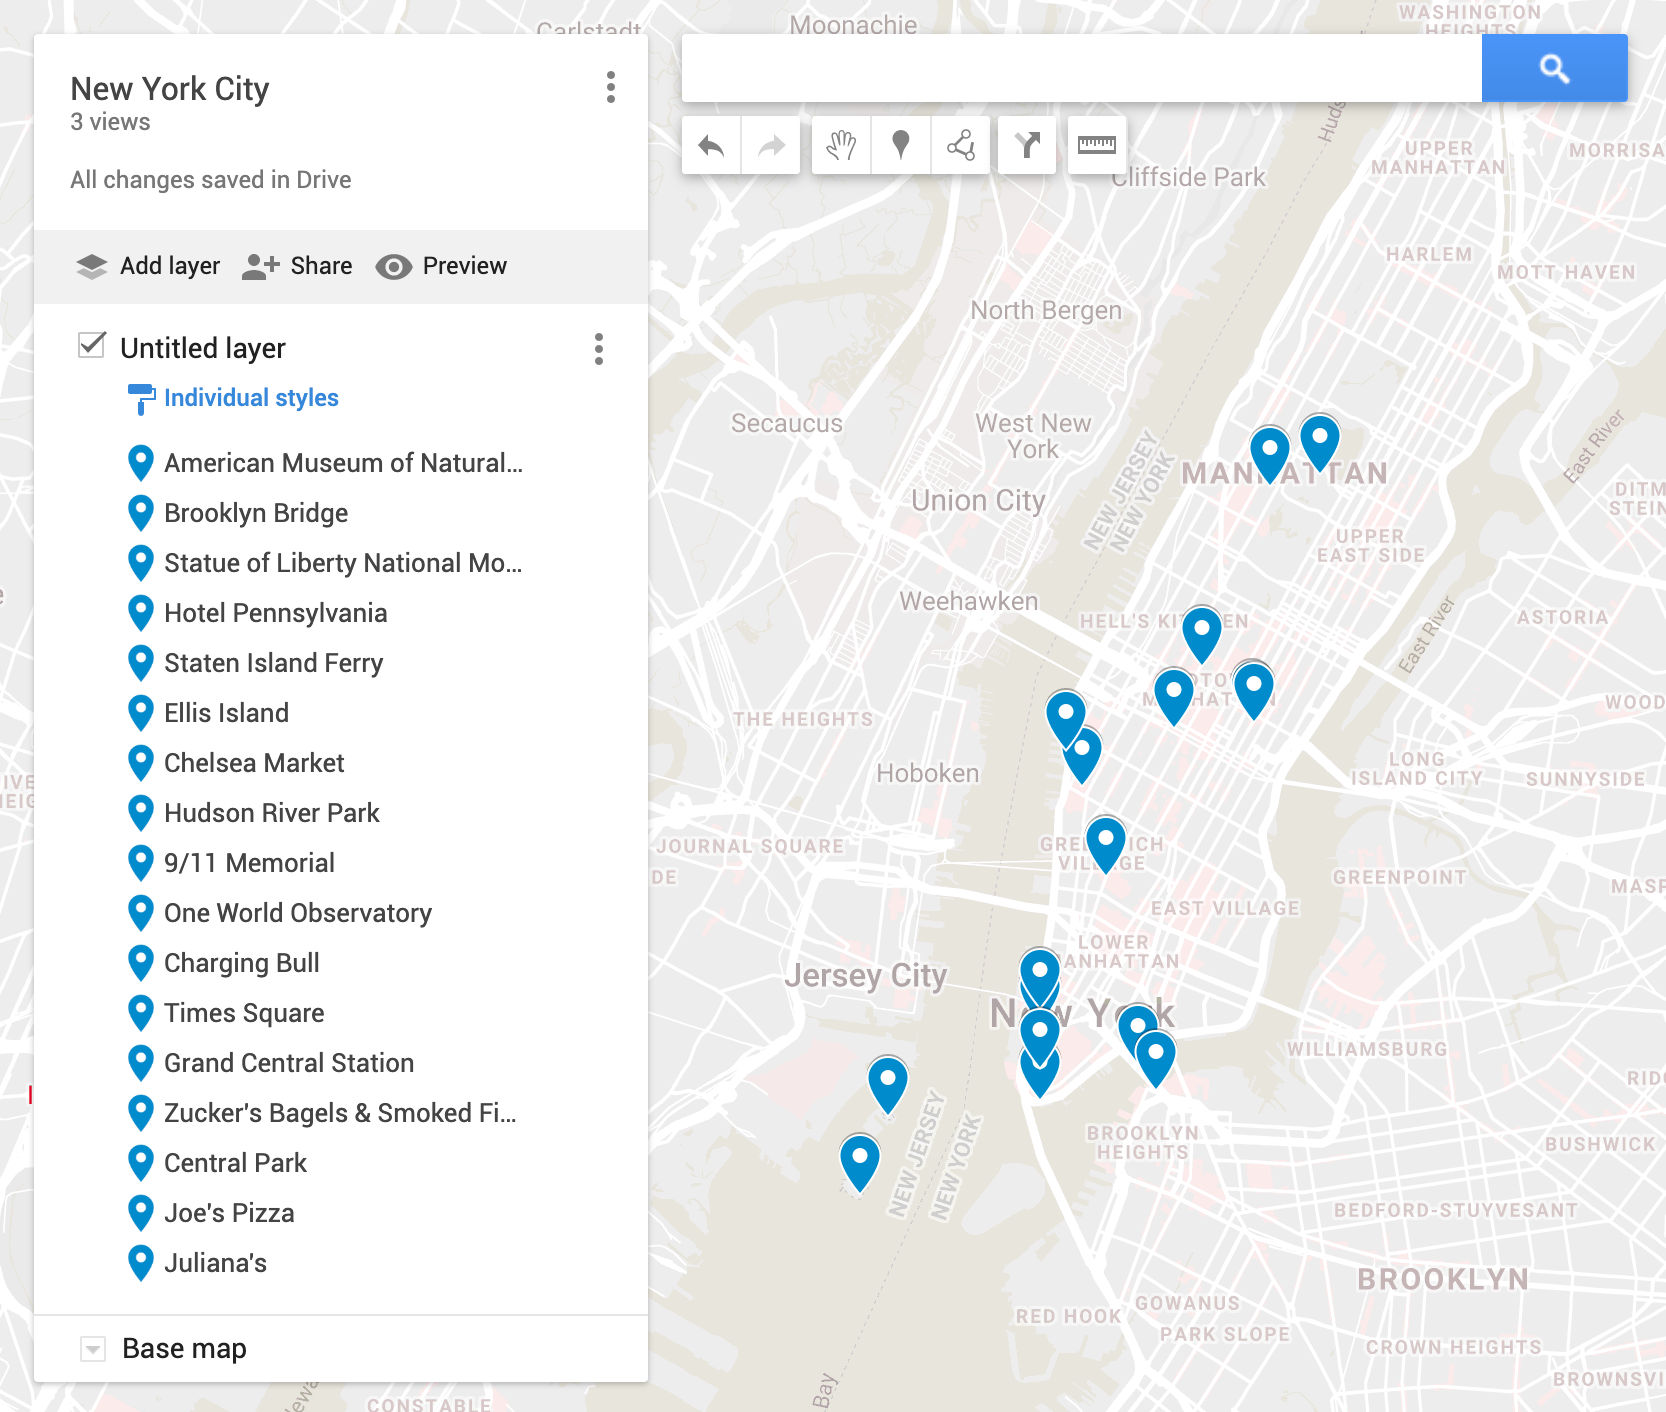
8. To make it easier to see the location, change the color and details of the base map.
9. To share or embed a map, click the hamburger menu icon and then “Share or embed map”
If you want to make your location markers stand out more, you can change their color and icon, e.g. from default blue to red.

To show routes, click the “Add directions button and then add an address for each location.

Or, click on the Draw a Line button and choose “Add driving route”.

You can then drag the blue route line to follow the paths or roads you want.

To add a picture to each location, click the camera icon. You can upload or add one or more pictures by URL from Google Images.
