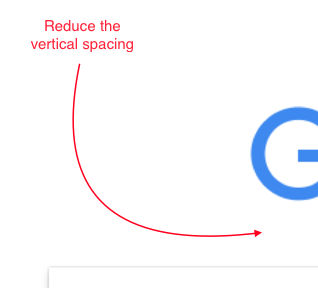
When you need to annotate a document and explain certain parts of it, using arrows can be very helpful. If you’re on a Mac, adding arrows, both straight and curvy, is very easy using the Preview application. Here’s how to do it
- Open an image in Preview
- Open the Toolbar (View > Show Toolbar)
- Click on the “Sketch” icon (3rd from the left) so that it’s highlighted blue

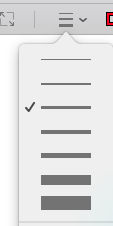
- Choose a line thickness
- Click and drag to create a curved line with an arrow just as you would with a pen without lifting the pen. This will result in a curved arrow.

- If the curvature doesn’t look right, adjust it by moving the 3 control points.

- Then add some text by clicking on the text tool (last icon with the letter A)

You can also create straight lines by drawing a line. Preview will detect that you are trying to draw a line and make it straight for you.